Powering down
During an observing run it is normal to leave the CCD controller and peltiers running continuously to prevent unnecessary thermal and power cycling. If, however, the instrument is about to be taken off the telescope or there is a scheduled break in observing for more than a few nights, the system should be powered down in the order given below. Click on the photos below for larger images.
Prior to going up to the elevation platform, follow the safety instructions given in pumping and cooling. In summary, put on your safety gear, take a radio, and inform the GTC Jefe de Turno (during the day) or Telescope Operator (at night) that you are going up to the instrument.
Prior to vacuum pumping HiPERCAM, make sure you are familiar with the correct procedure to operate the rotator, vacuum pump and CCD head valves, as described in pumping and cooling. Turn on the vacuum pump and, once the turbo has got up to speed, open the manifold and then the valves on each CCD head.
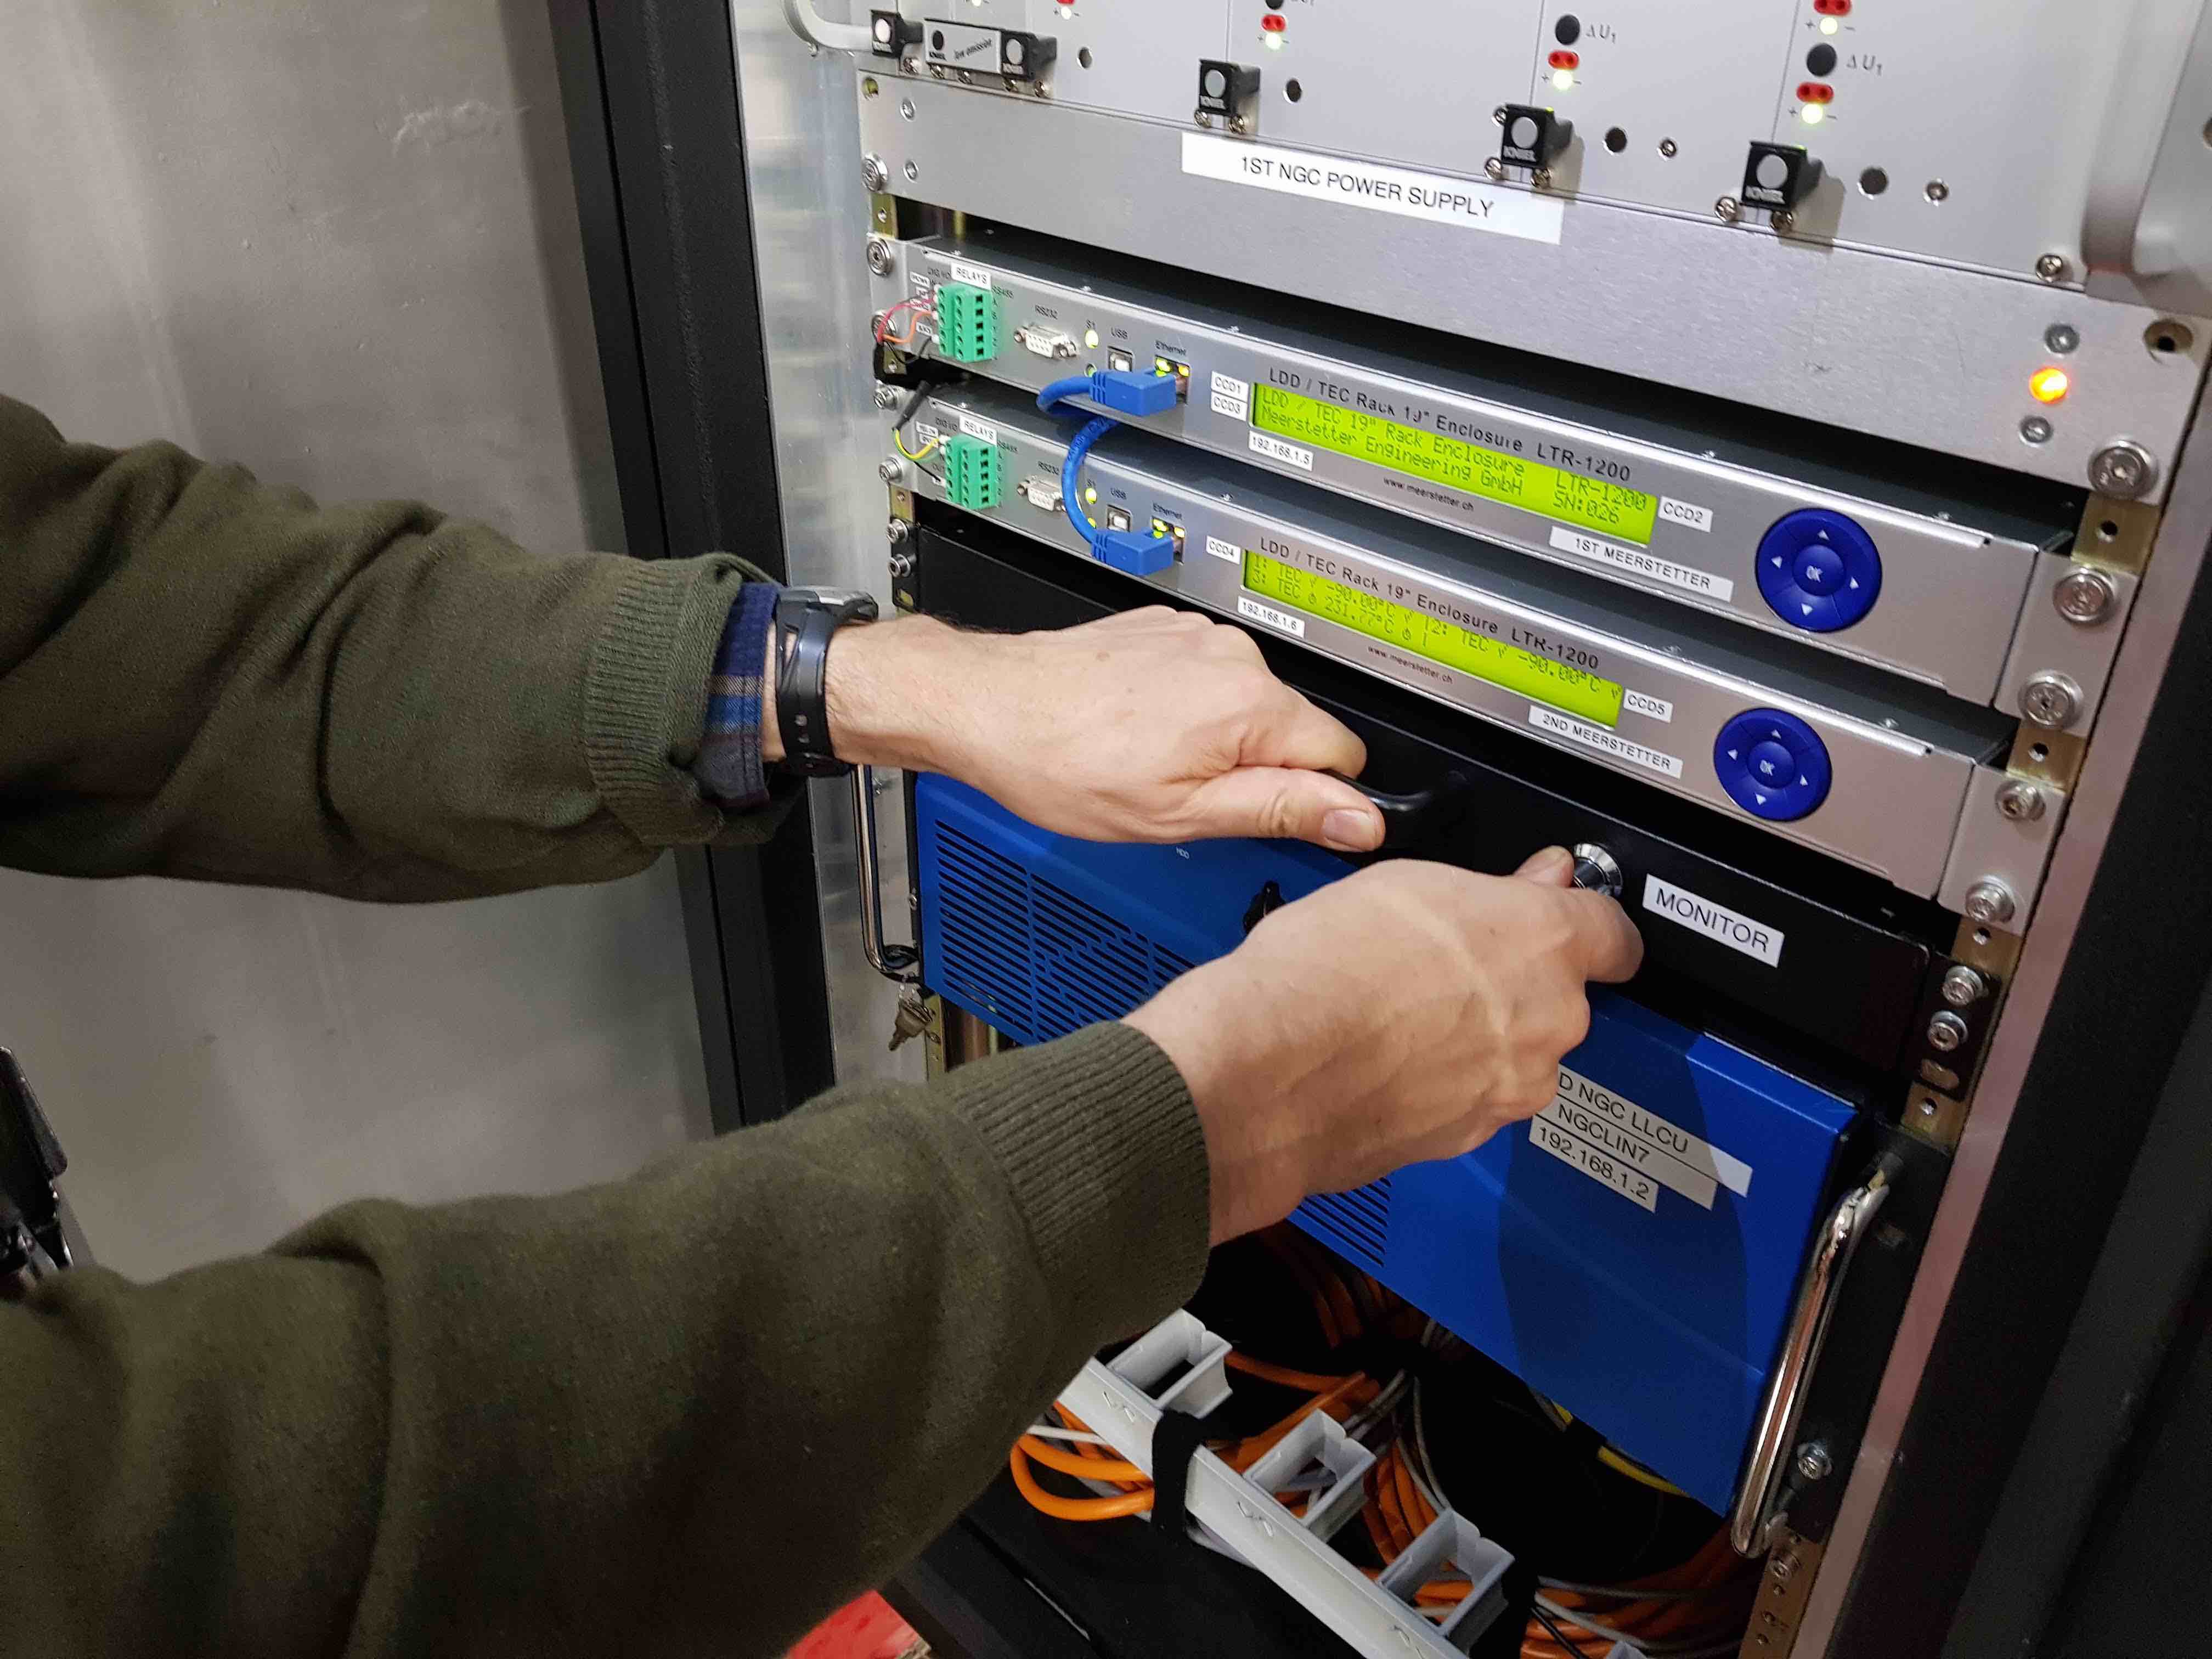
Warm up the CCDs by setting the temperature set point to +10degC. You can either do this directly on the Meerstetter units in the cabinet or via
hdriver, as described in pumping and cooling. The CCD temperatures will then slowly begin to ramp up, taking about 15 minutes to get from -90degC to +10degC. You can monitor the CCD temperature remotely from the control room by inspecting thehw_monitorscript, as described in pumping and cooling.Once the CCDs are at +10degC, close the valves on the CCD heads and then close the manifold. Then turn off the vacuum pump. Make sure you follow the correct procedure for operating the CCD head valves, vacuum pump and rotator, as described in pumping and cooling.
Turn off the flow of water/glycol coolant through HiPERCAM by turning the yellow lever marked HiPERCAM CCDs underneath the rotator by 90 degrees so that it is pointing parallel with the ground, as shown in pumping and cooling. You can tell that the coolant flow has stopped by inspecting the red propeller mounted above it. Turning off the coolant flow minimises the amount of metallic particles that stick to the propellers in the flow sensors, which ultimately causes them to fail. Do not turn off the coolant flow to the electronics cabinet unless asked to do so by Vik Dhillon or the GTC.
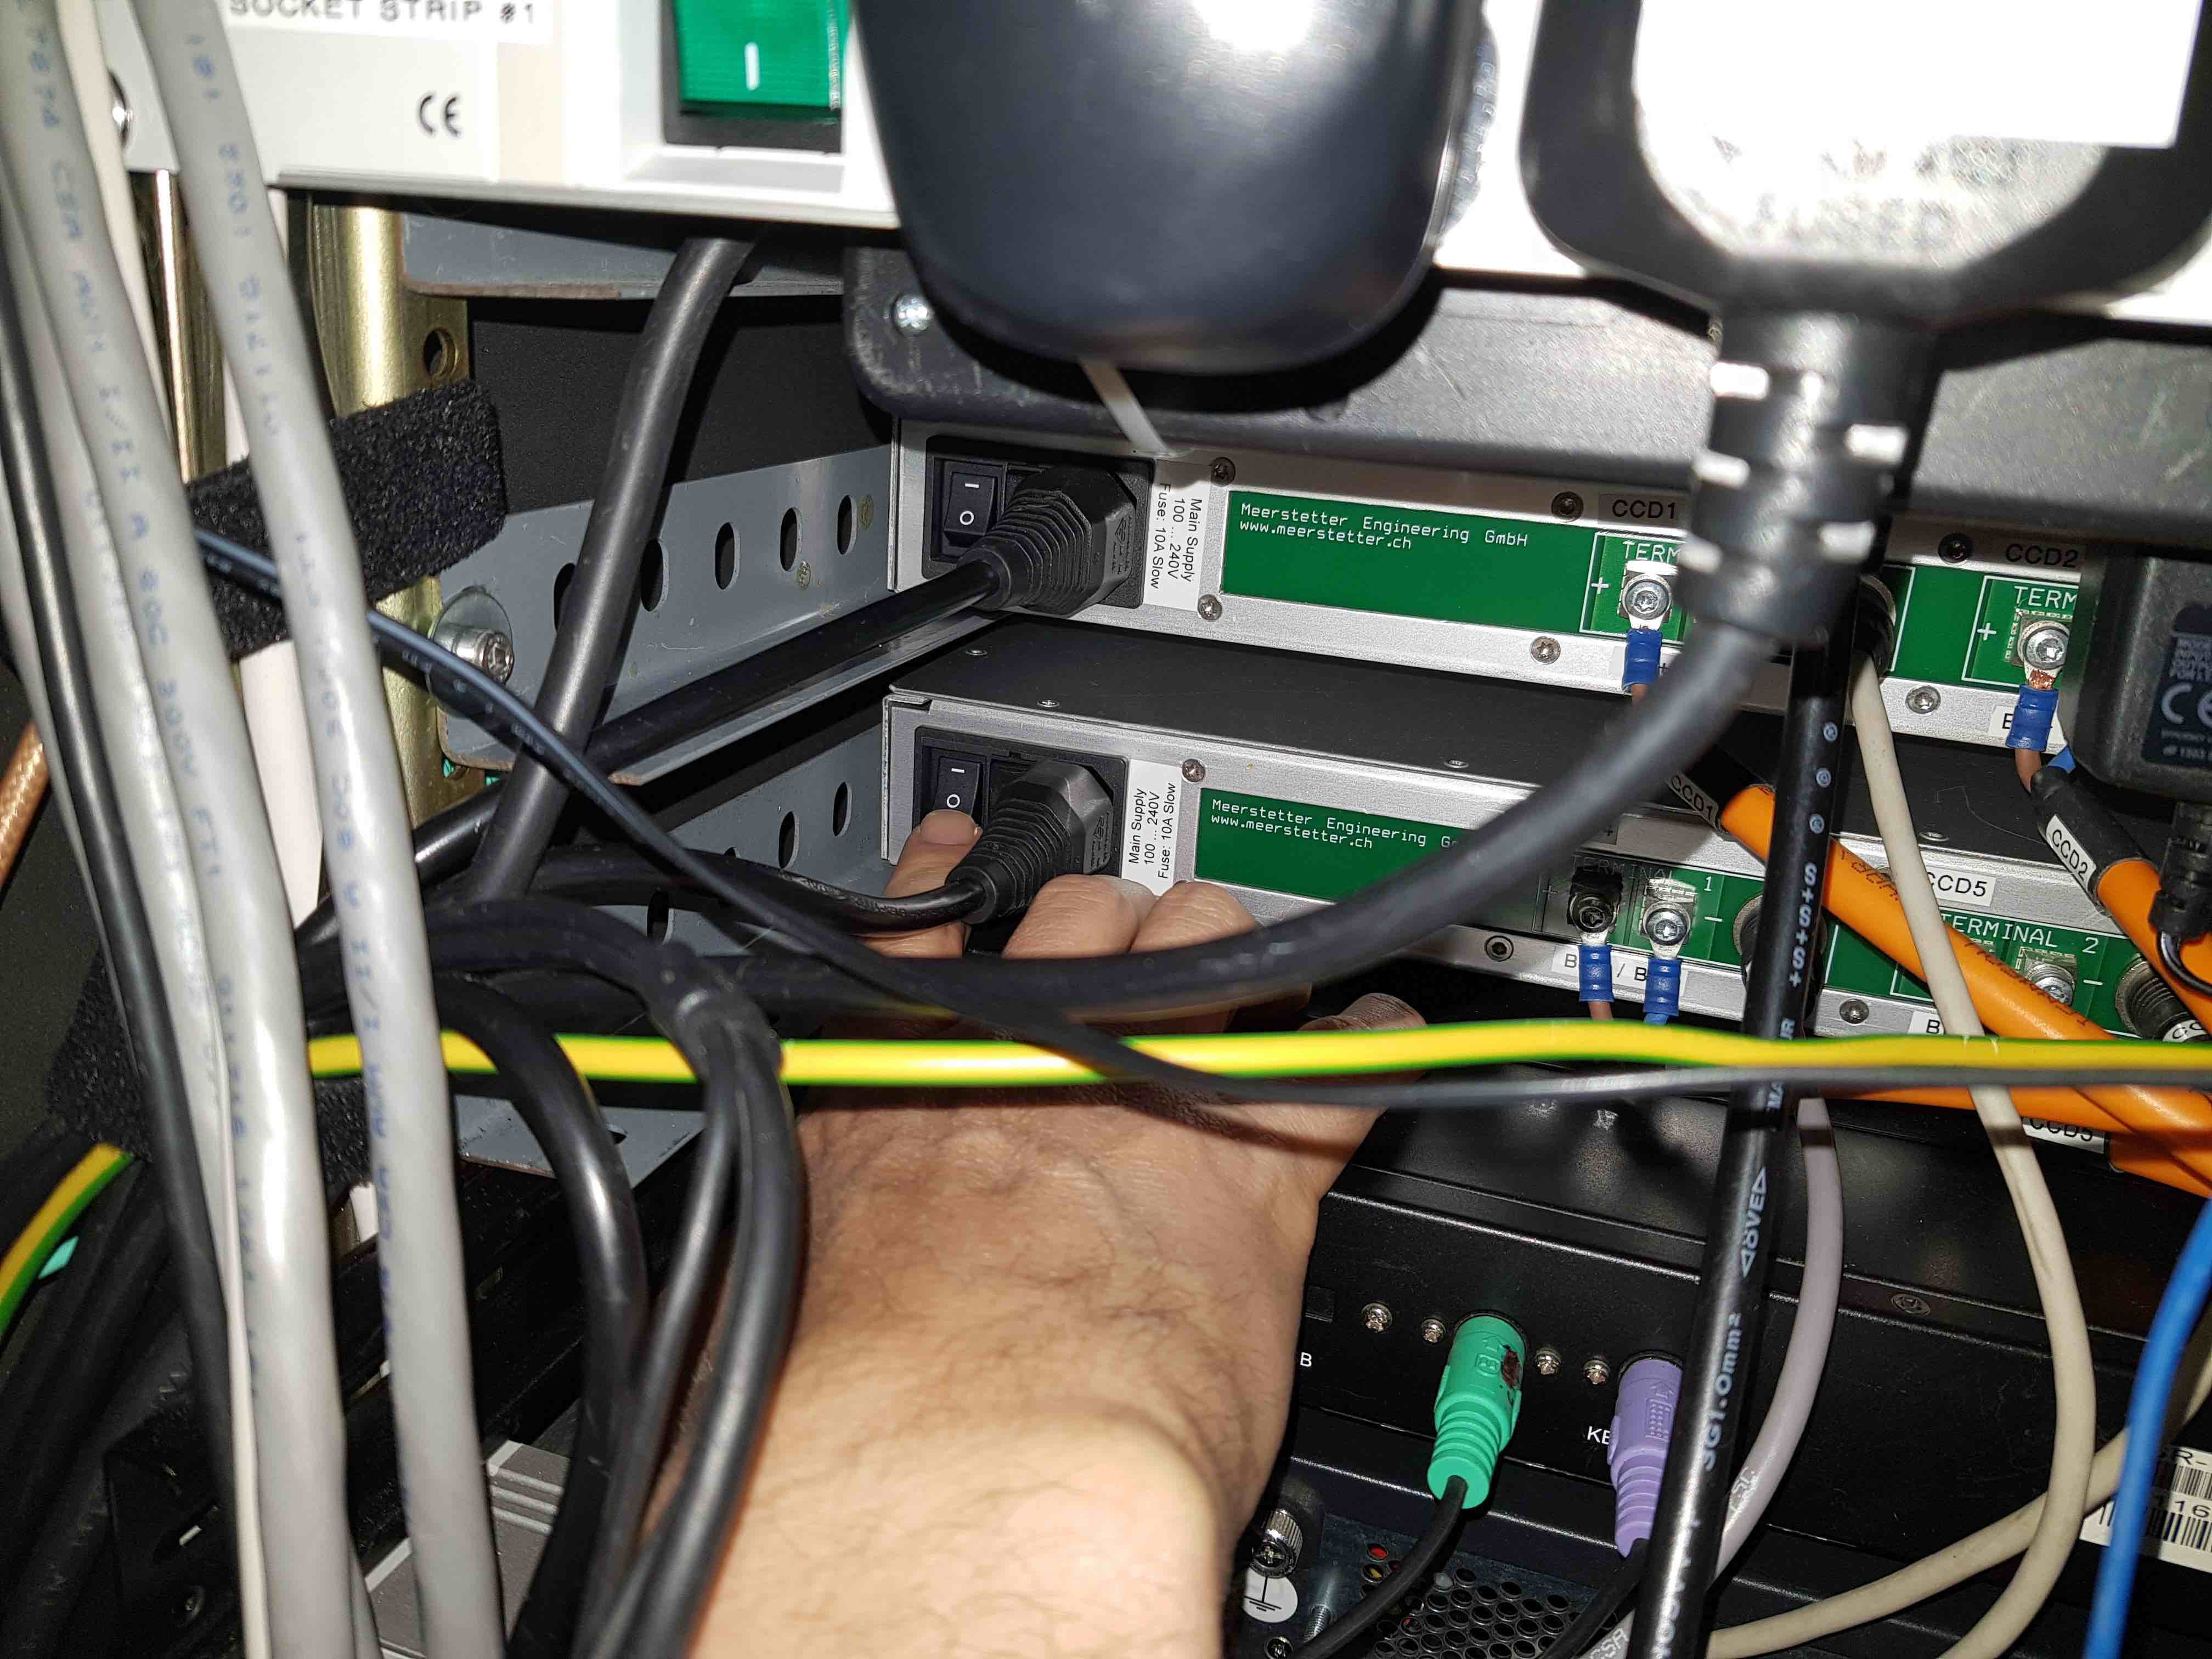
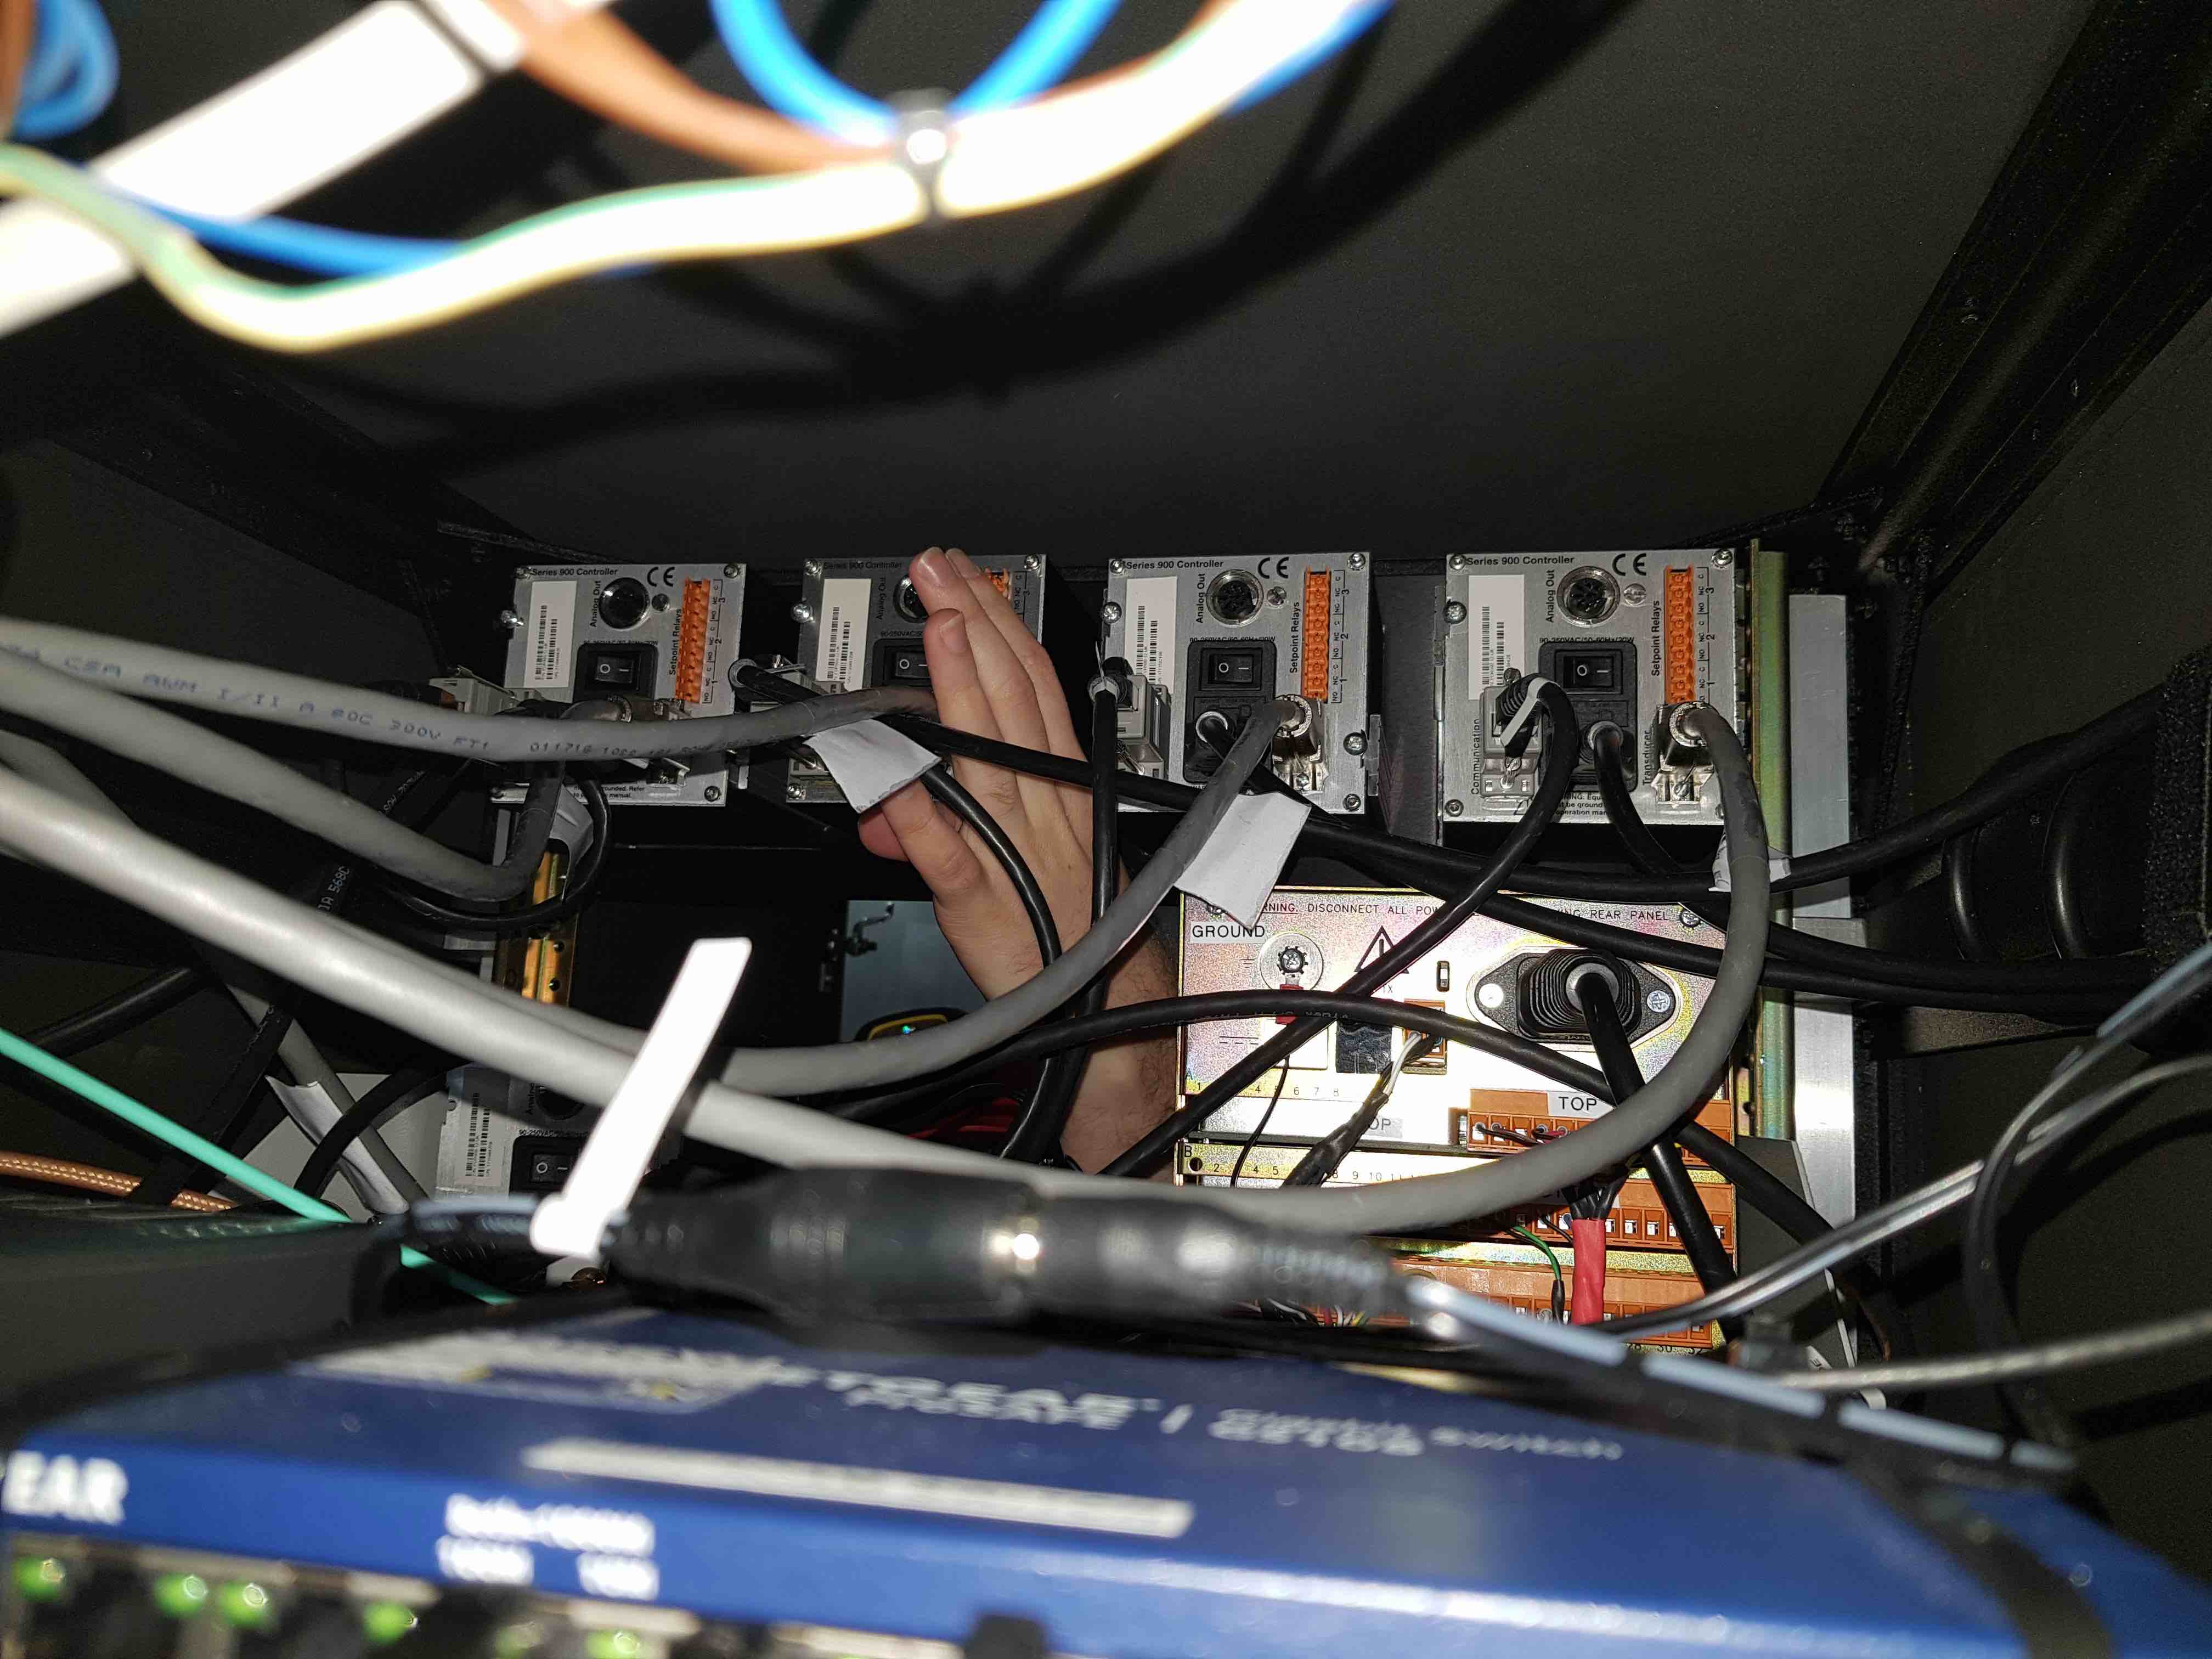
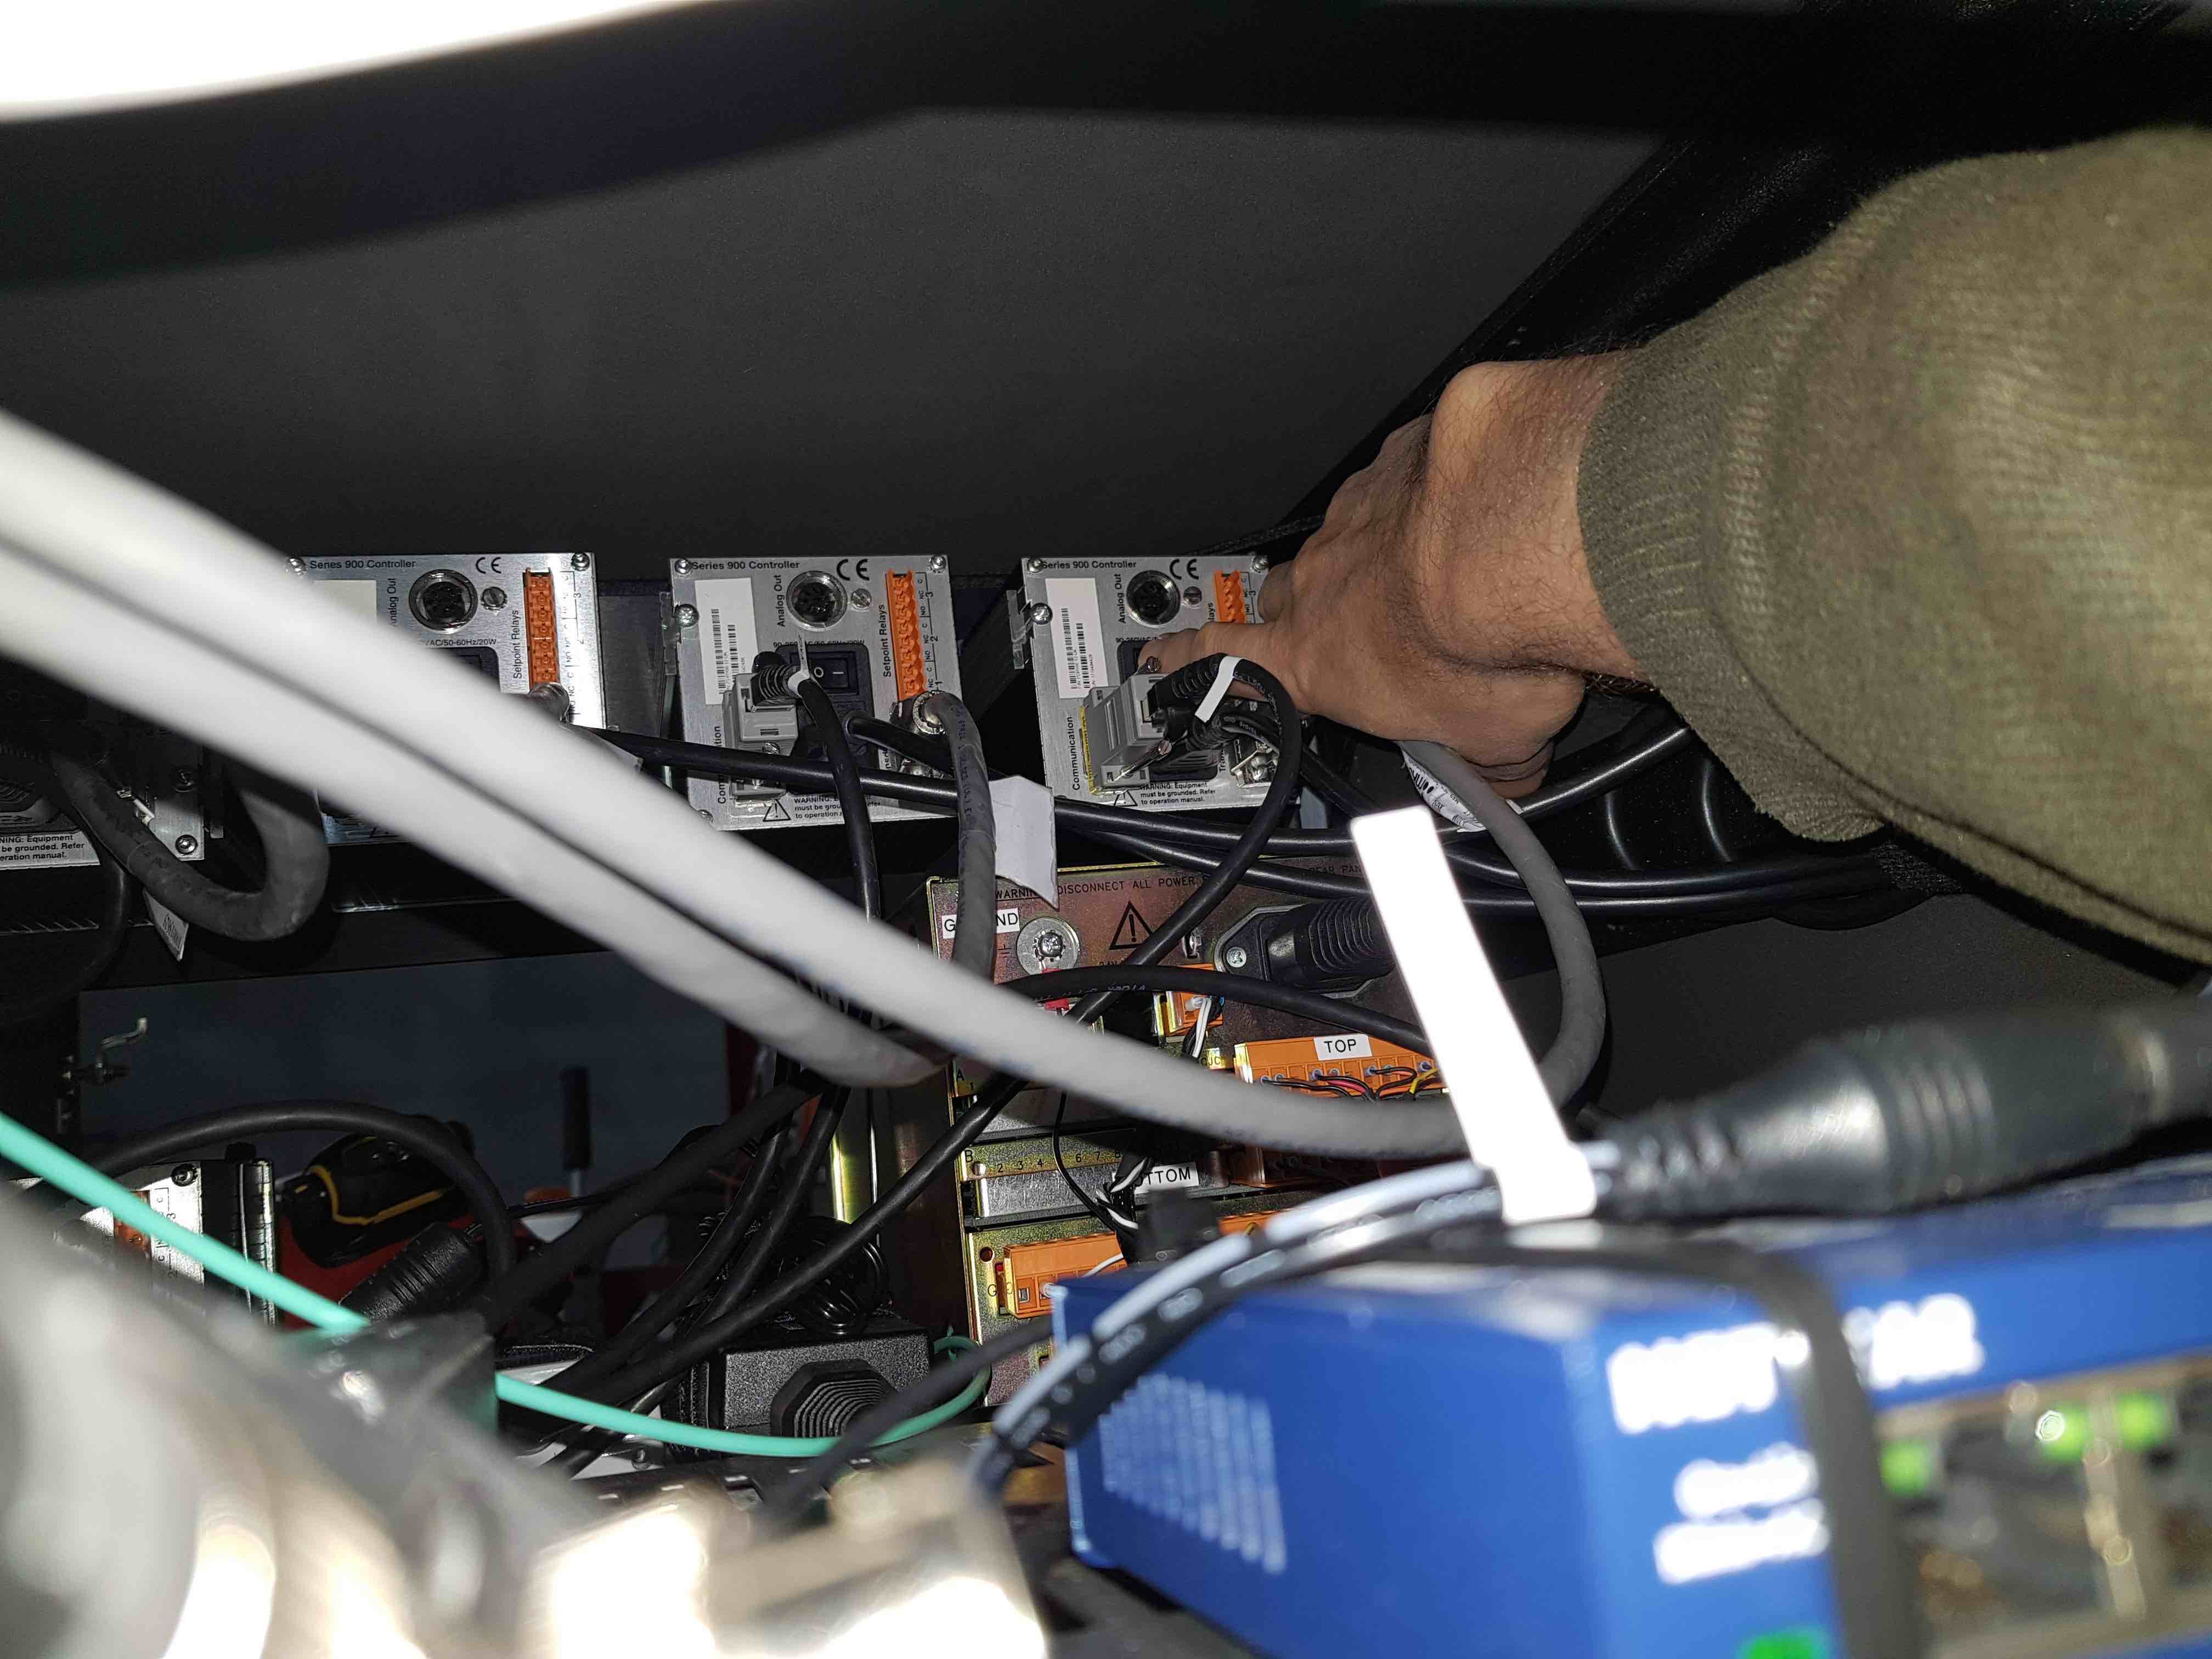
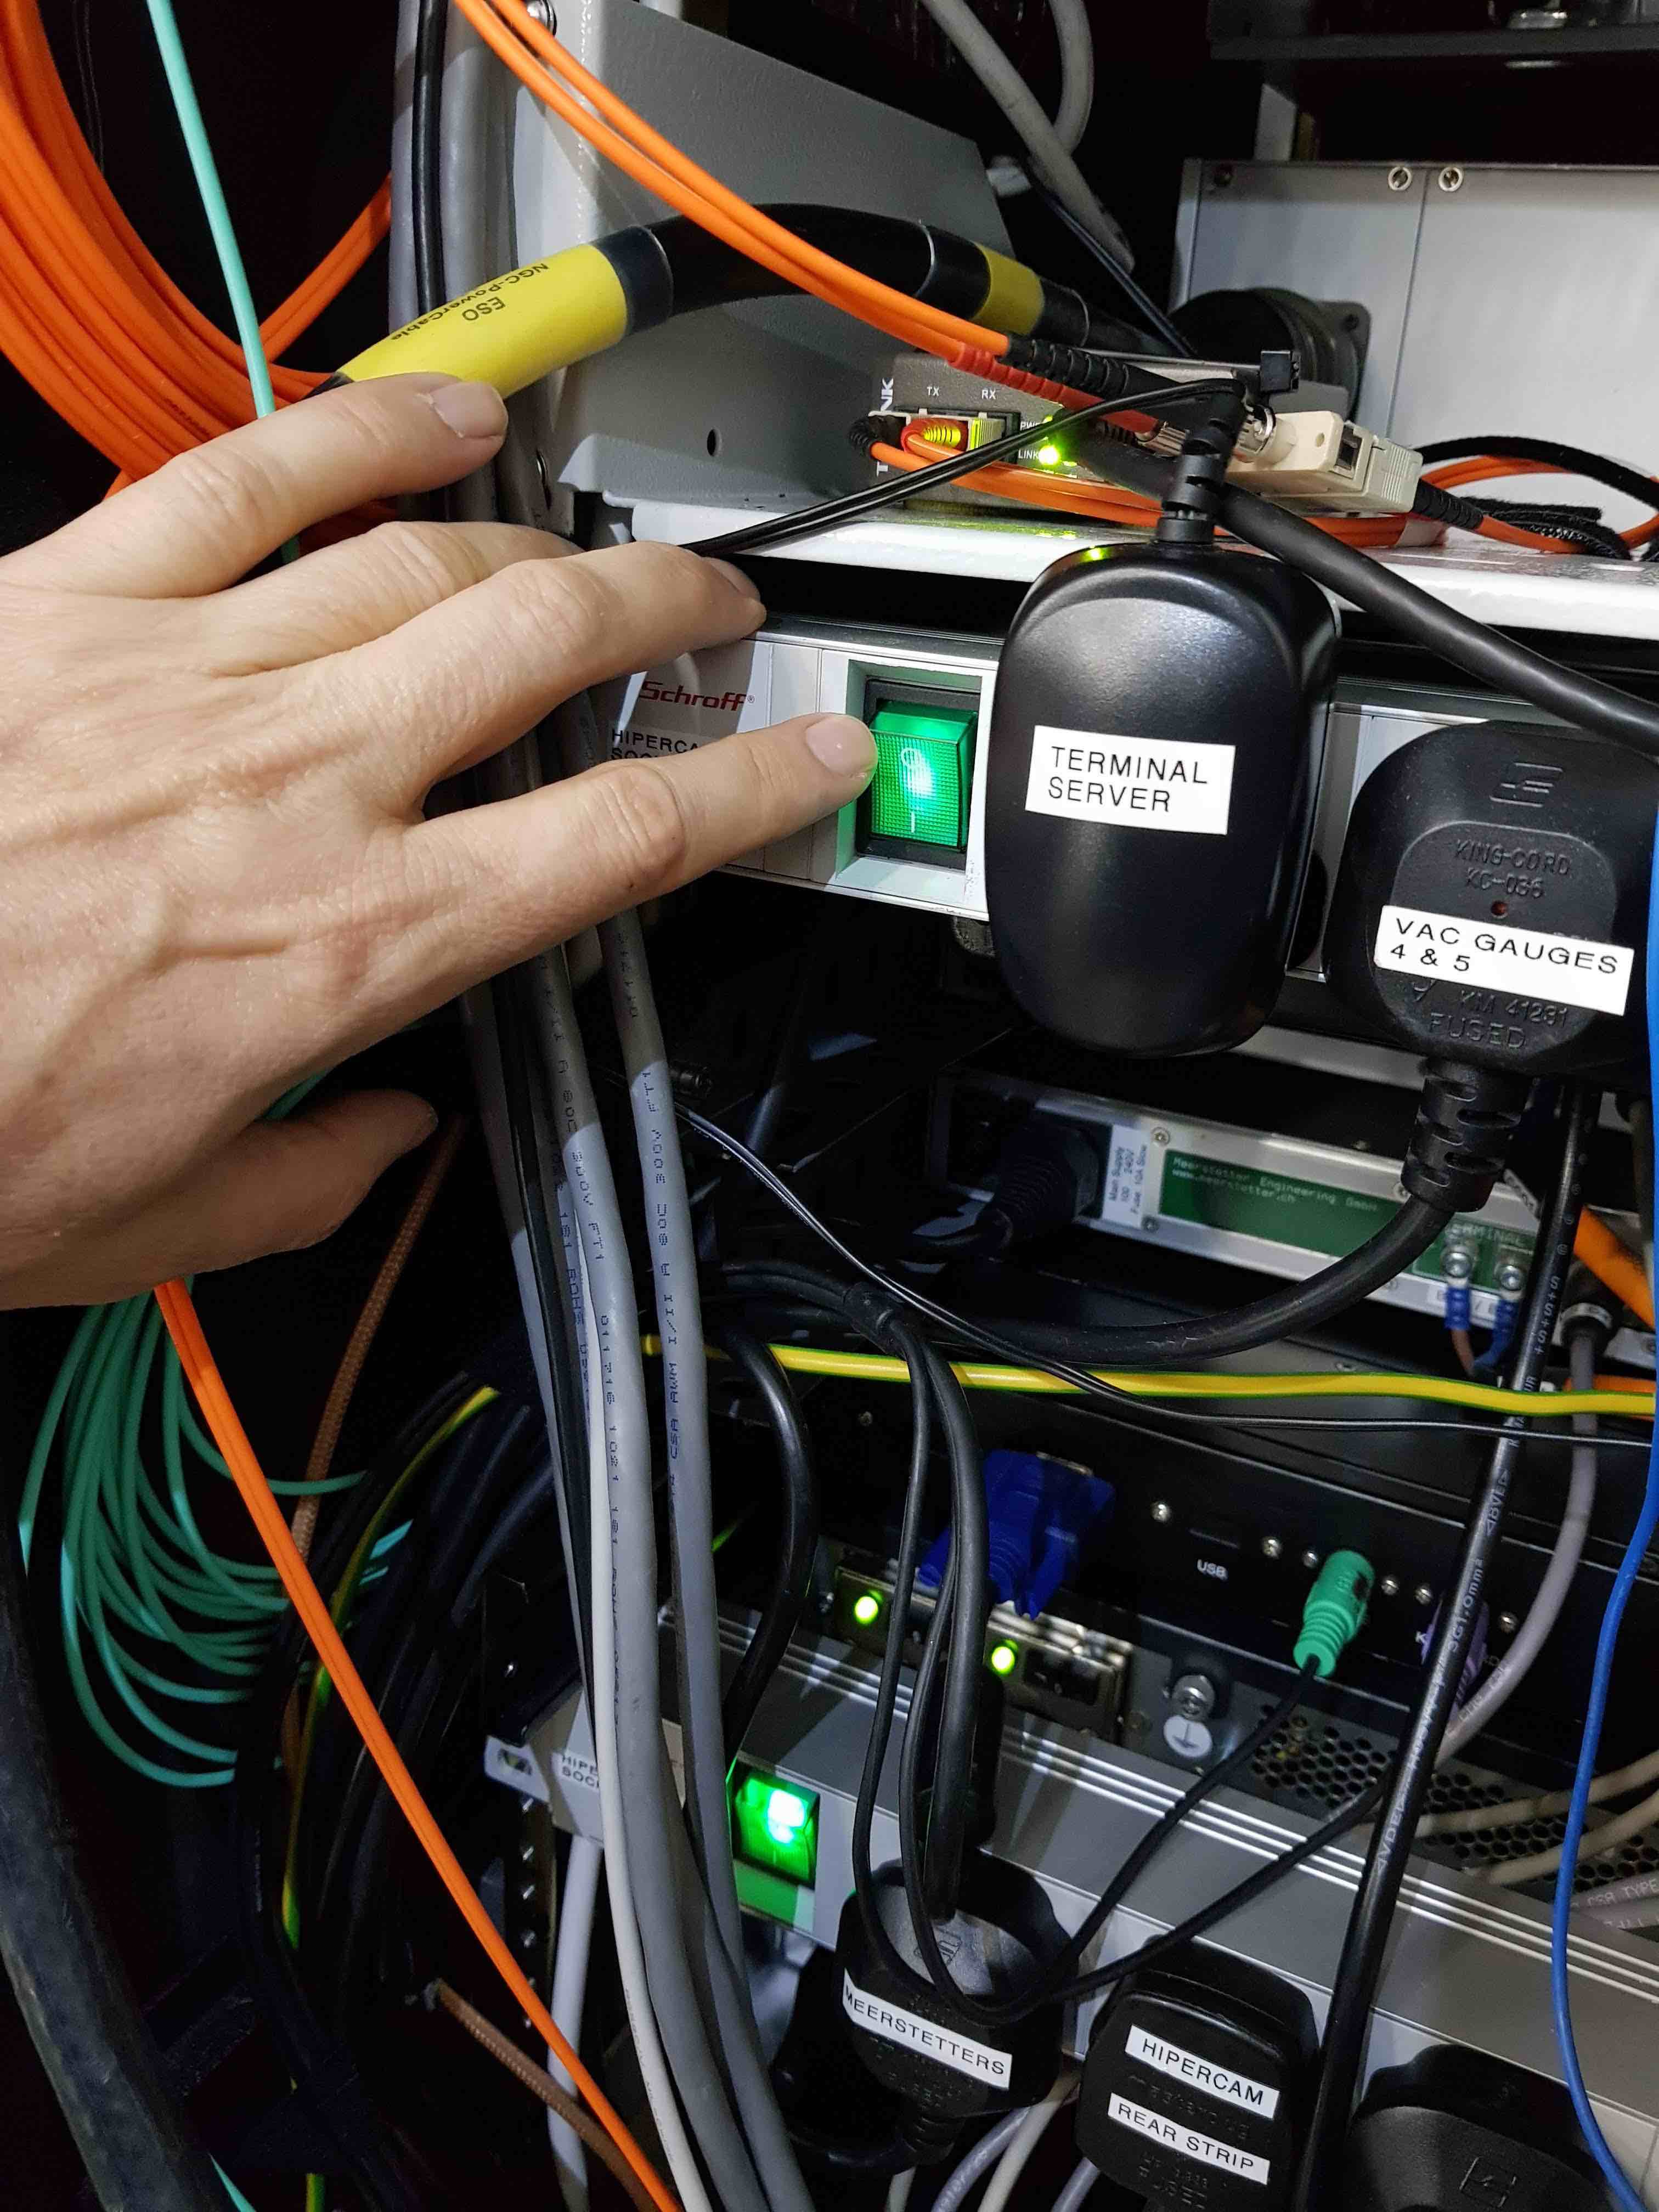
Turn off the two Meerstetter peltier temperature controllers at the rear-left of the units in the cabinet.
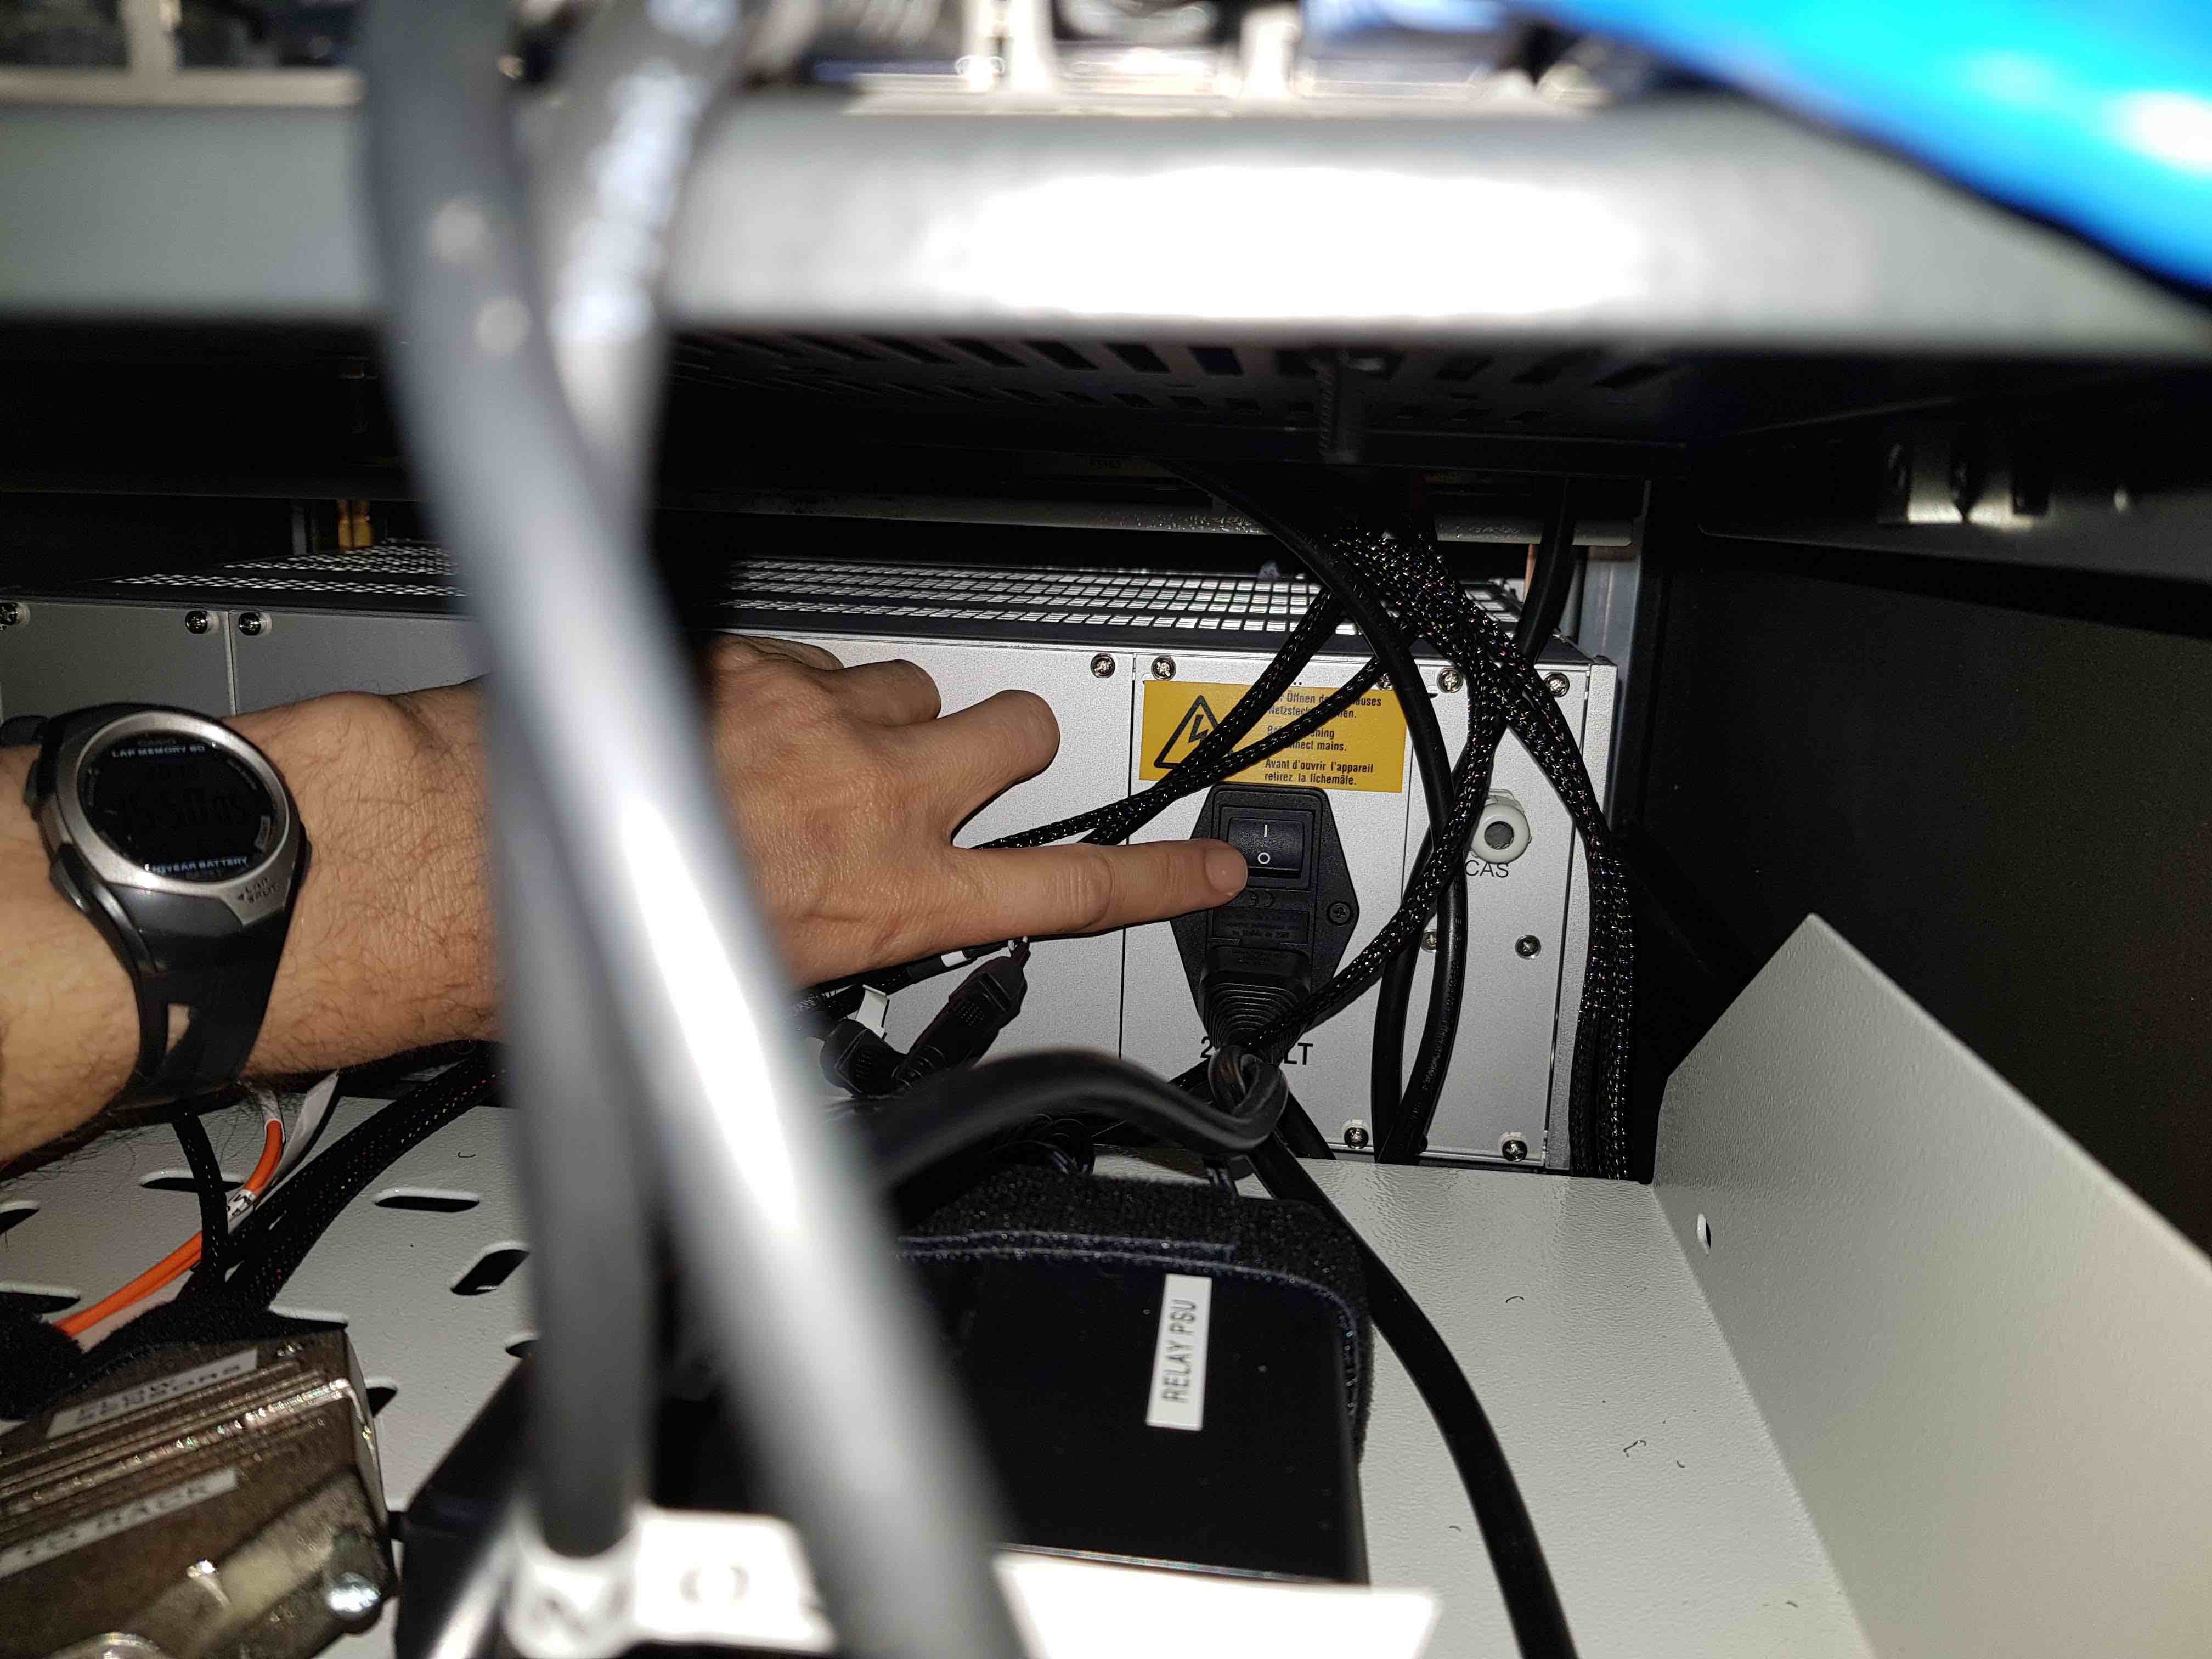
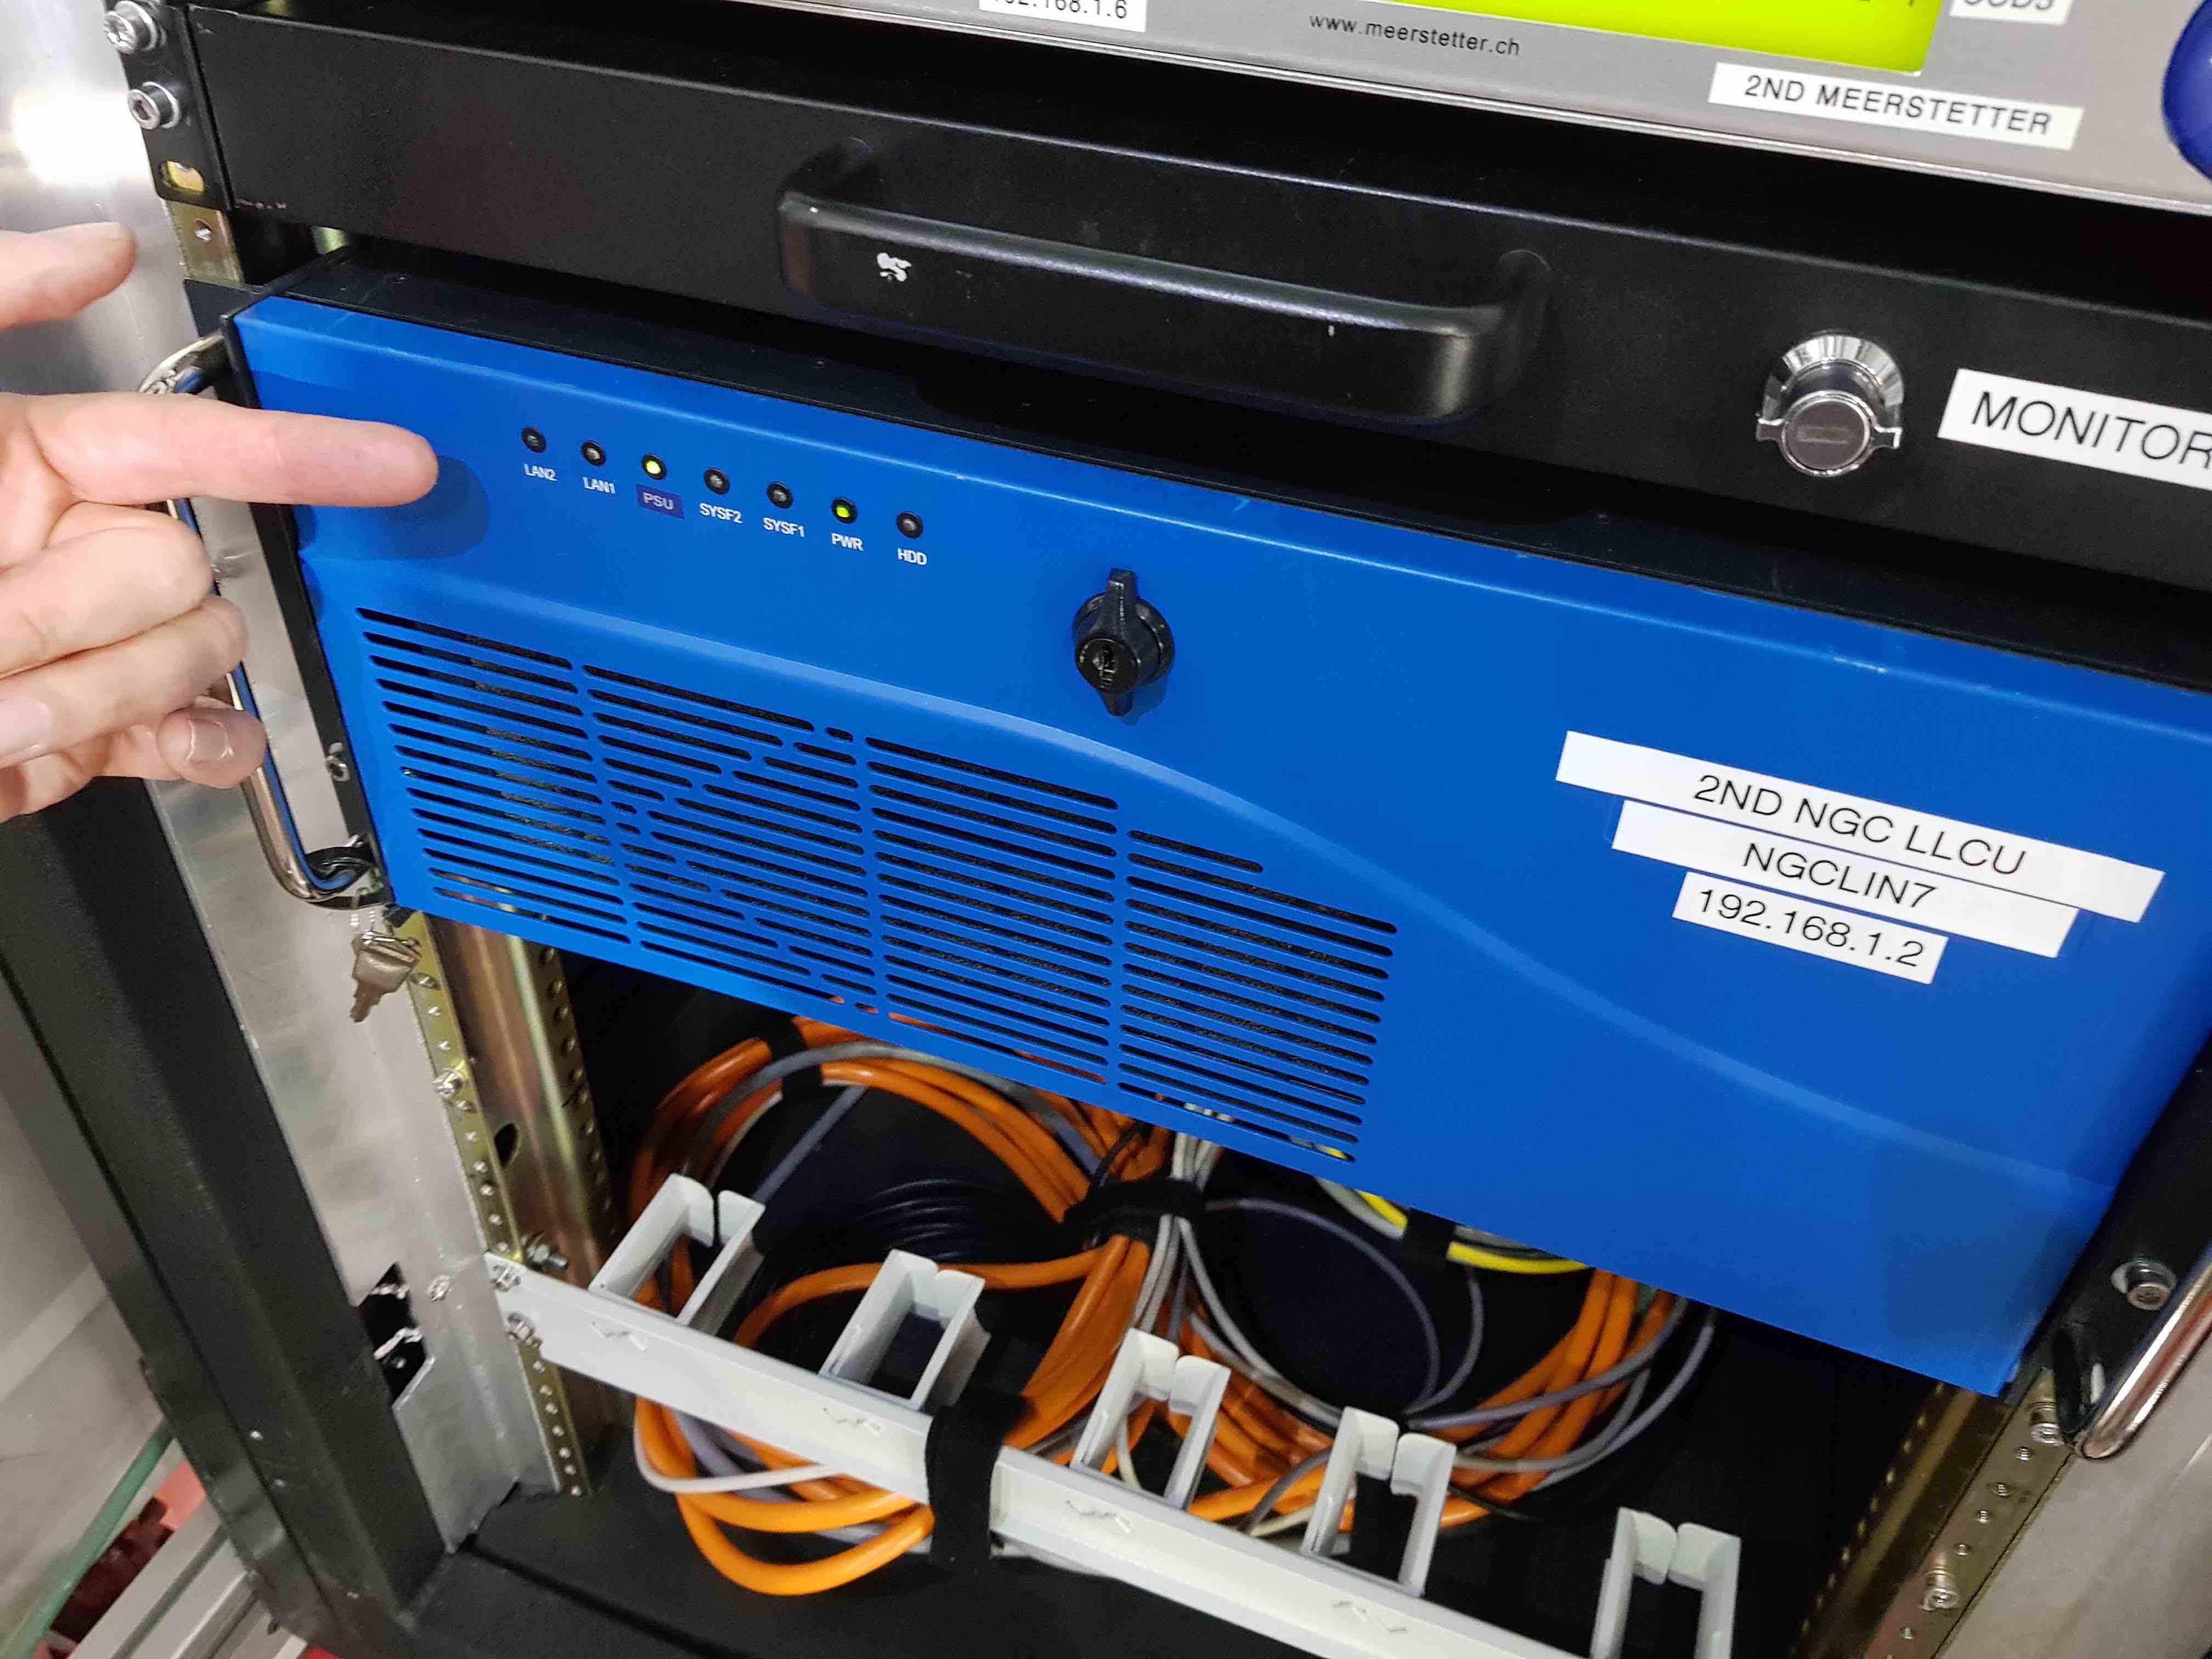
Ensuring that you have first shut down the observing system on the DRPC, as described in before you go to bed, turn off the CCD controller by hitting the switch at the rear-right of the unit in the cabinet.
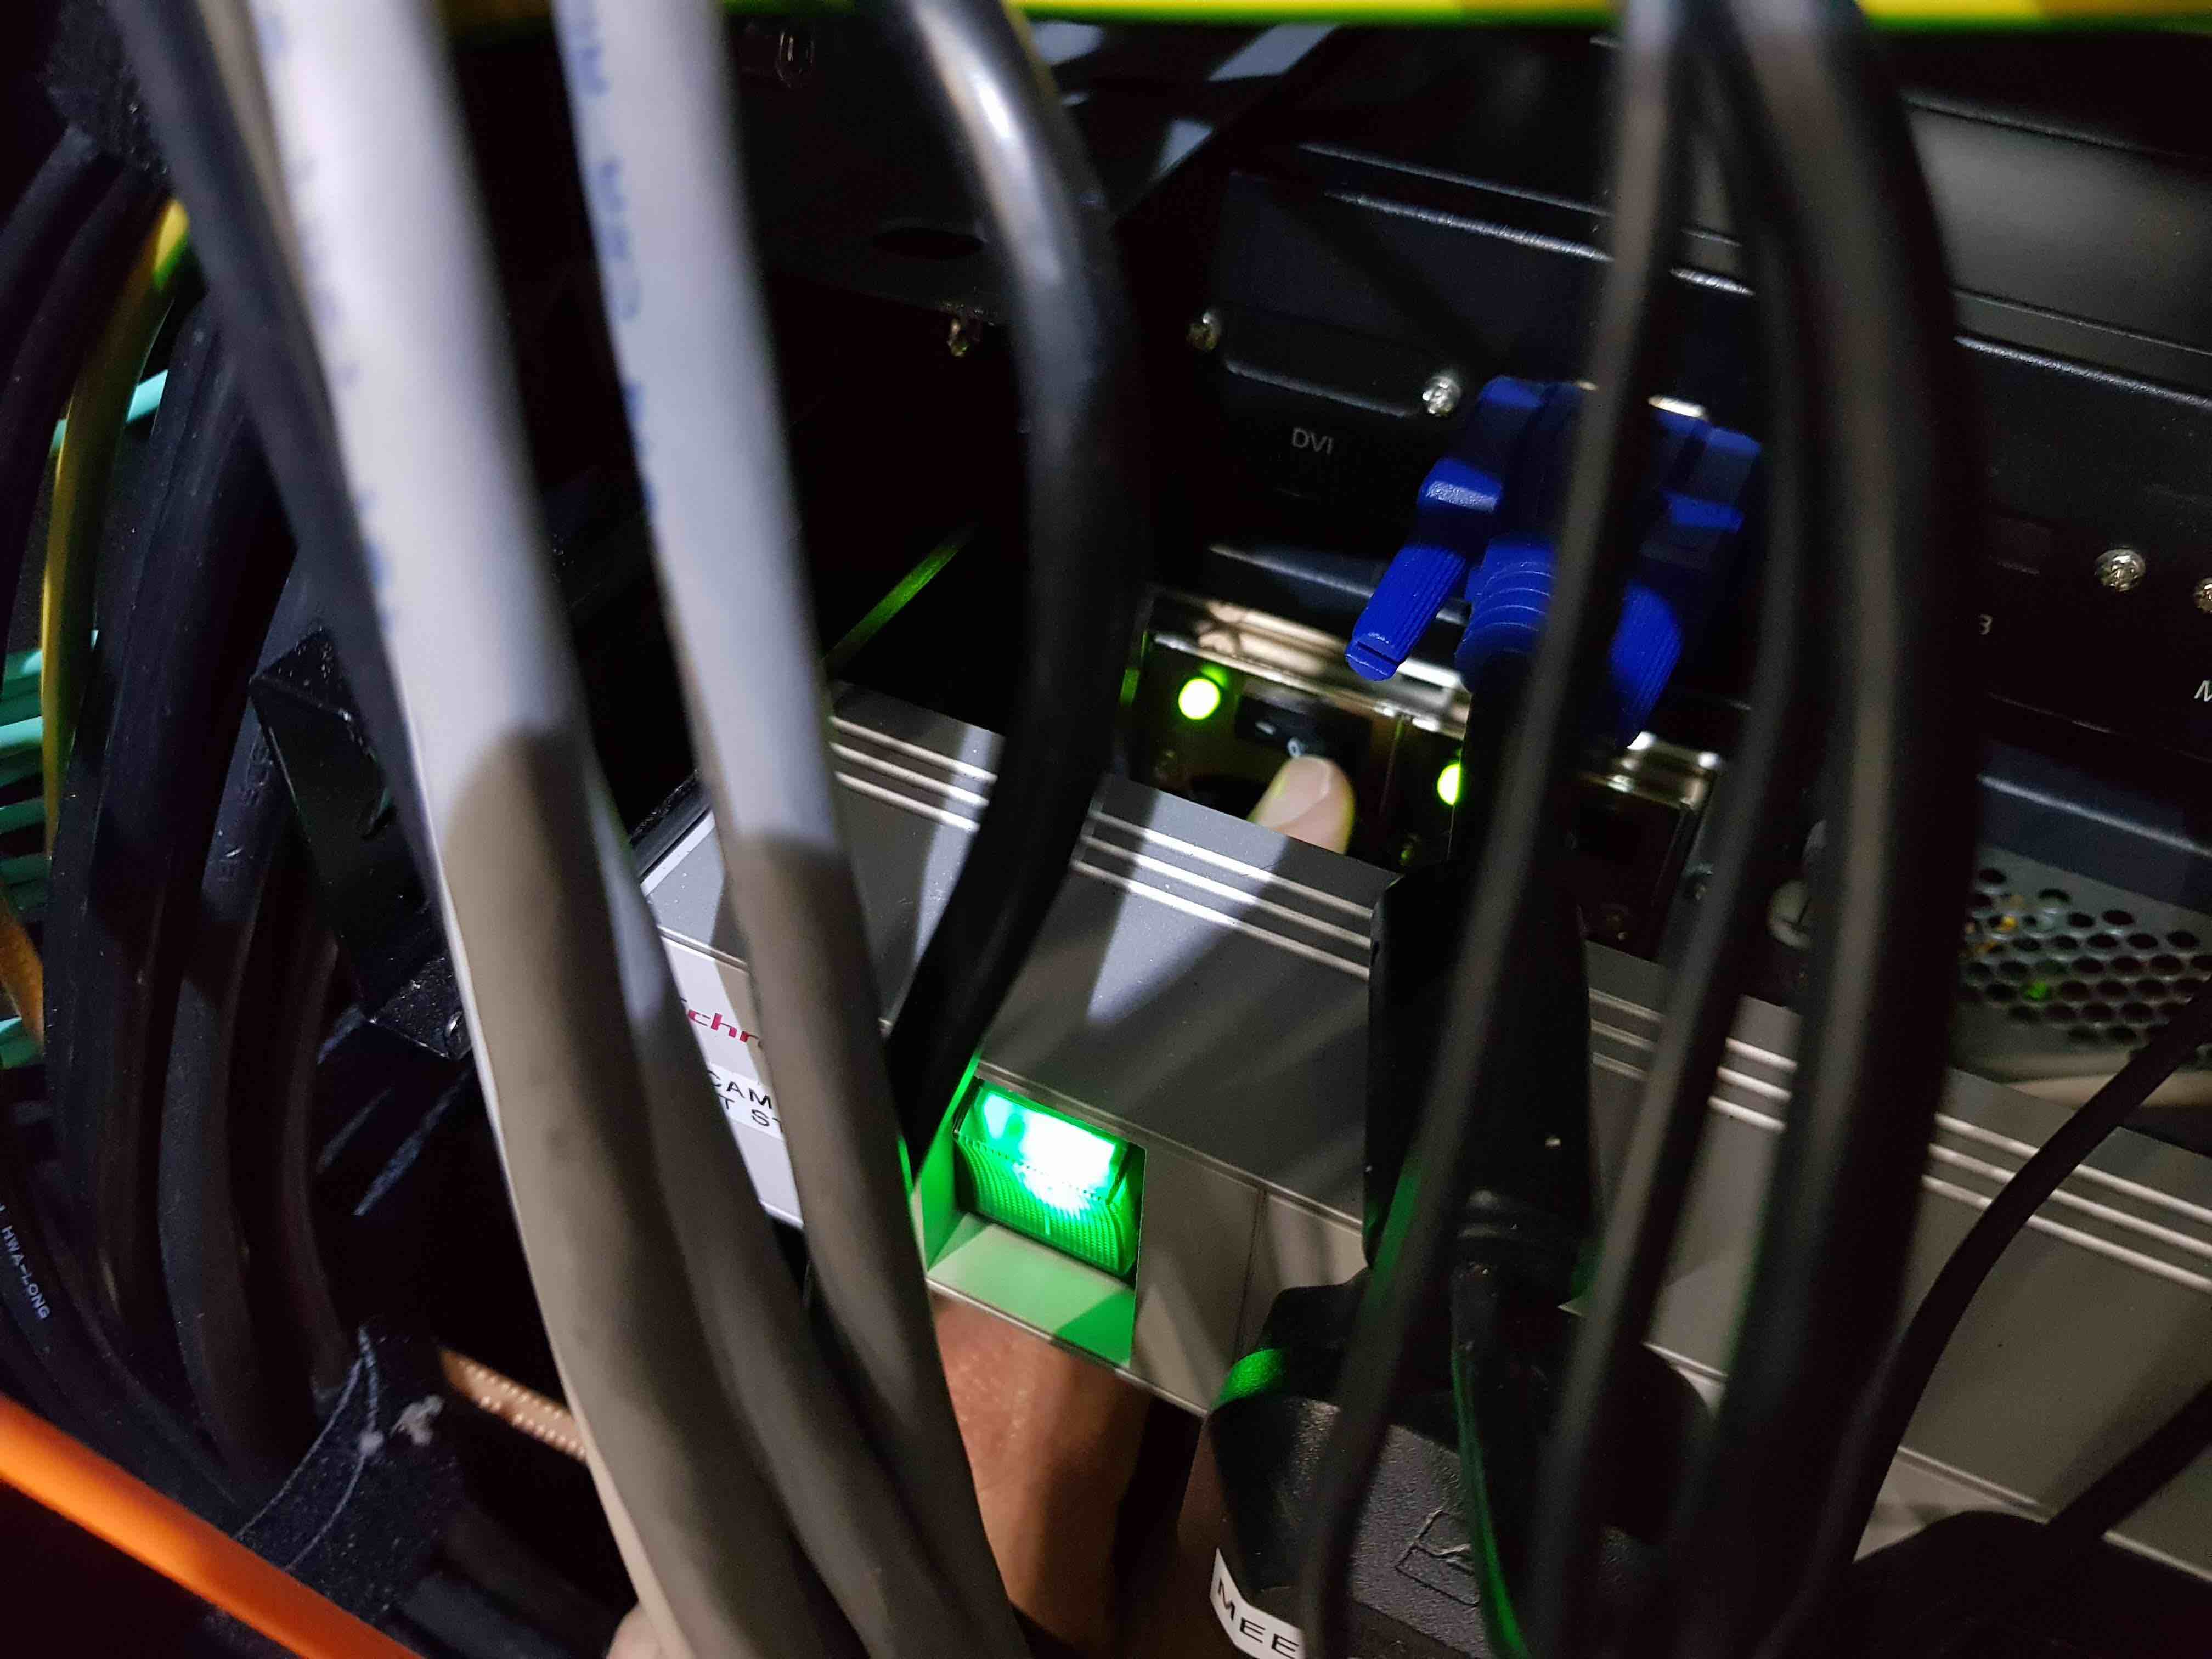
Turn off the 5 vacuum gauge controllers at the top of the cabinet. You will be able to turn off CCDs 2-5 from the front of the cabinet (see left-hand photo below), but you will need to reach into the rear of the cabinet to turn off CCD1 (right-hand photo below).
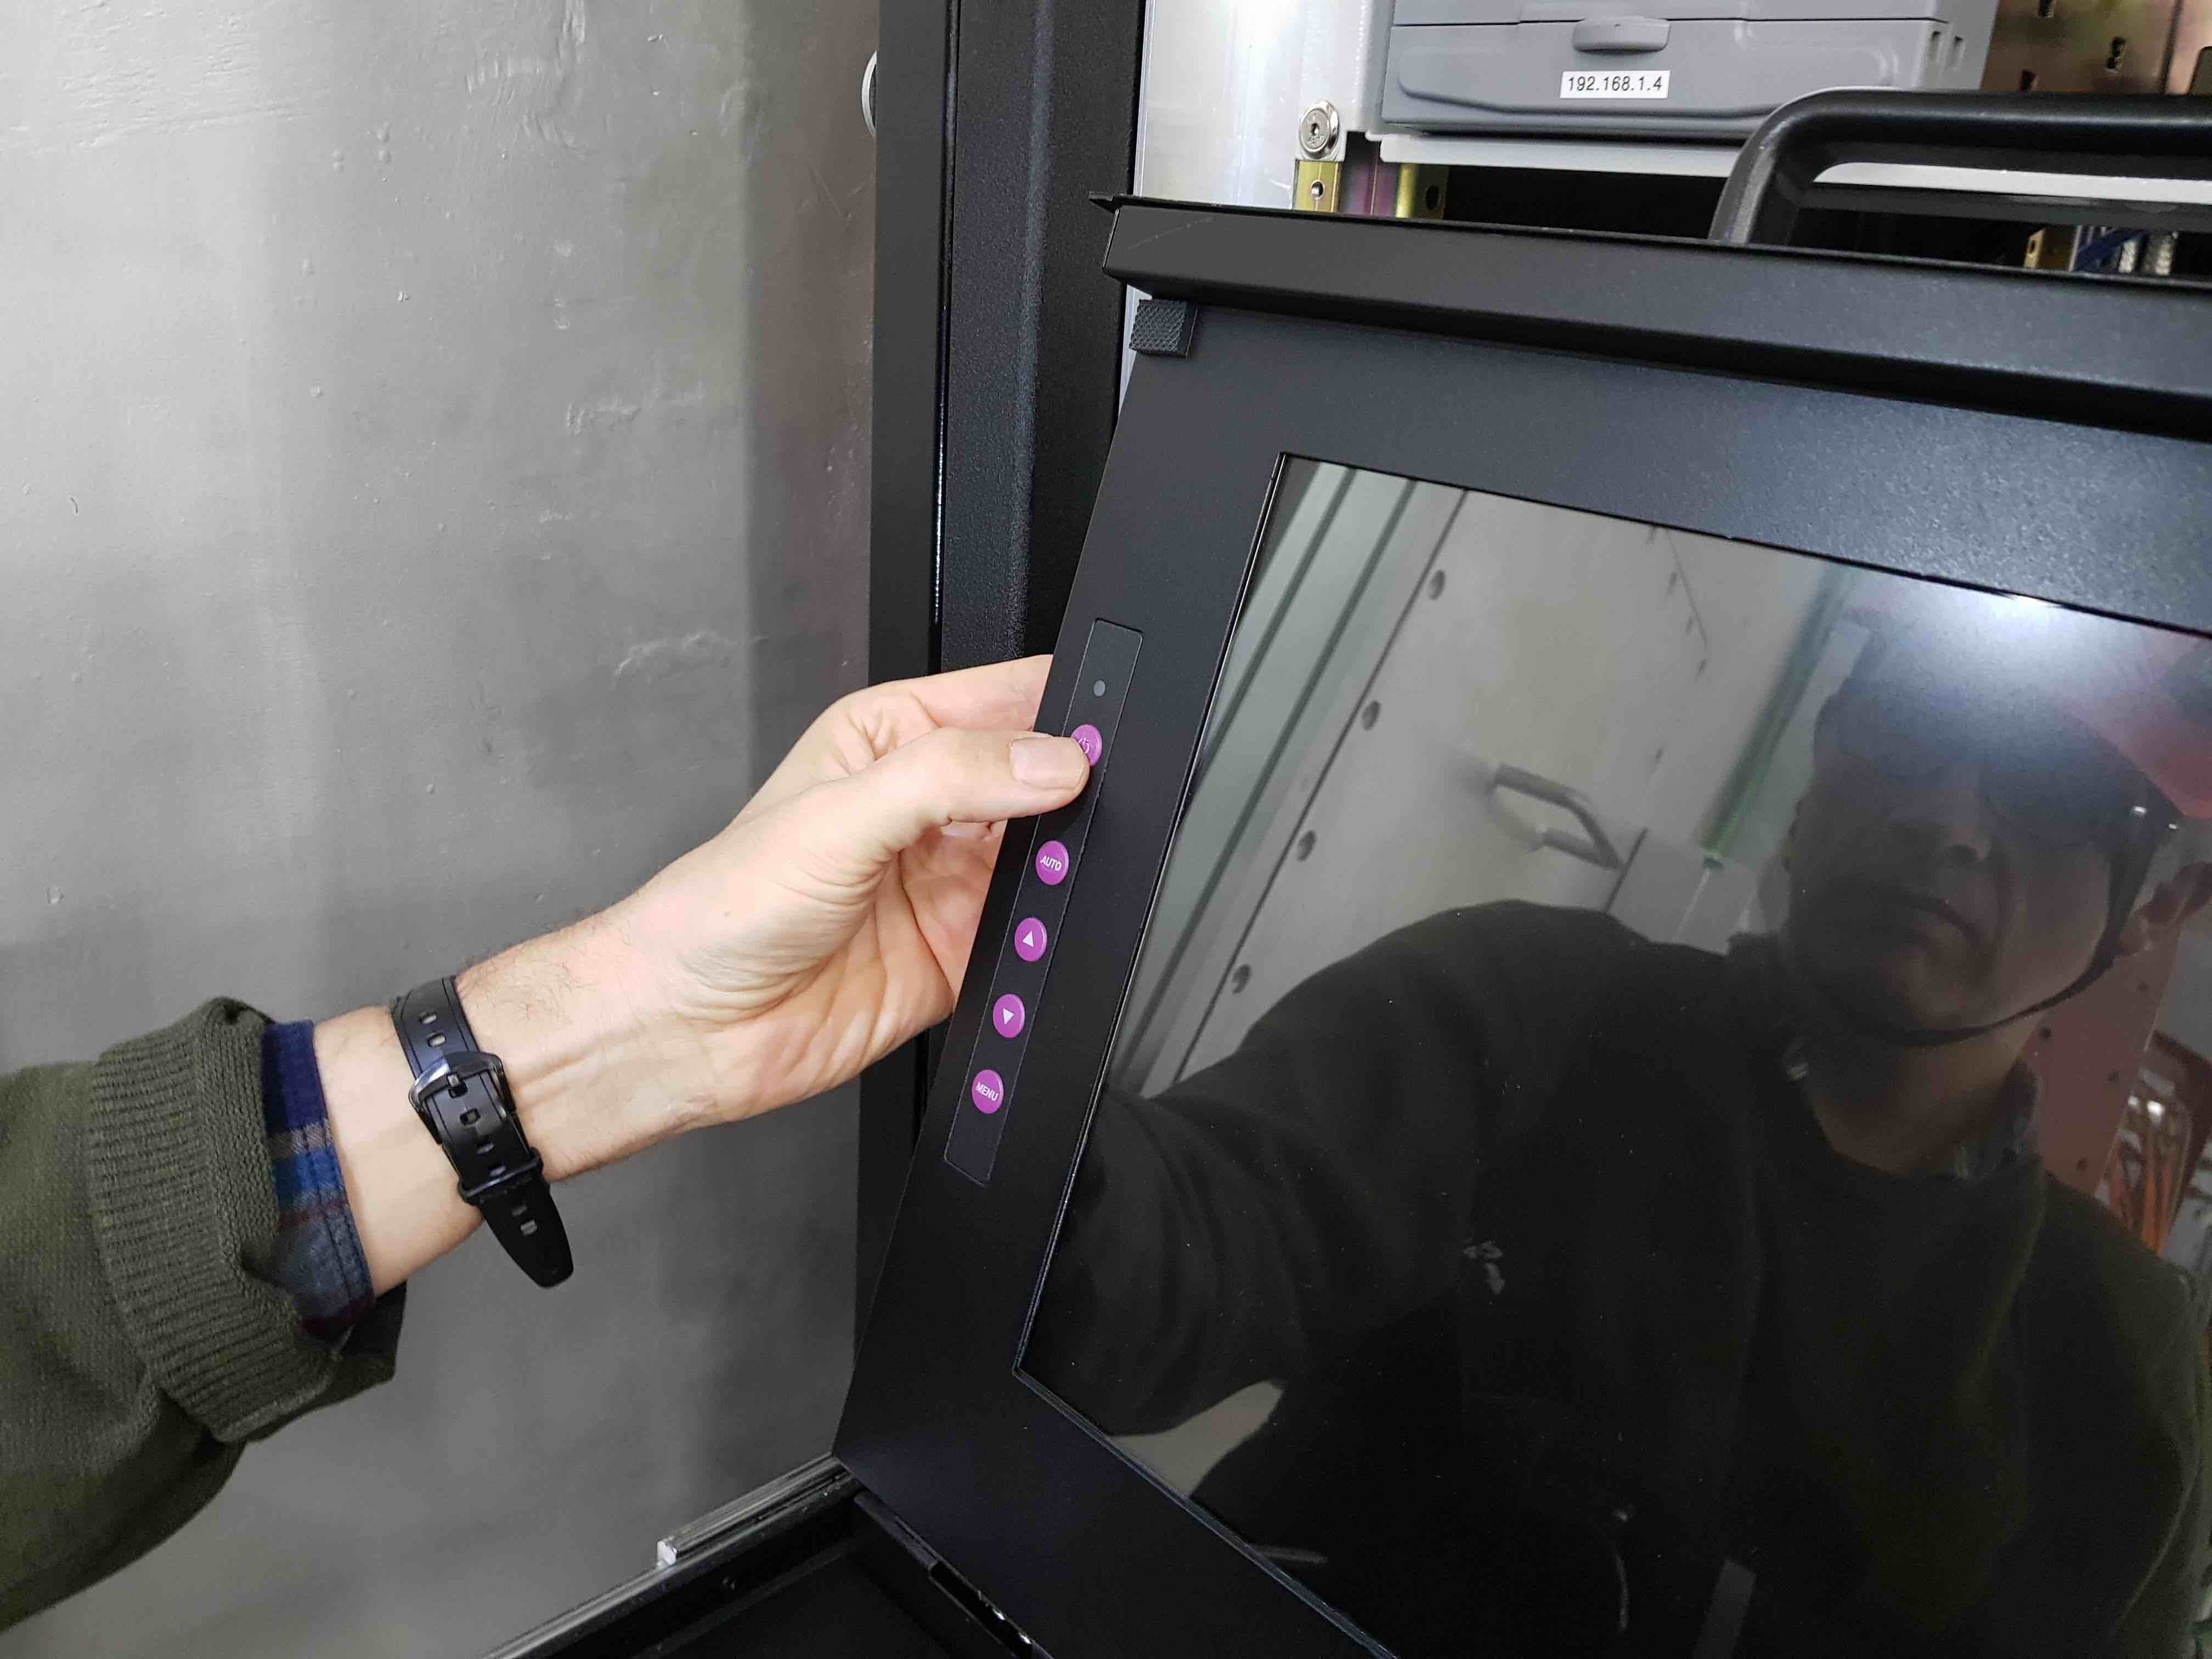
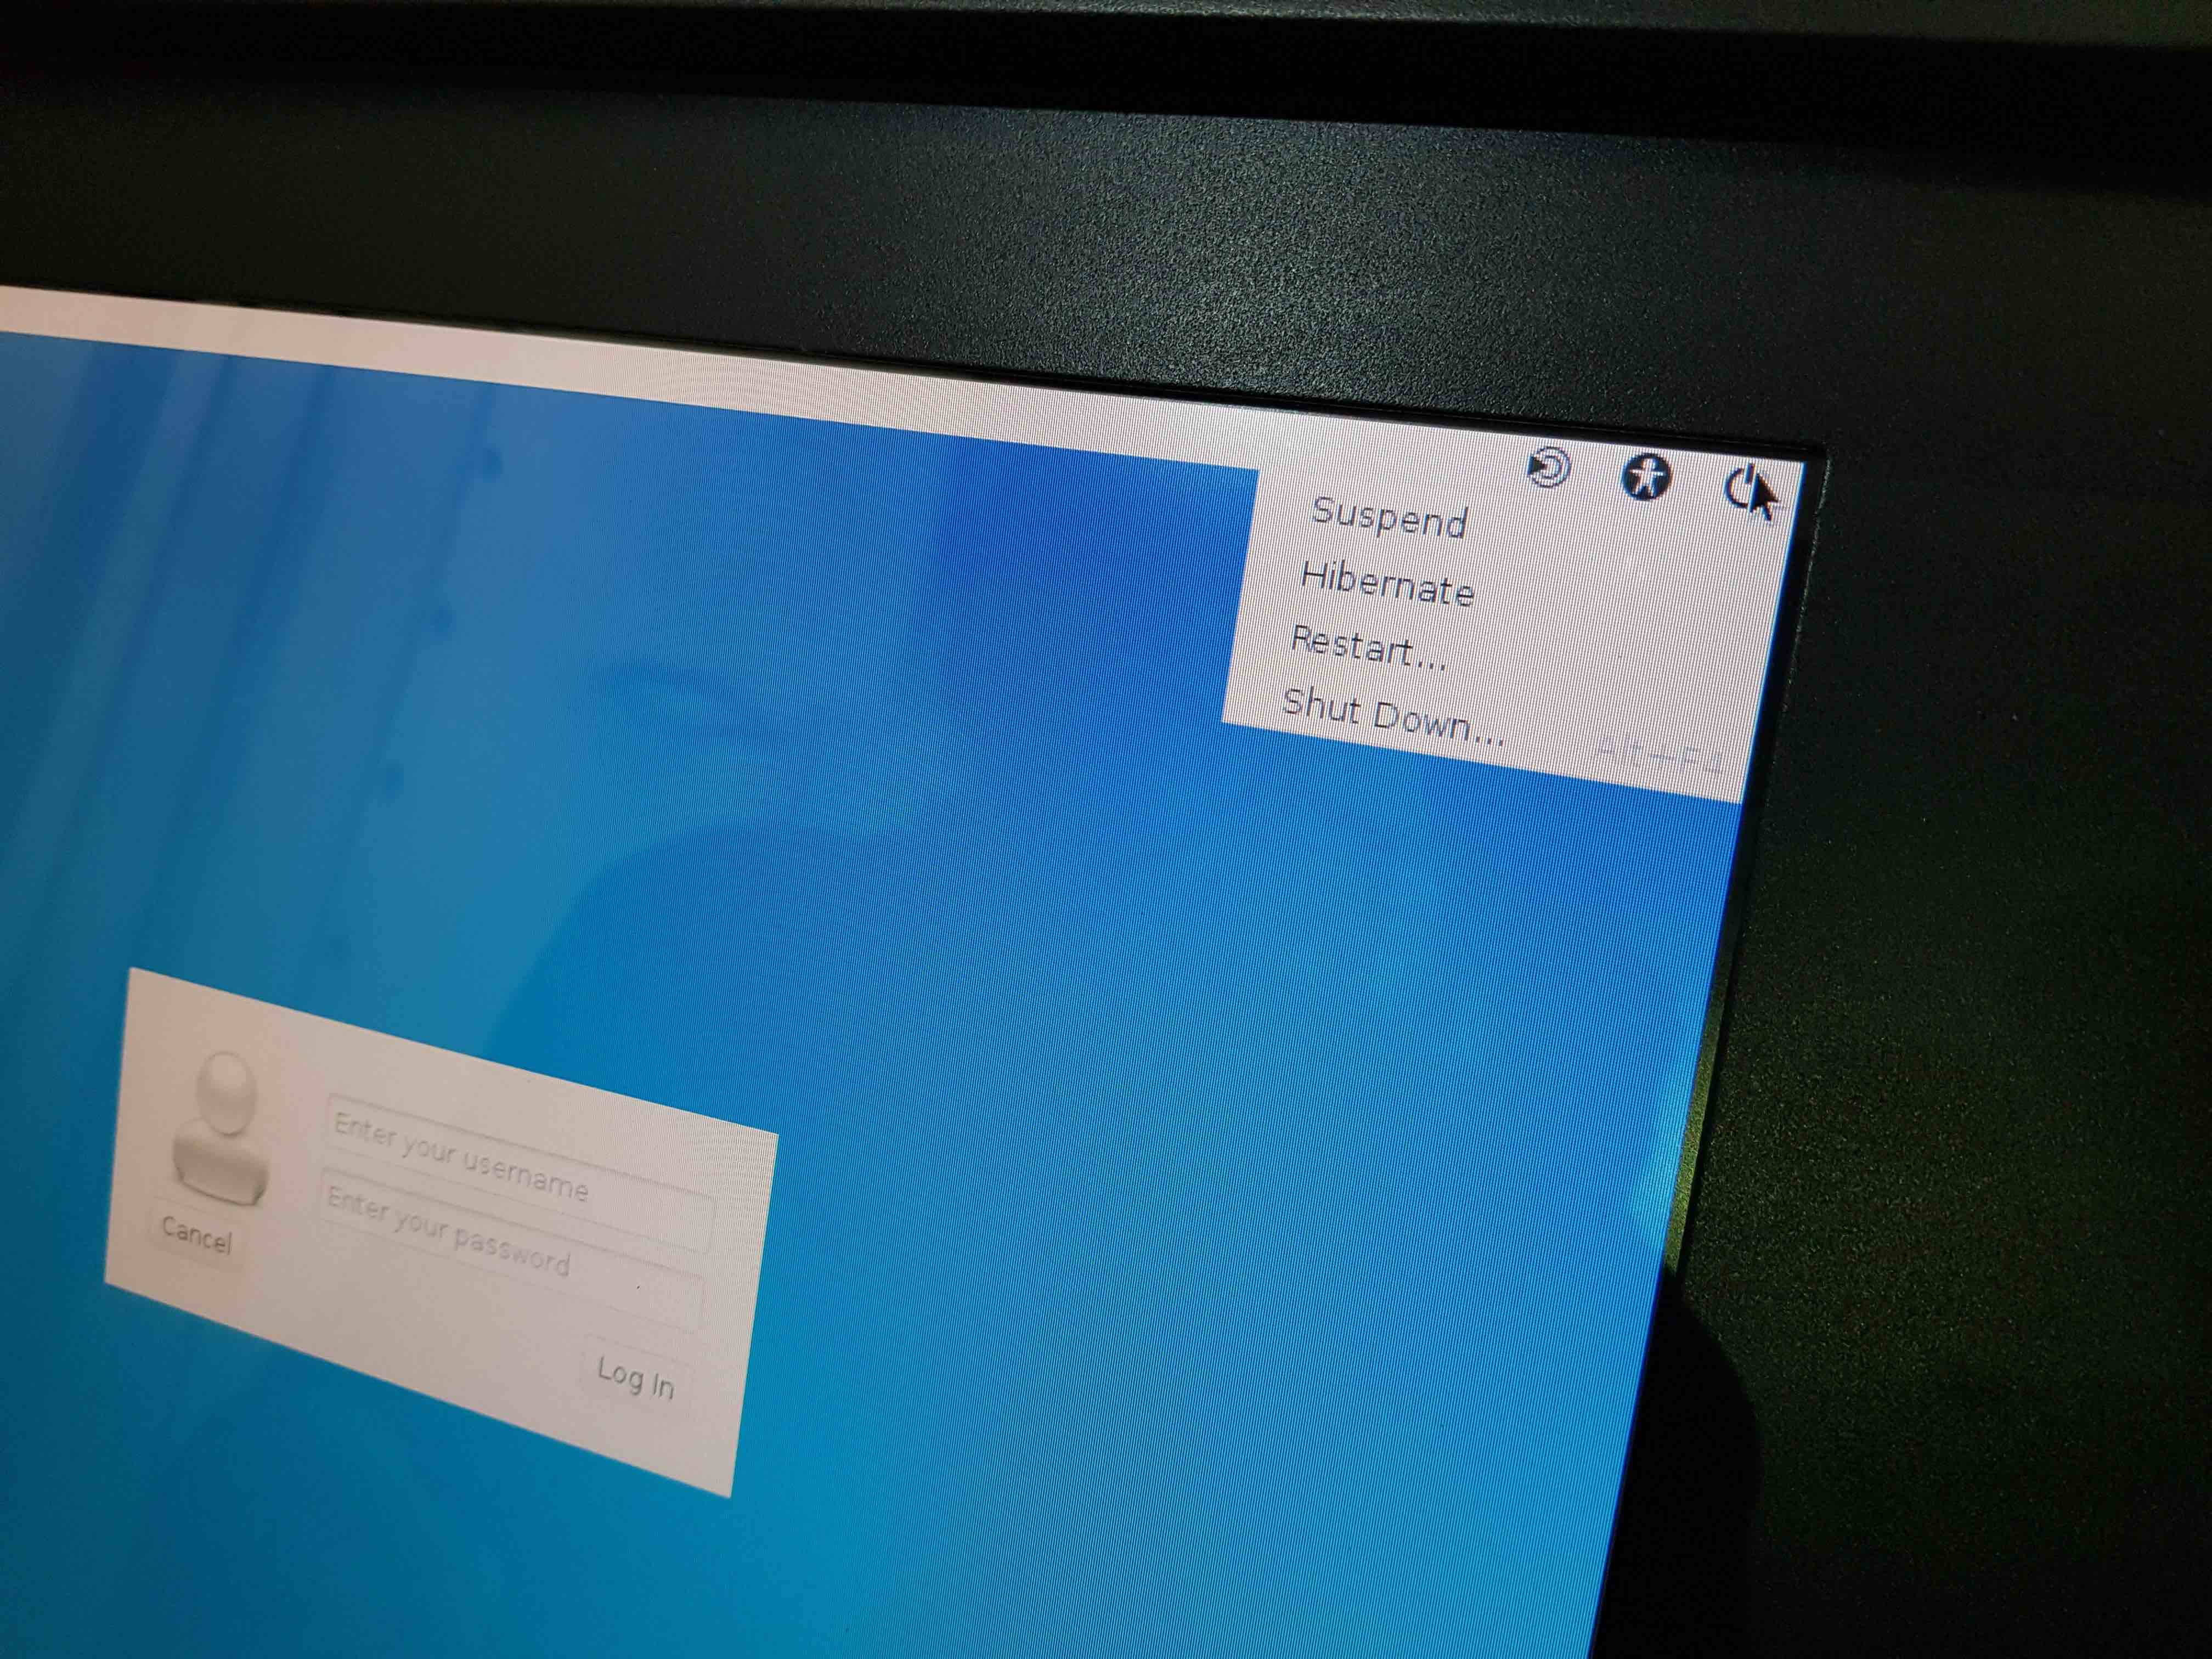
Ensuring that the data archiving has completed, and that there are no windows logged into the rack PC on the DRPC, shut down the rack PC. Shutting down the rack PC is best done at the cabinet rather than in the control room so that you can be sure it has shut down properly: slide out the monitor and keyboard, power on the monitor, click on the power symbol at the top right-hand side of the screen, and select Shut Down…. When the rack PC has shut down, most of the lights on the front of the unit should go off. You can then turn off the two PC power supplies on the rear-left of the unit.
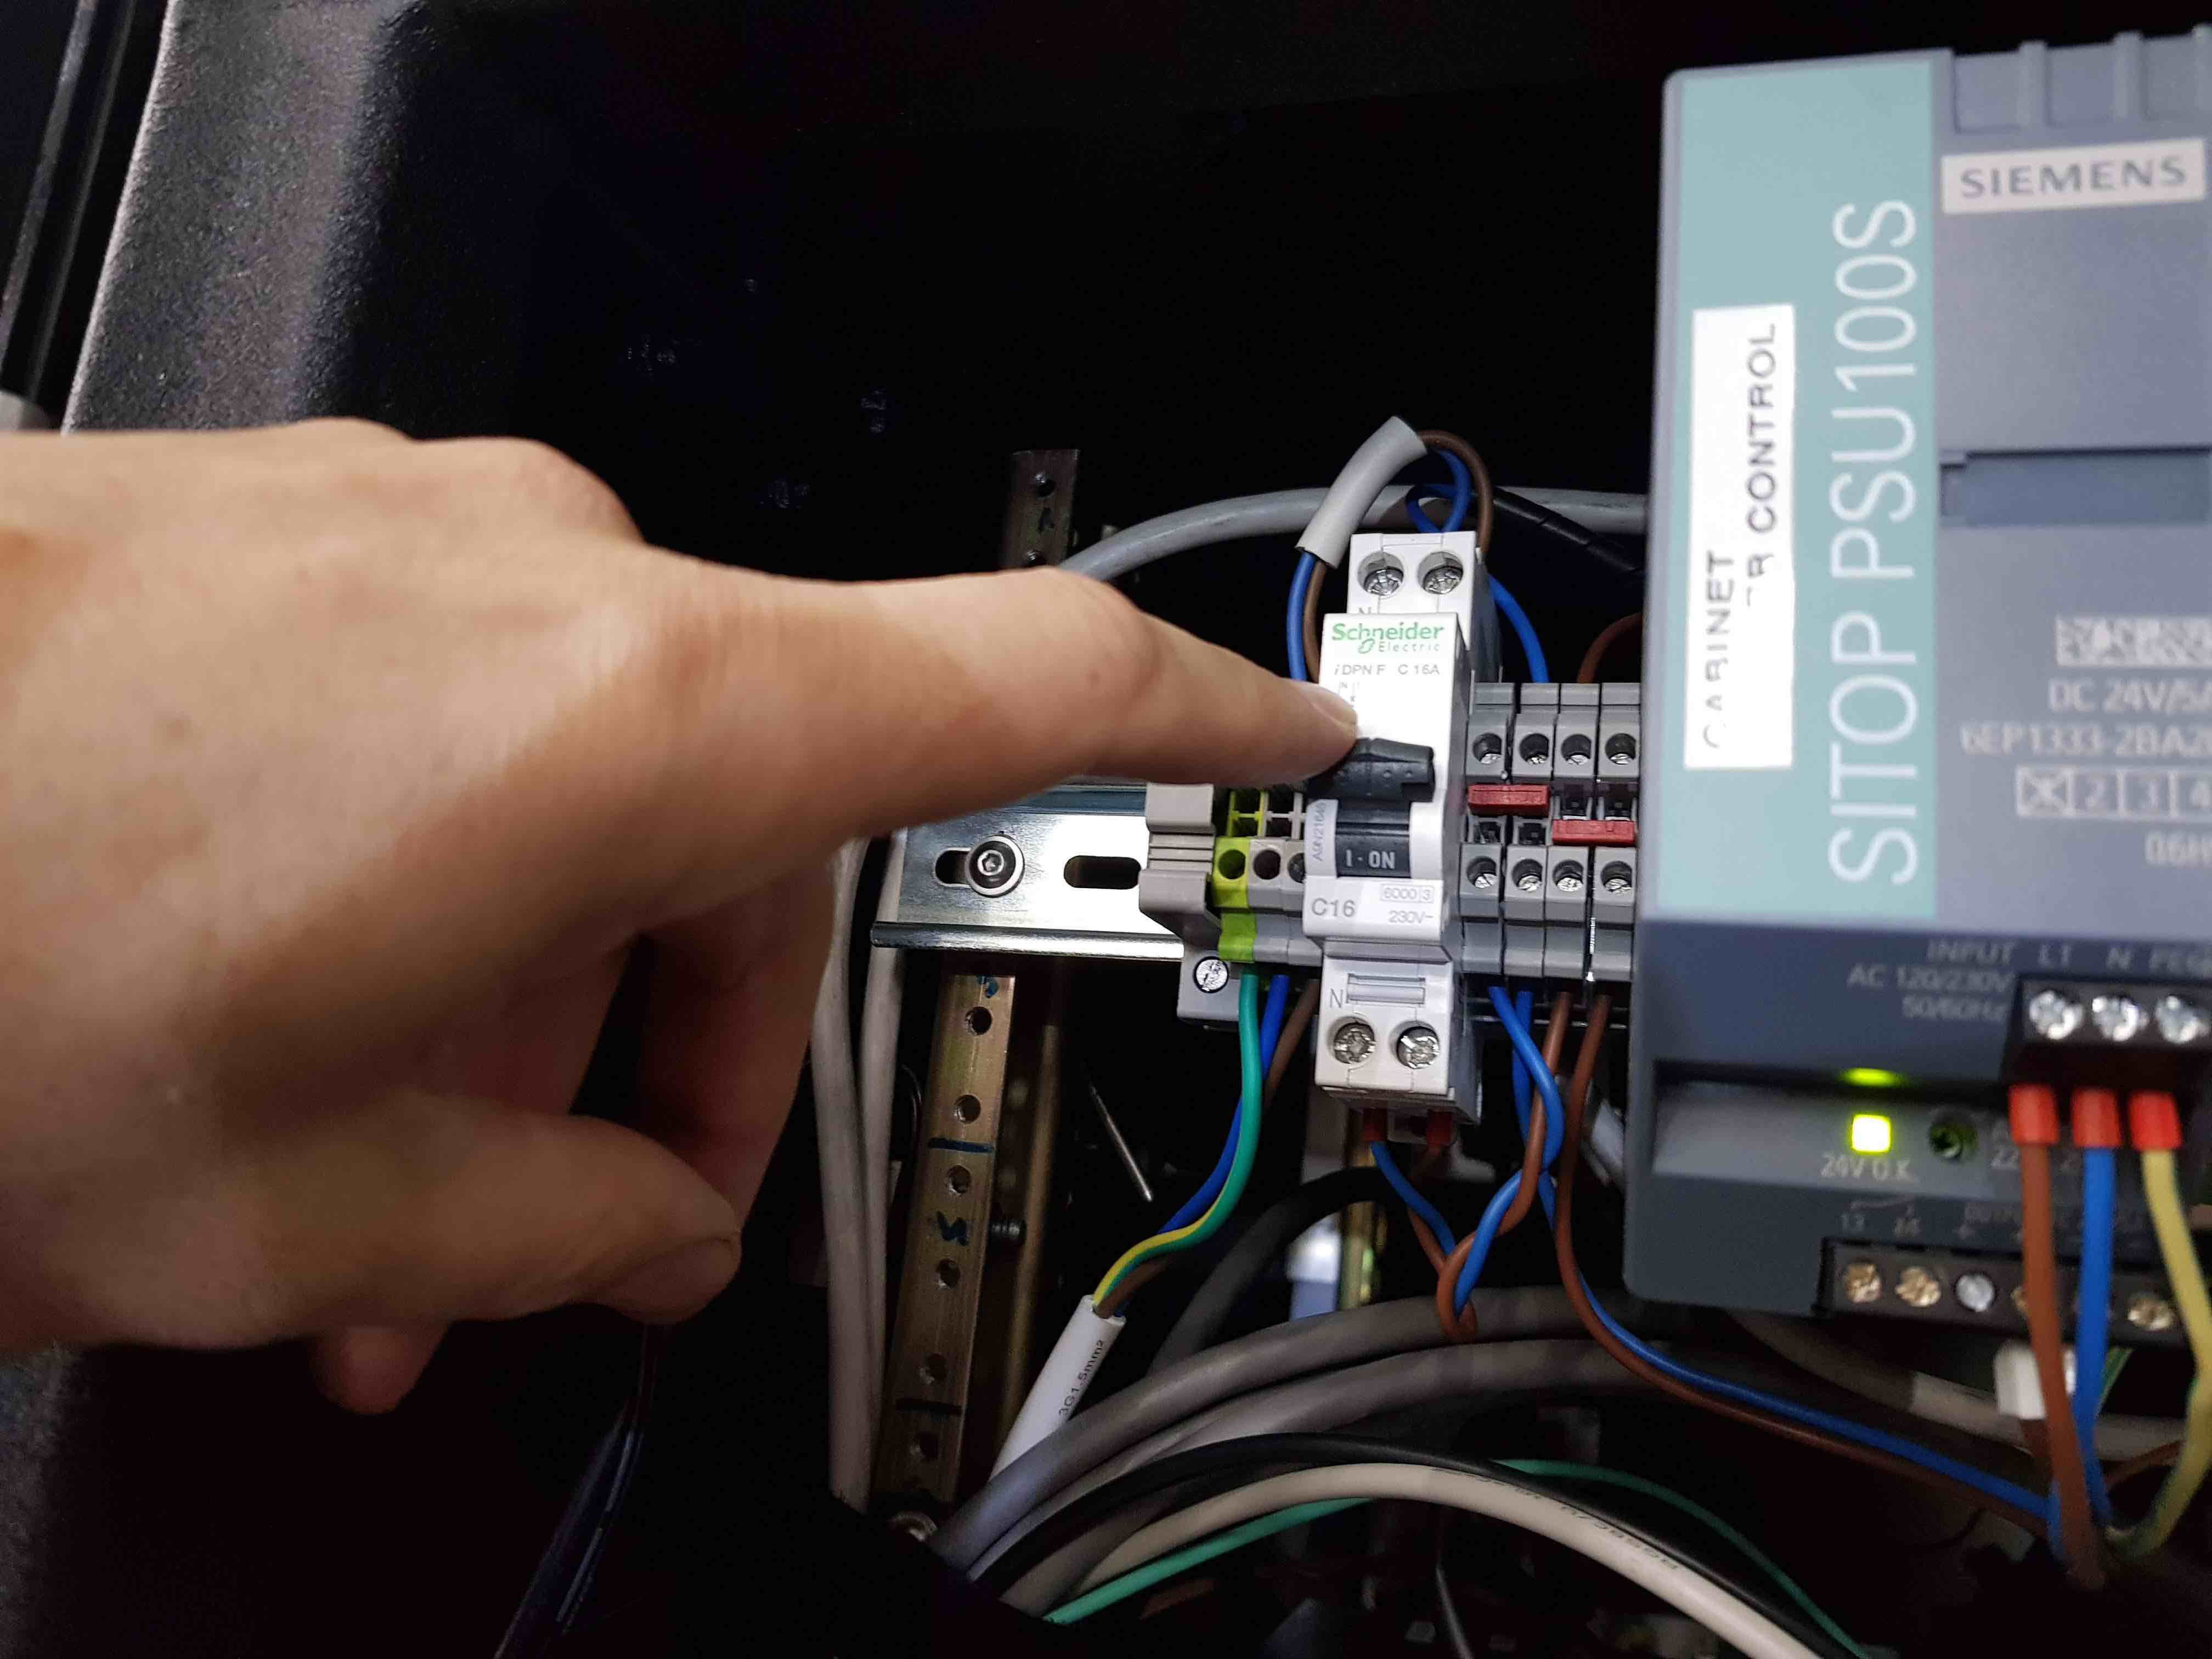
Turn off the cabinet chiller by pulling the switch down on the left-hand side of the DIN rail at the top of the rear of the cabinet.
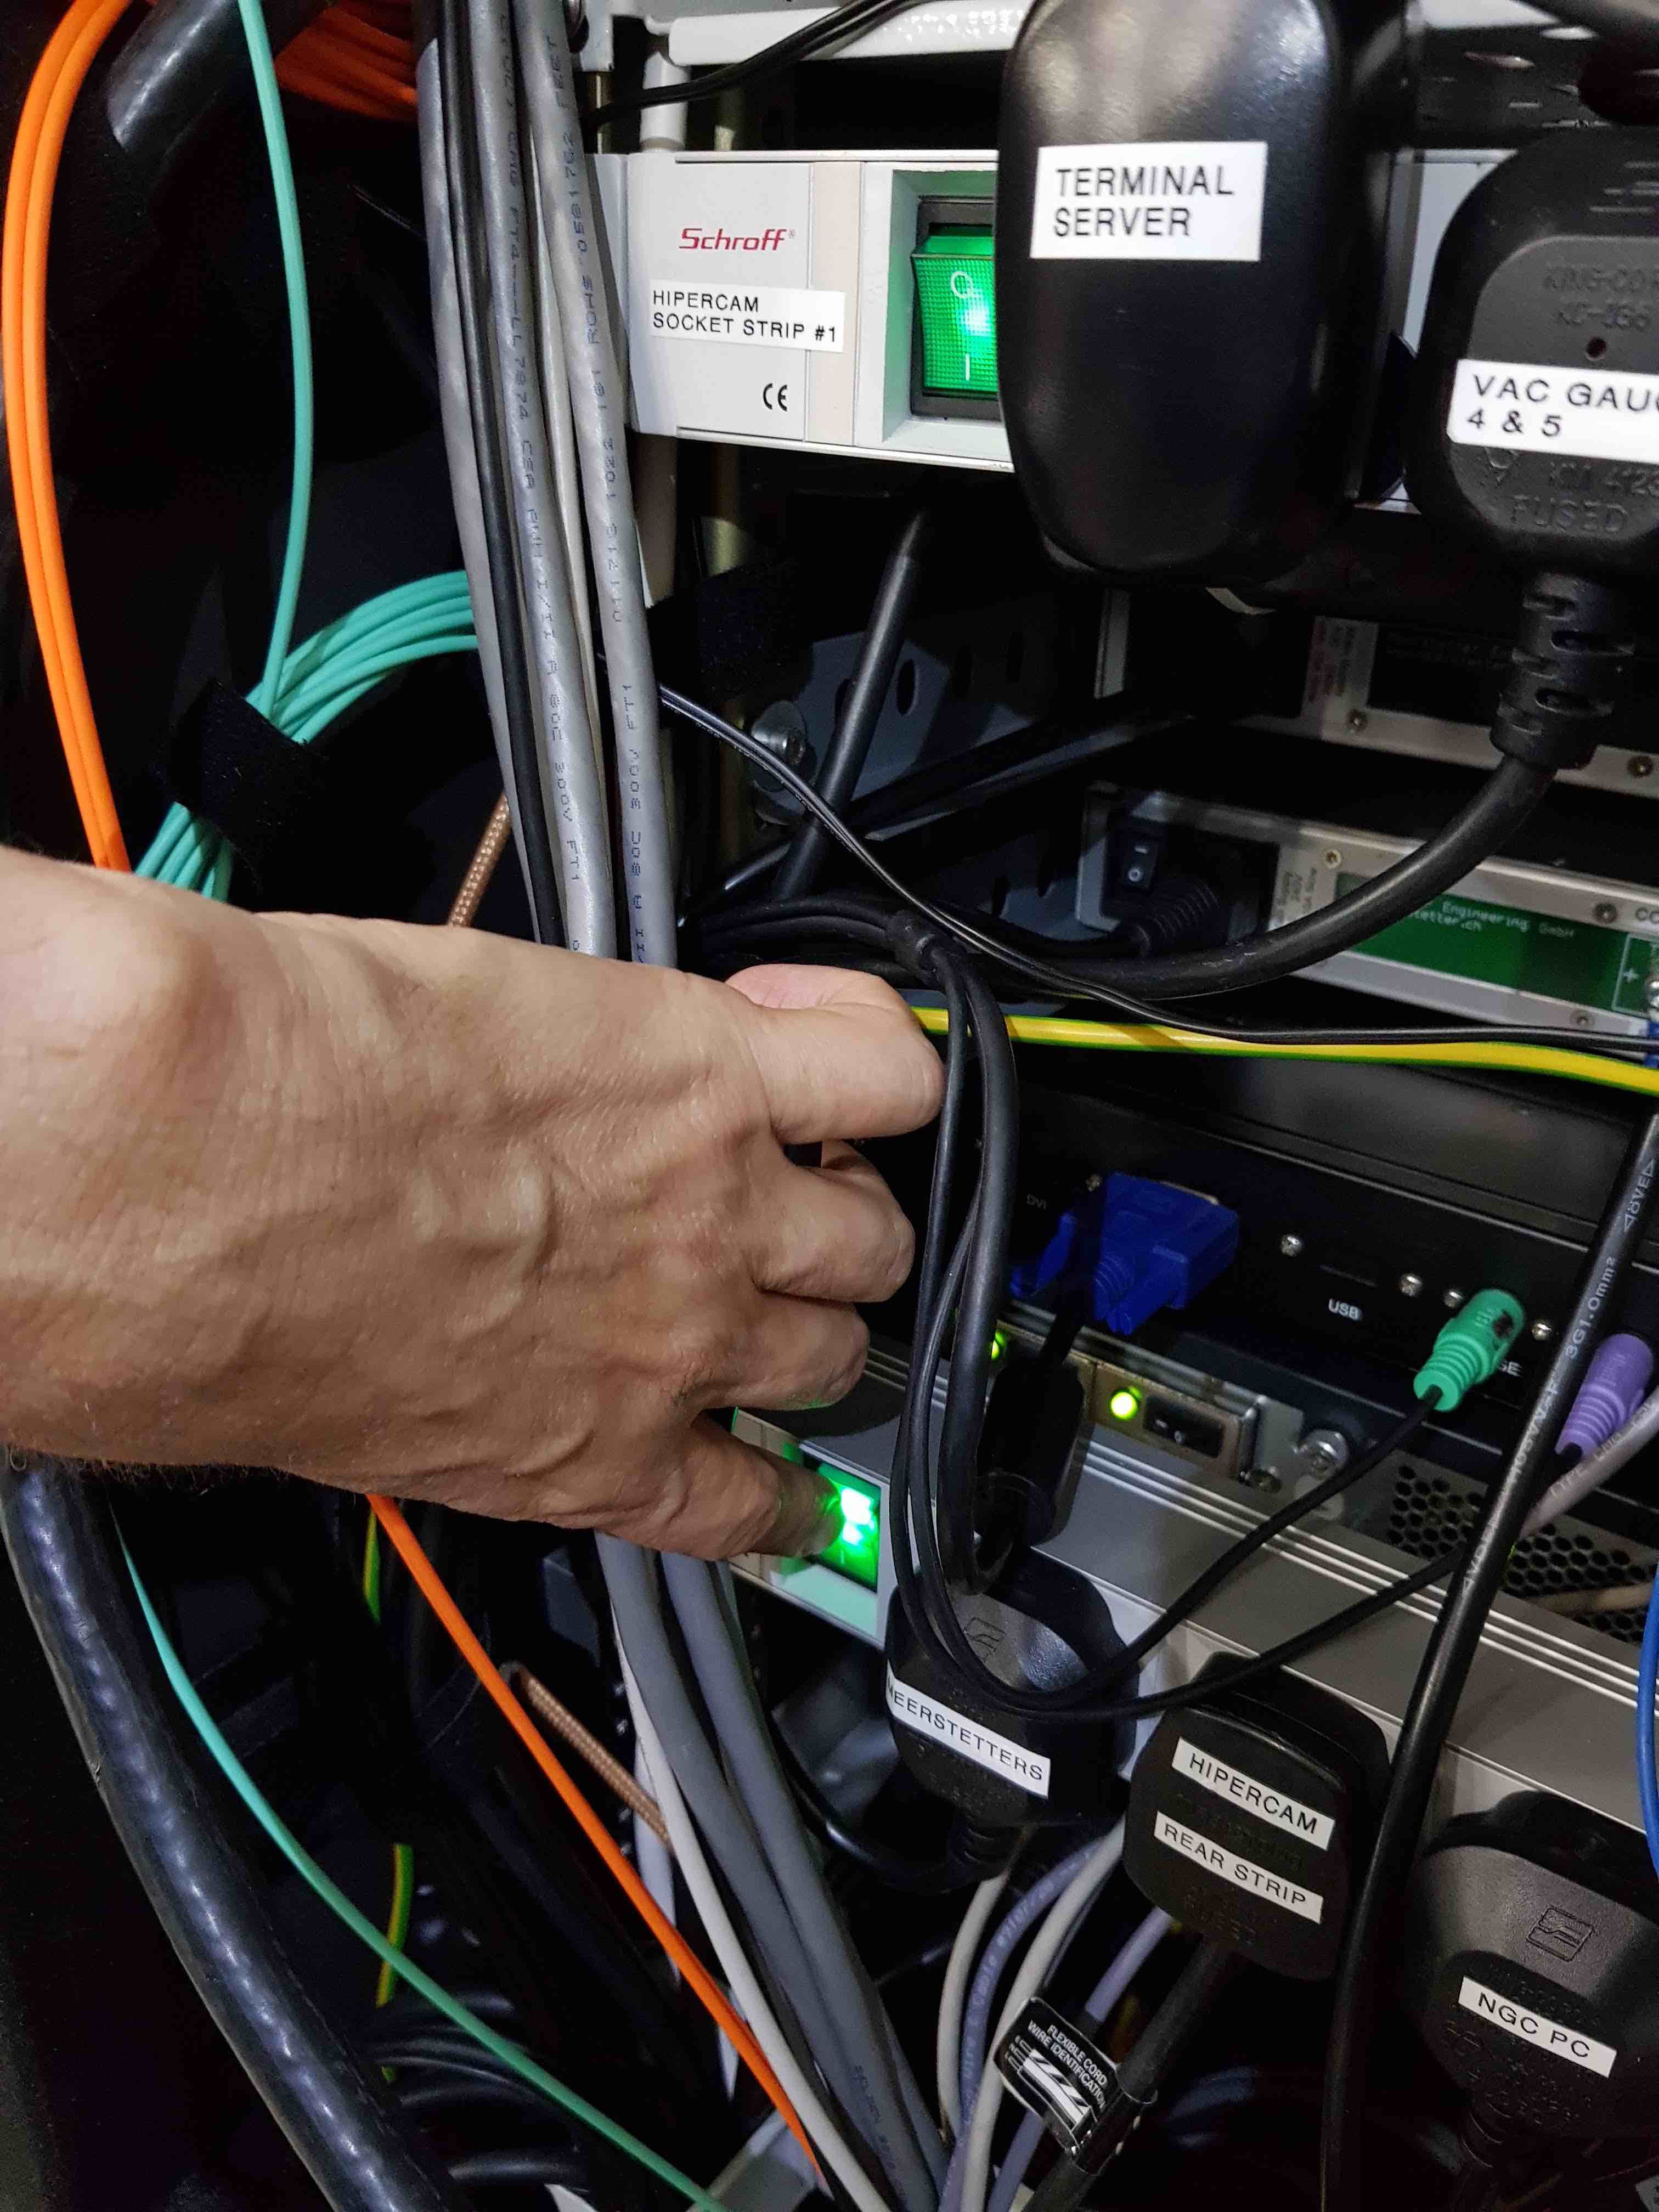
Turn off the three internal socket strips by pressing the two green illuminated switches on the left-hand side of the two rear-facing sockets strips at the rear of the cabinet. The third socket strip is internally-facing and will be turned off when you hit these two green switches.
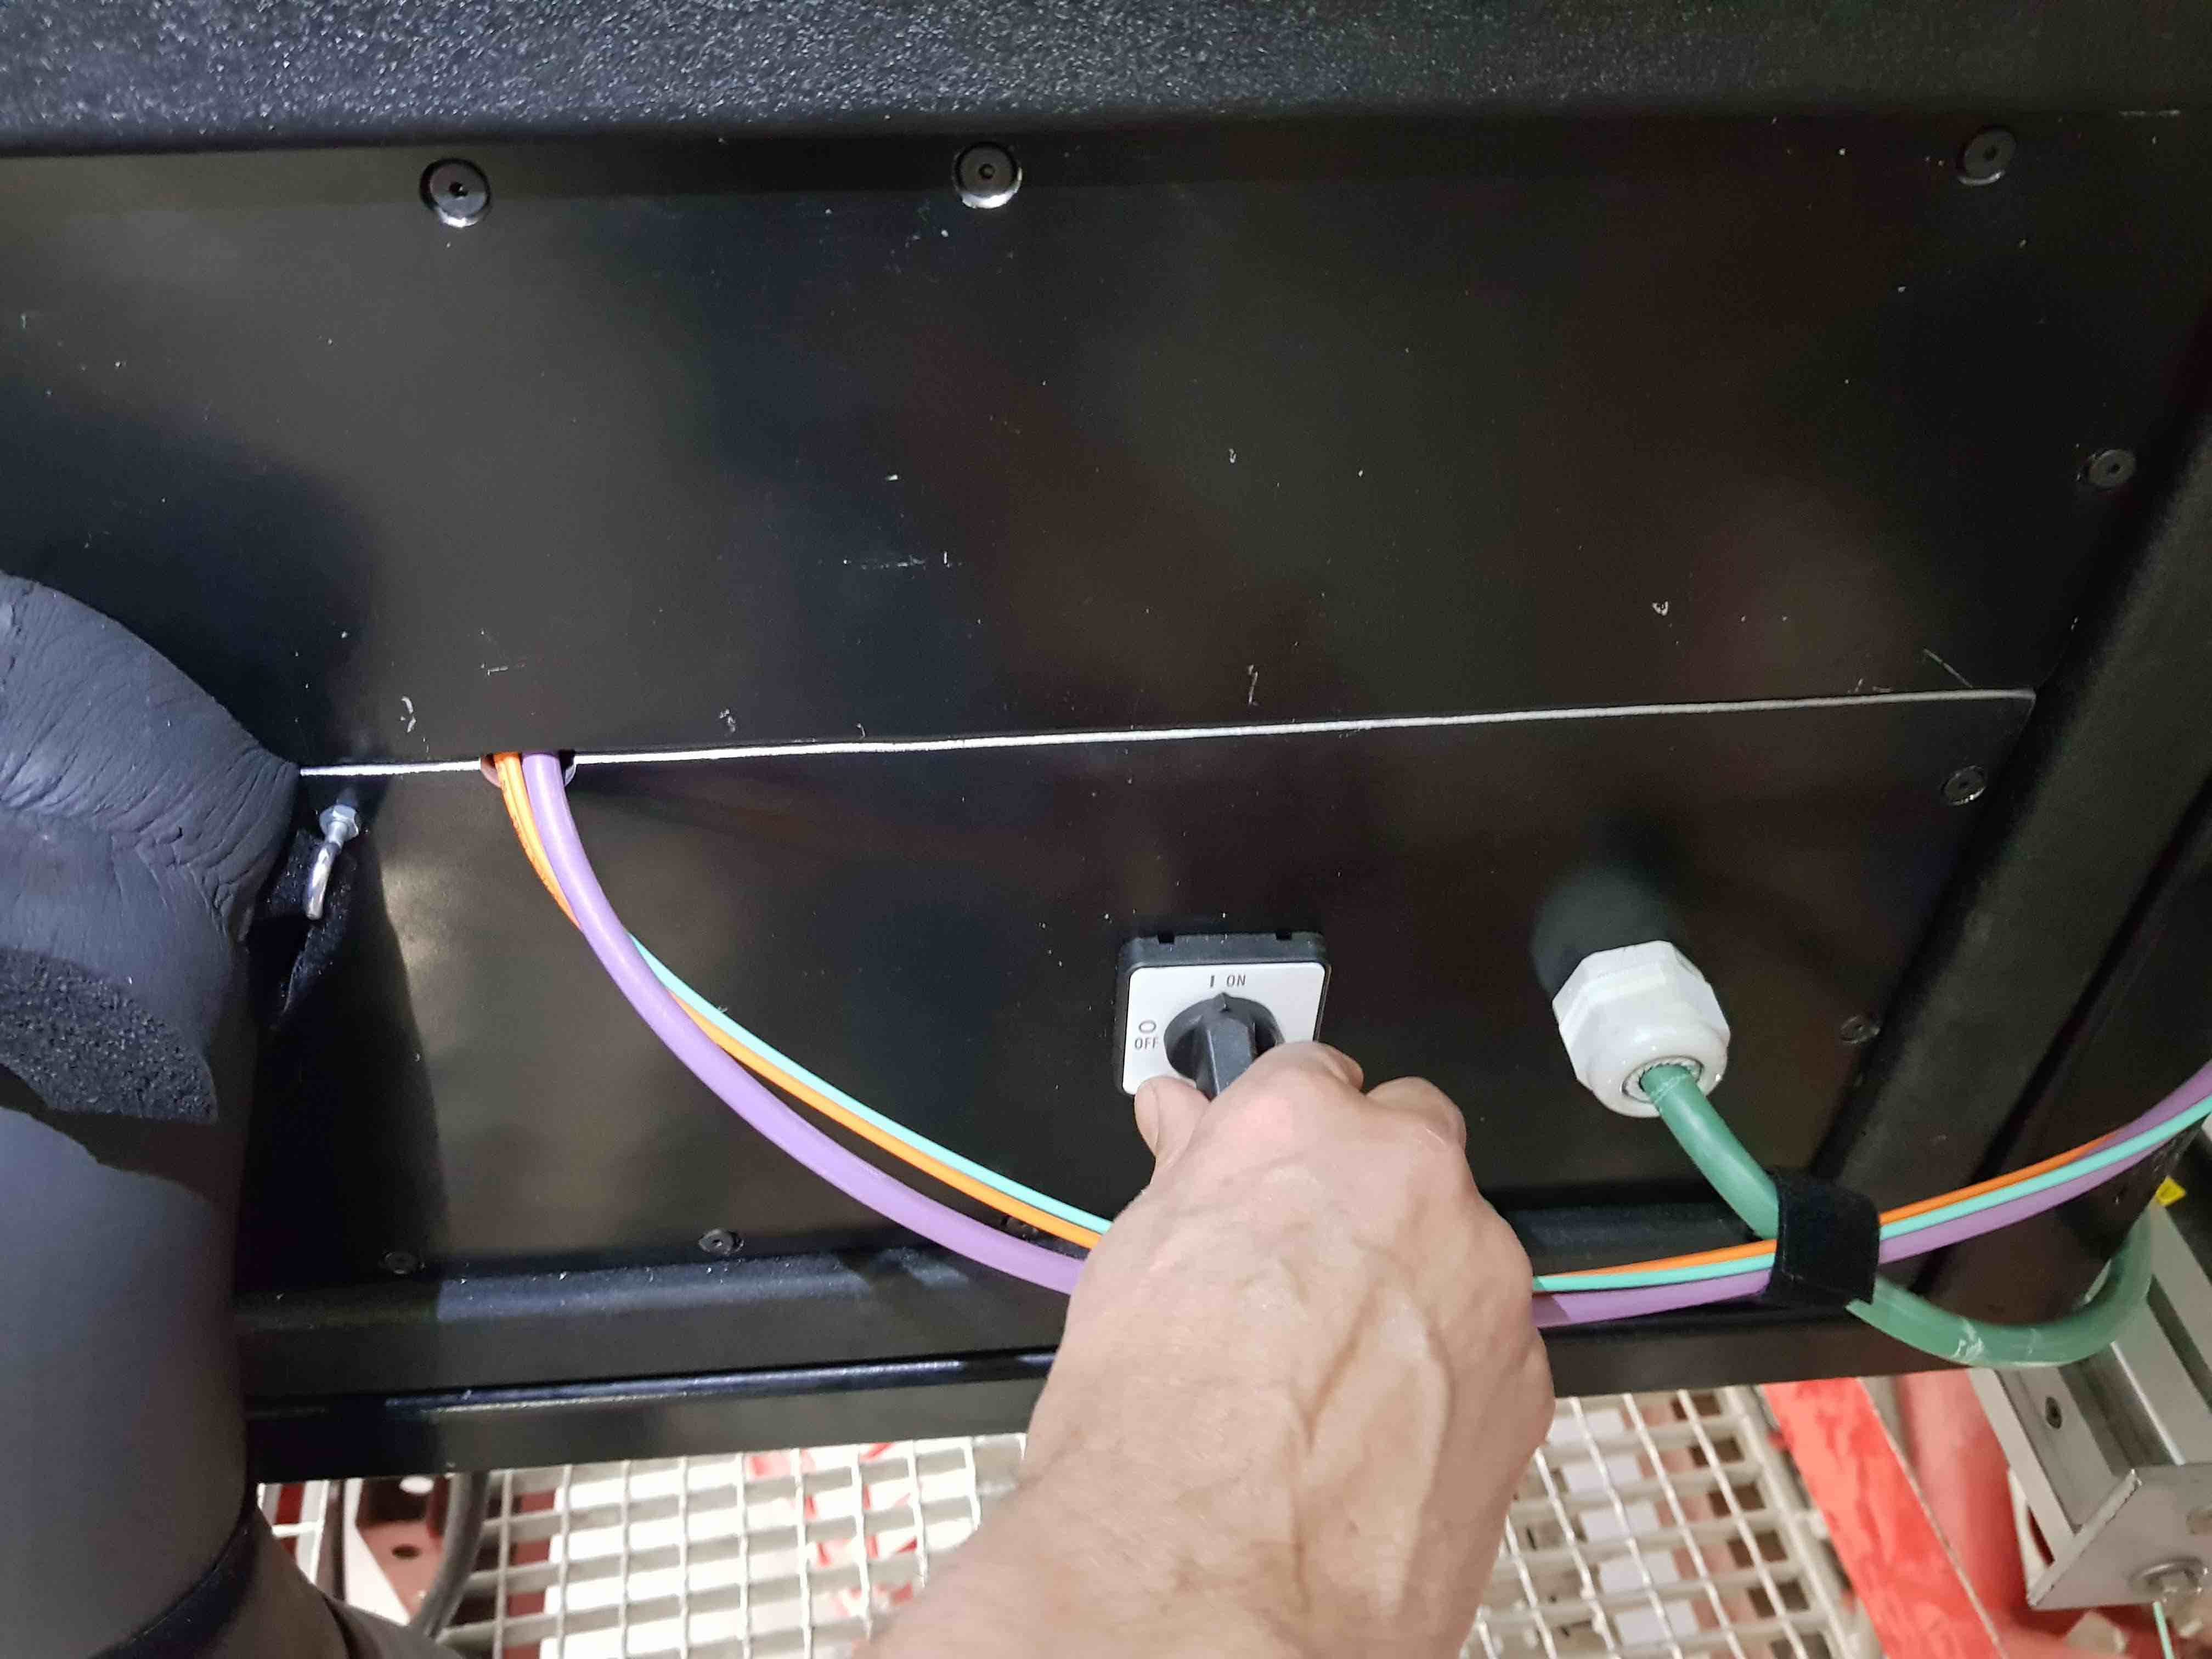
Turn off the power to the whole cabinet using the external switch at the bottom of the rear of the cabinet. Everything at the telescope focus will now be powered down. Ensure you leave the area tidy.
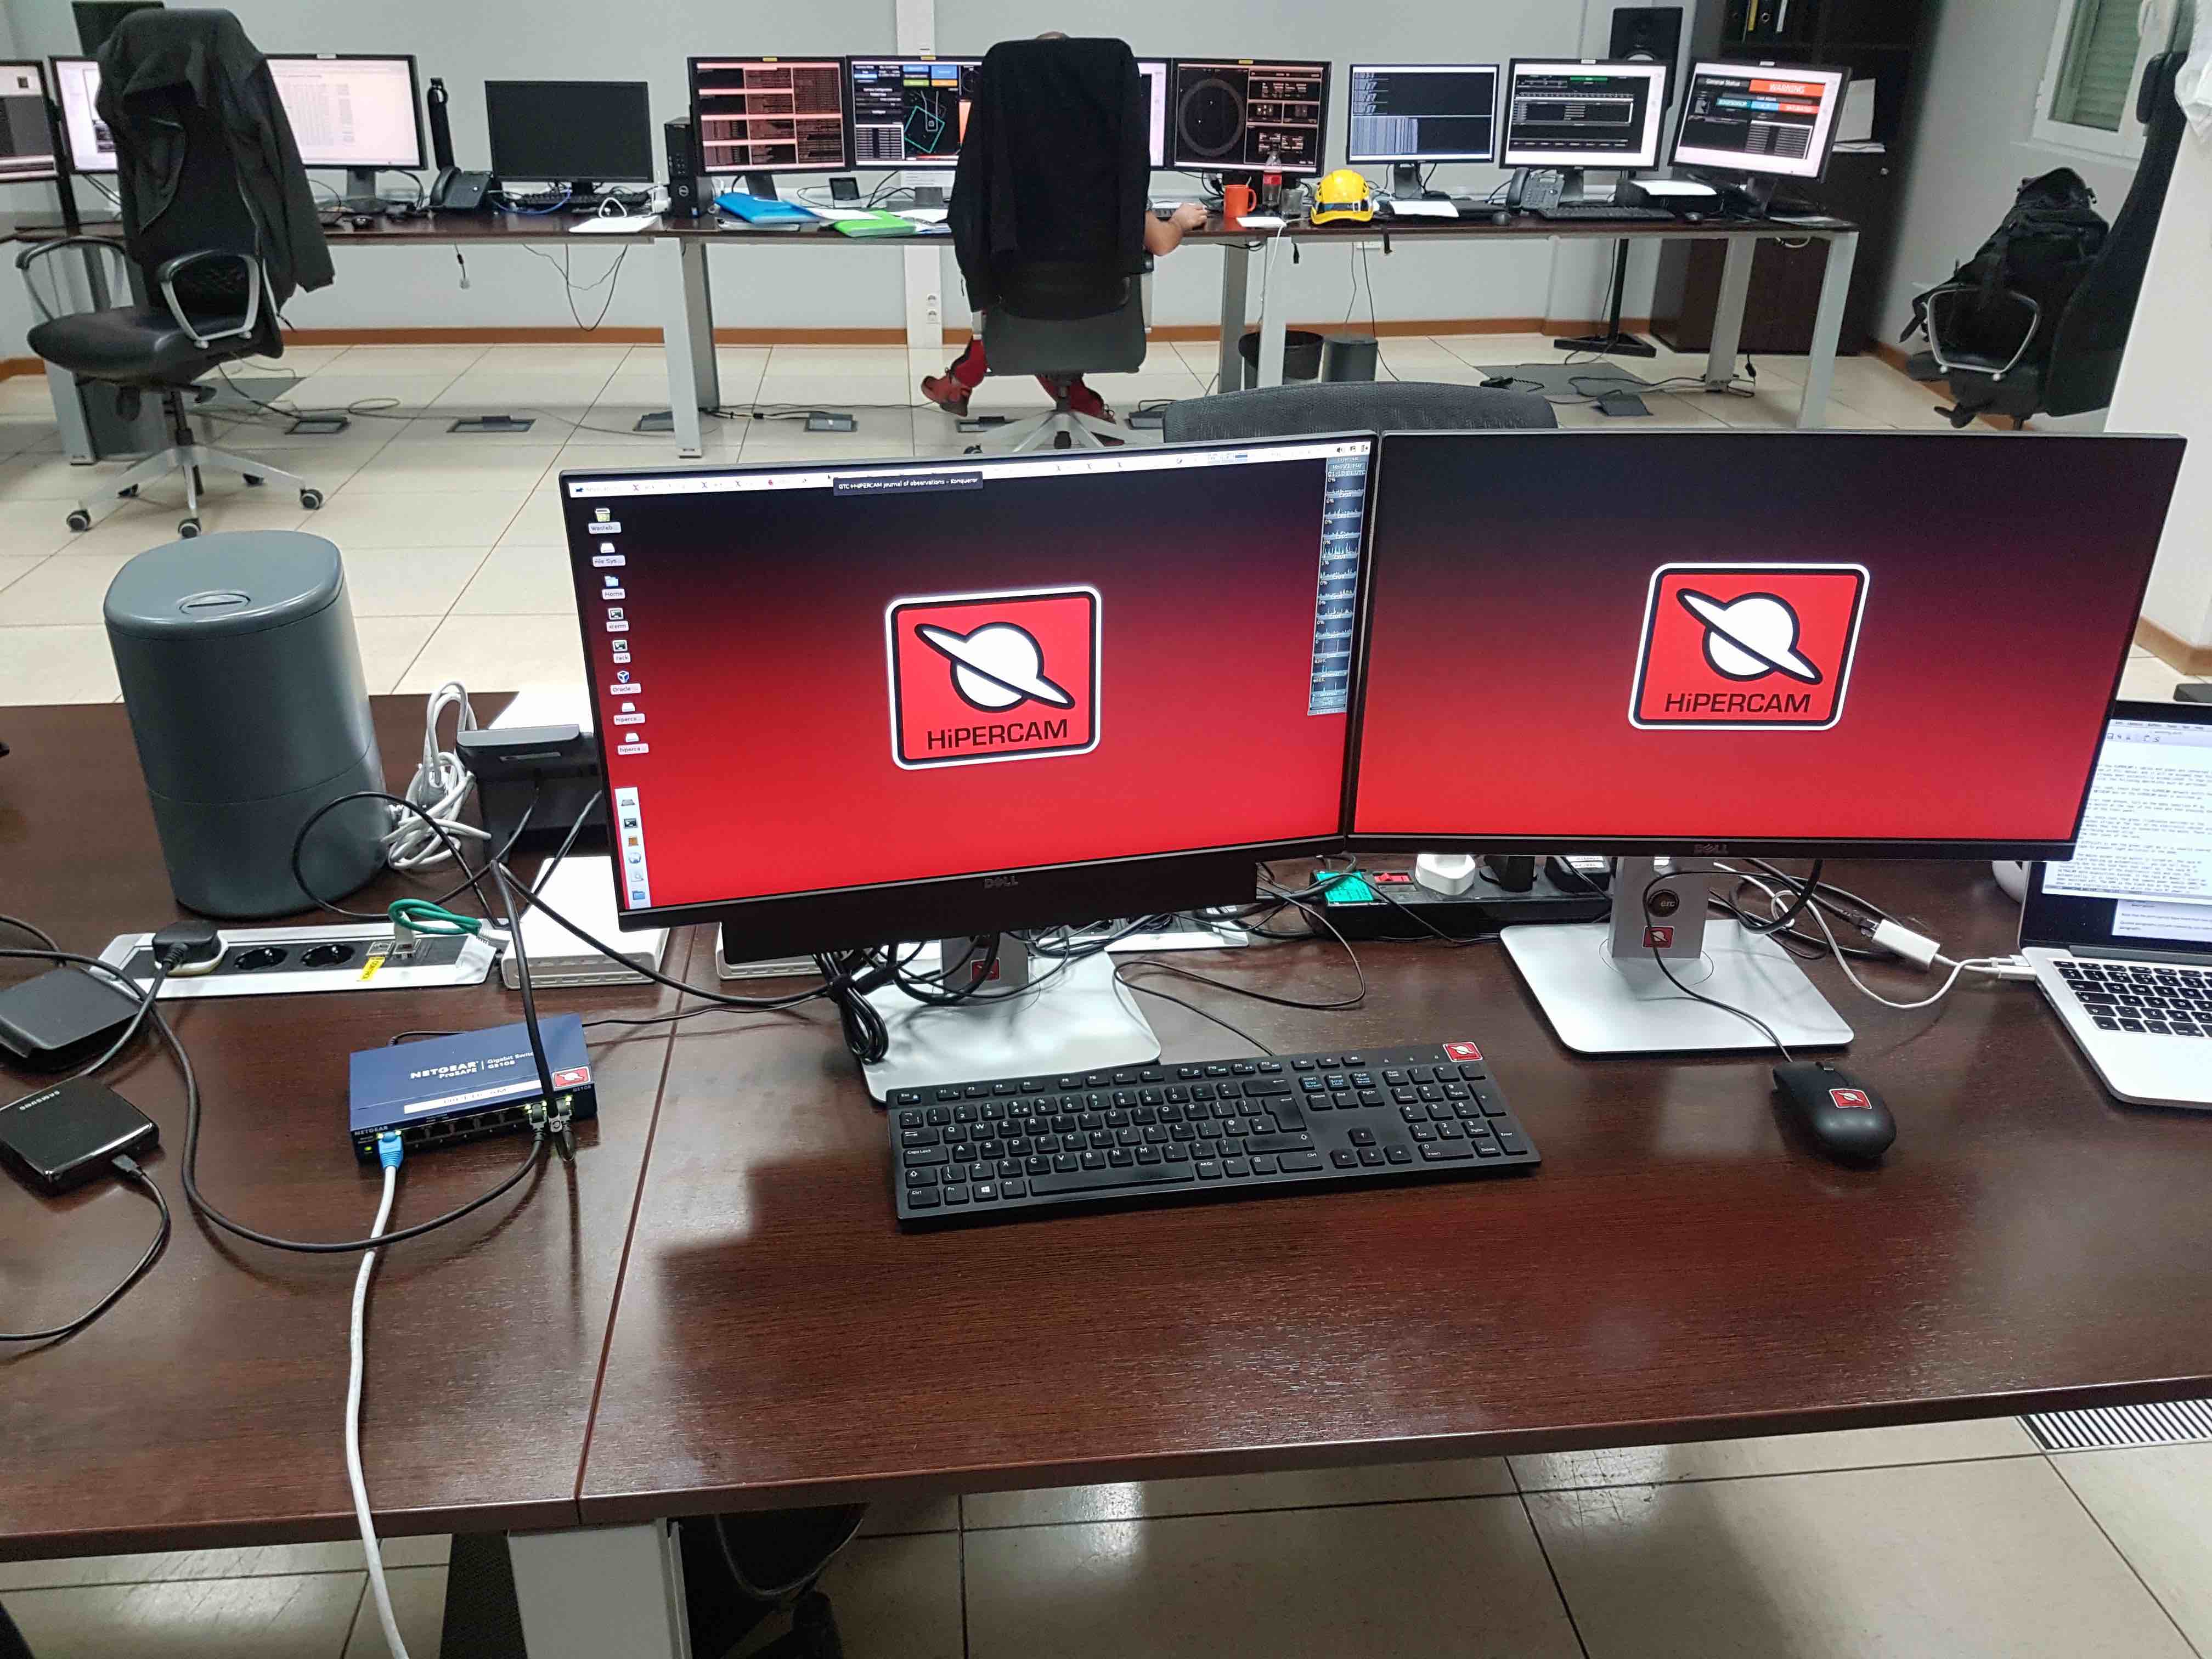
In the control room, dismount and remove whichever USB drive Vik Dhillon has asked you to bring back. Then log out of the observer account on the DRPC, turn off the monitors, speaker and ethernet switch on the desk, but leave the data reduction PC in the control-room annexe powered on unless asked to do otherwise by Vik Dhillon or Paul Kerry. Ensure you leave the area tidy.
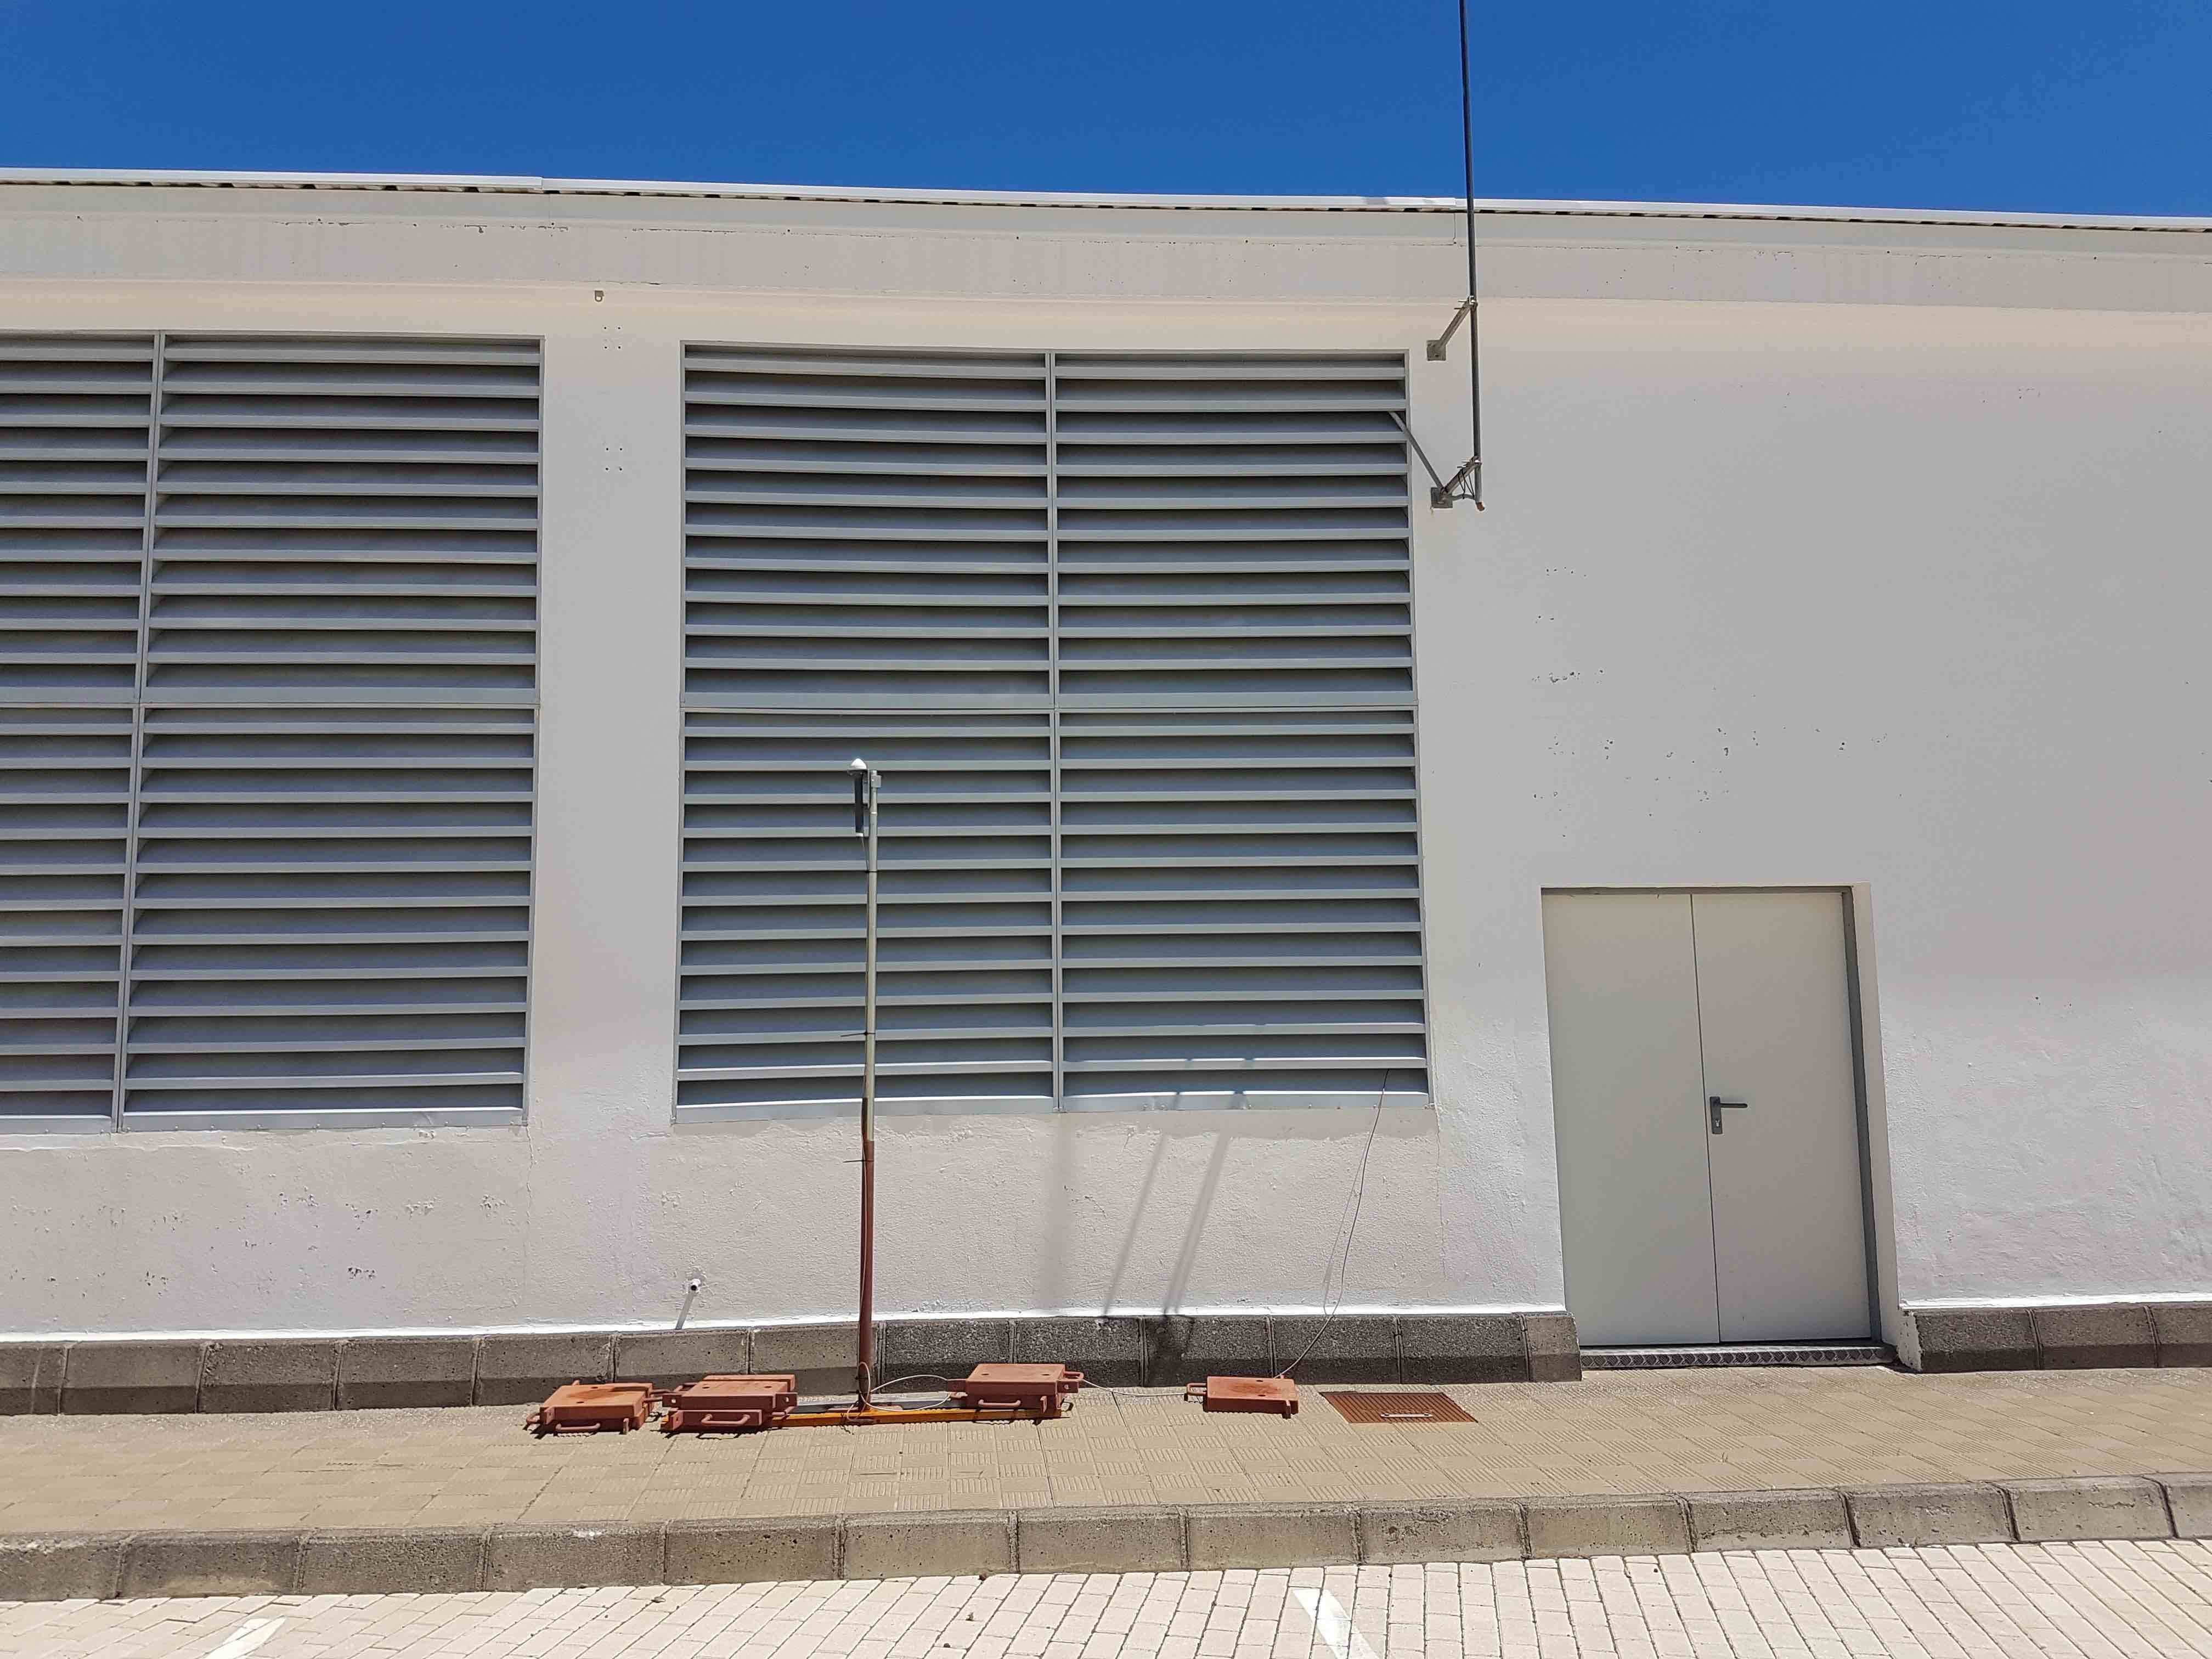
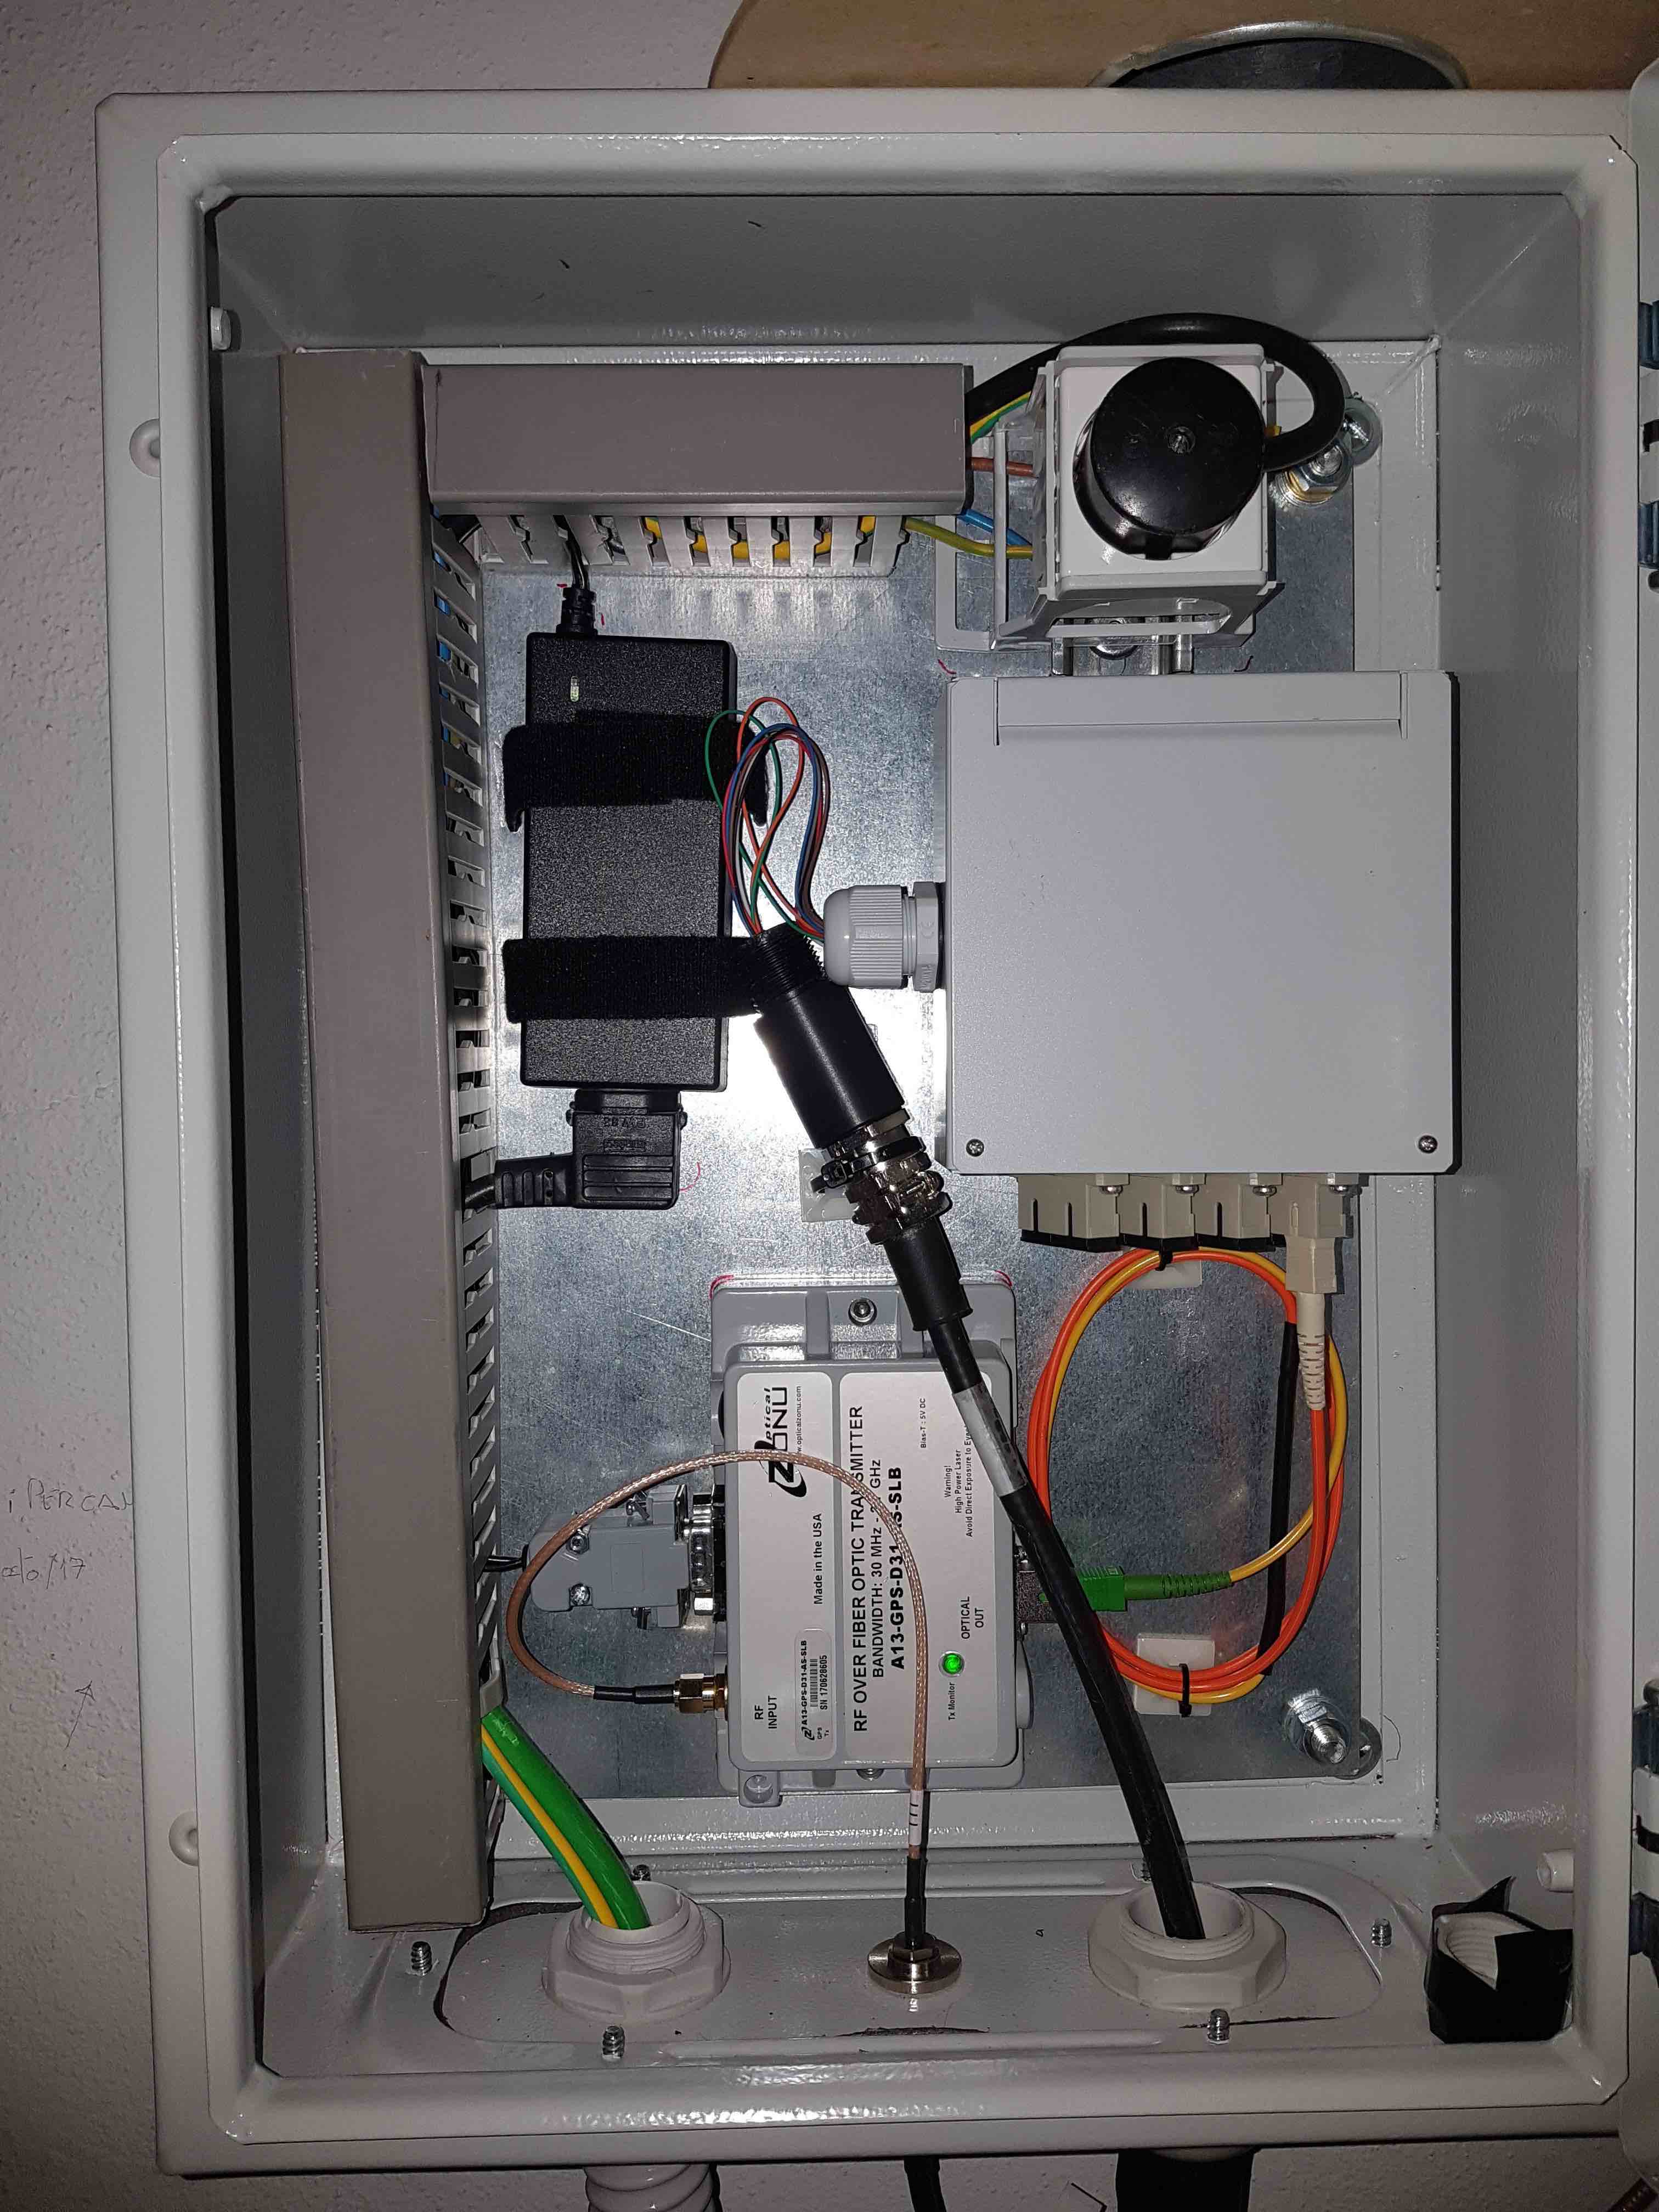
In the GTC annexe building, unplug the black euro mains power plug in the top right-hand corner of the HiPERCAM GPS wall-mounted cabinet, located to the left of the entrance door when looking outwards. You may need to ask a member of GTC staff to unlock the entrance door for you.
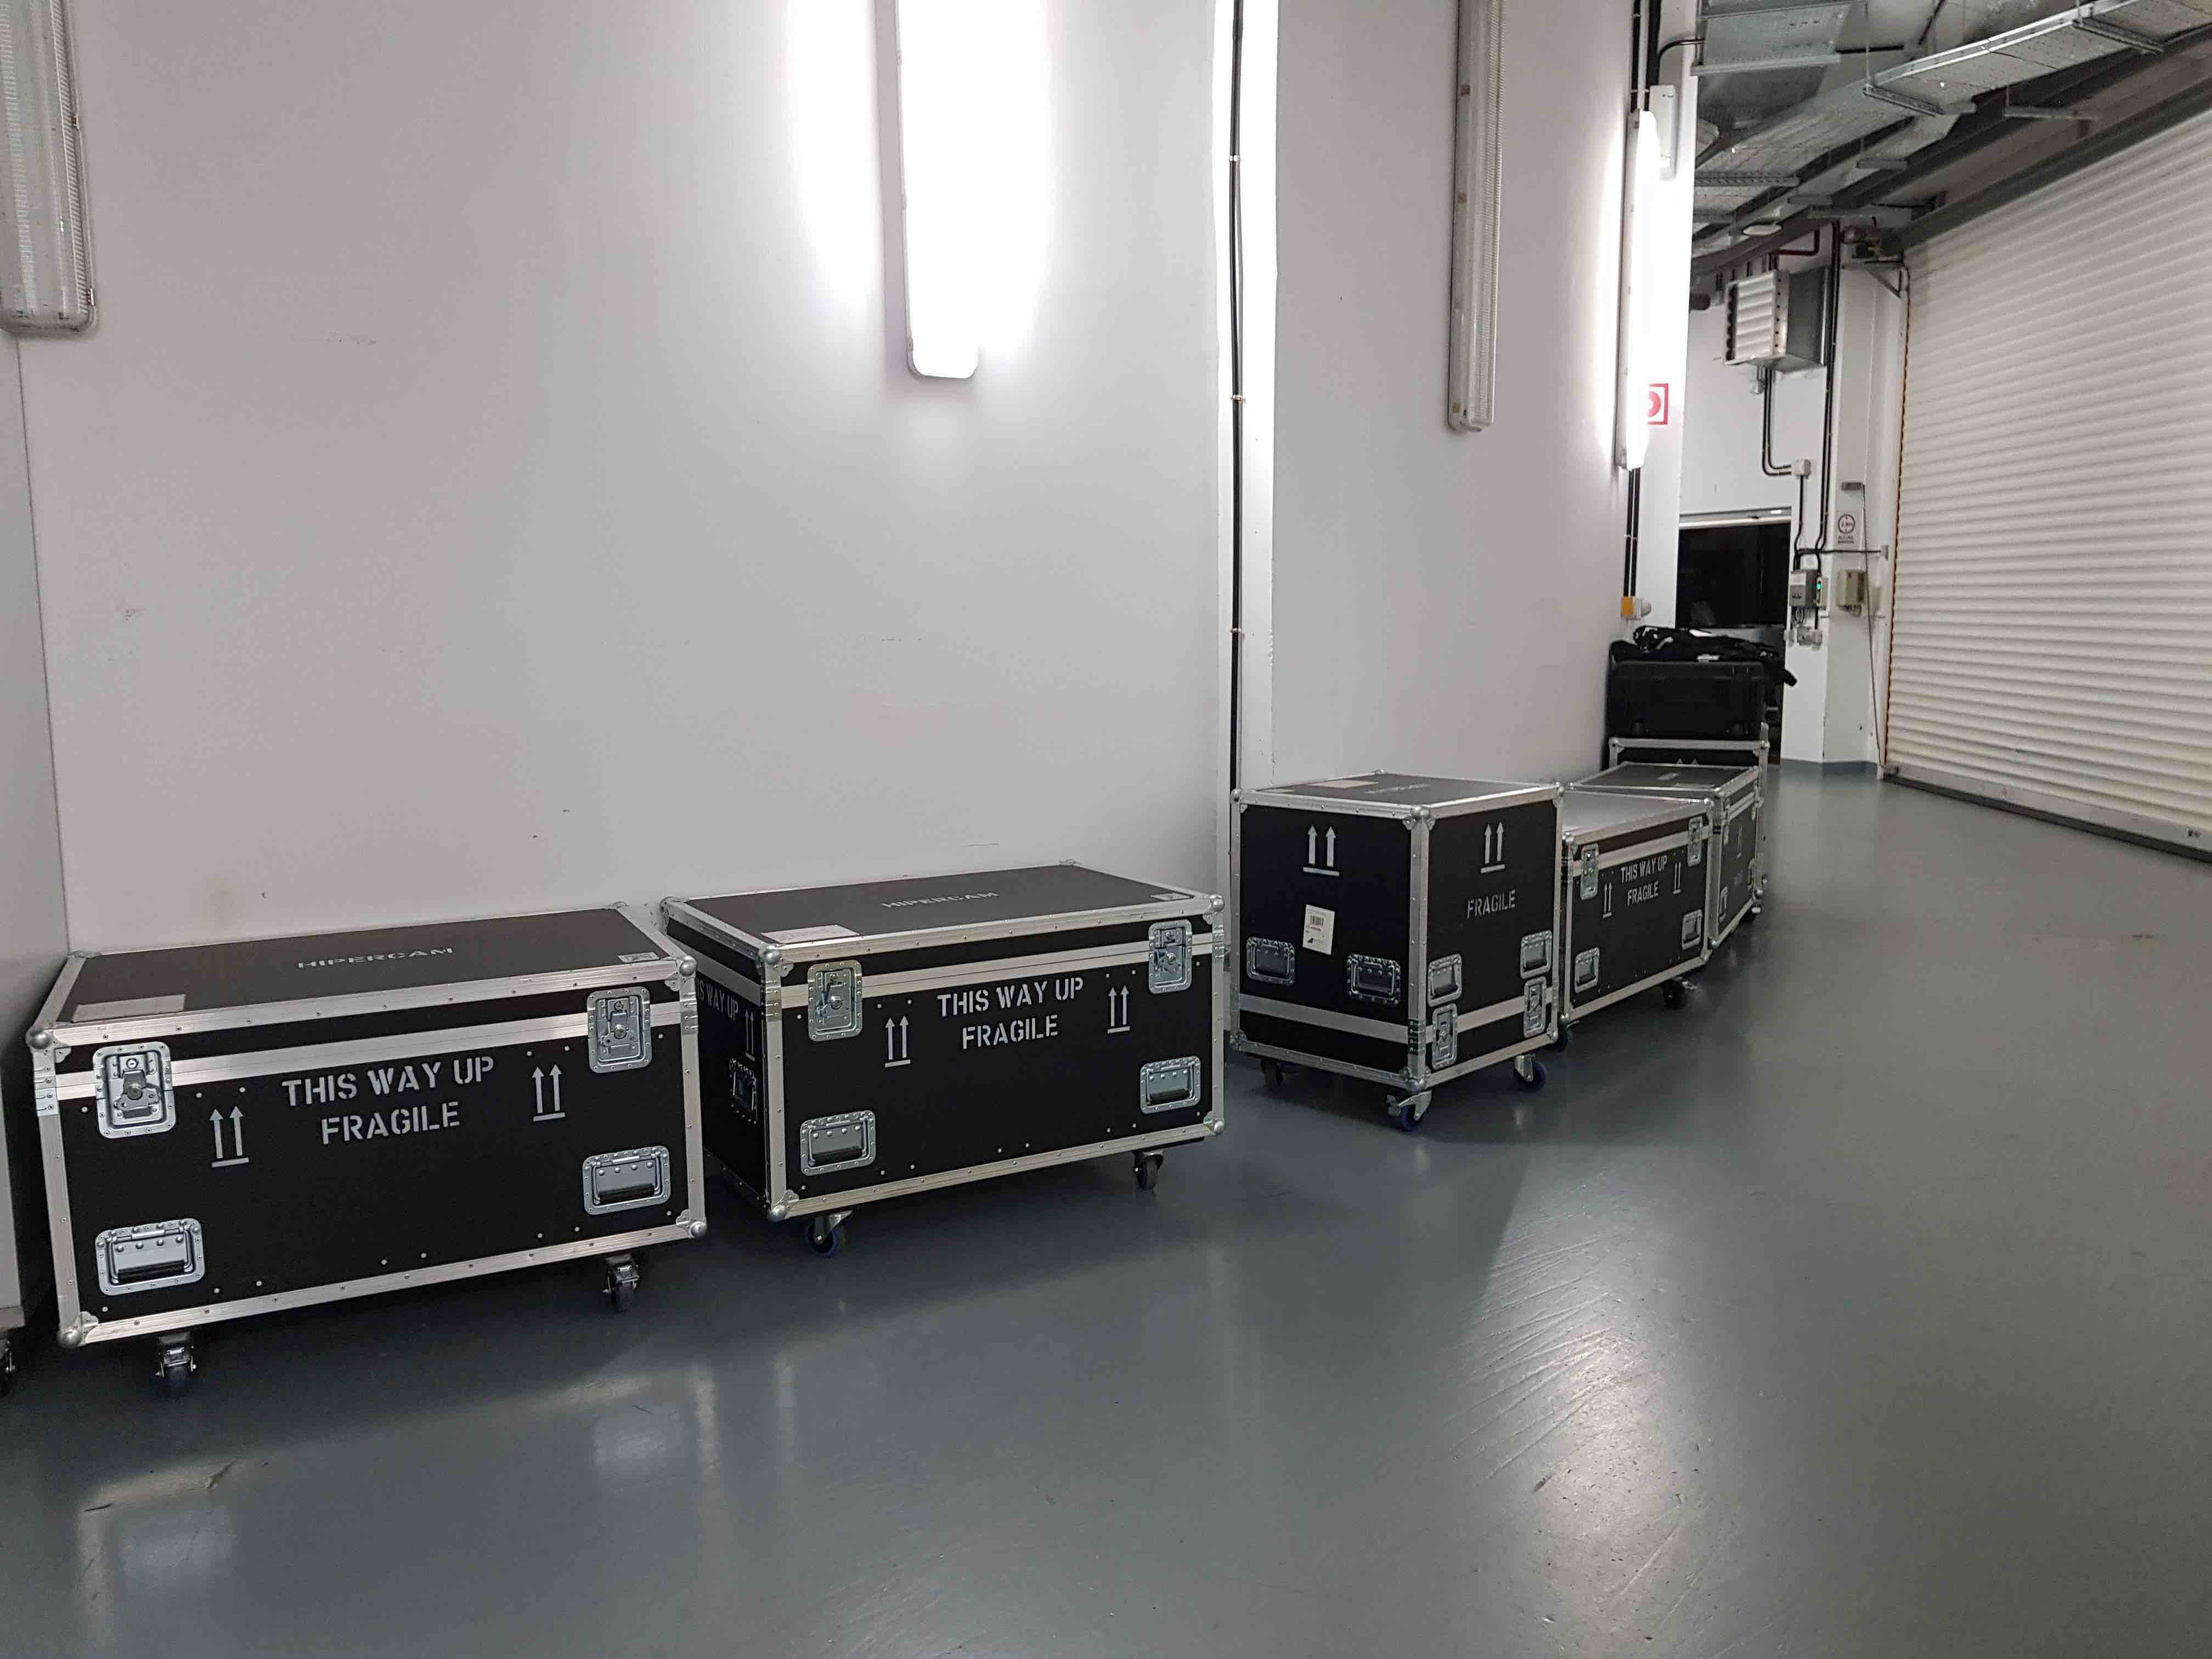
Close all of the packing crate lids, lock them with the butterfly clasps, push them against the wall and lock the brakes on the two outermost wheels.