OSIRIS pump
This section describes how to use the ORISIS vacuum pump to pump down the HiPERCAM CCD heads. From June 2019 onwards, we have instead been using the new HiPERCAM vacuum pump mounted on the rotator, as described in pumping and cooling, so these instructions are only for use in case the HiPERCAM pump fails.
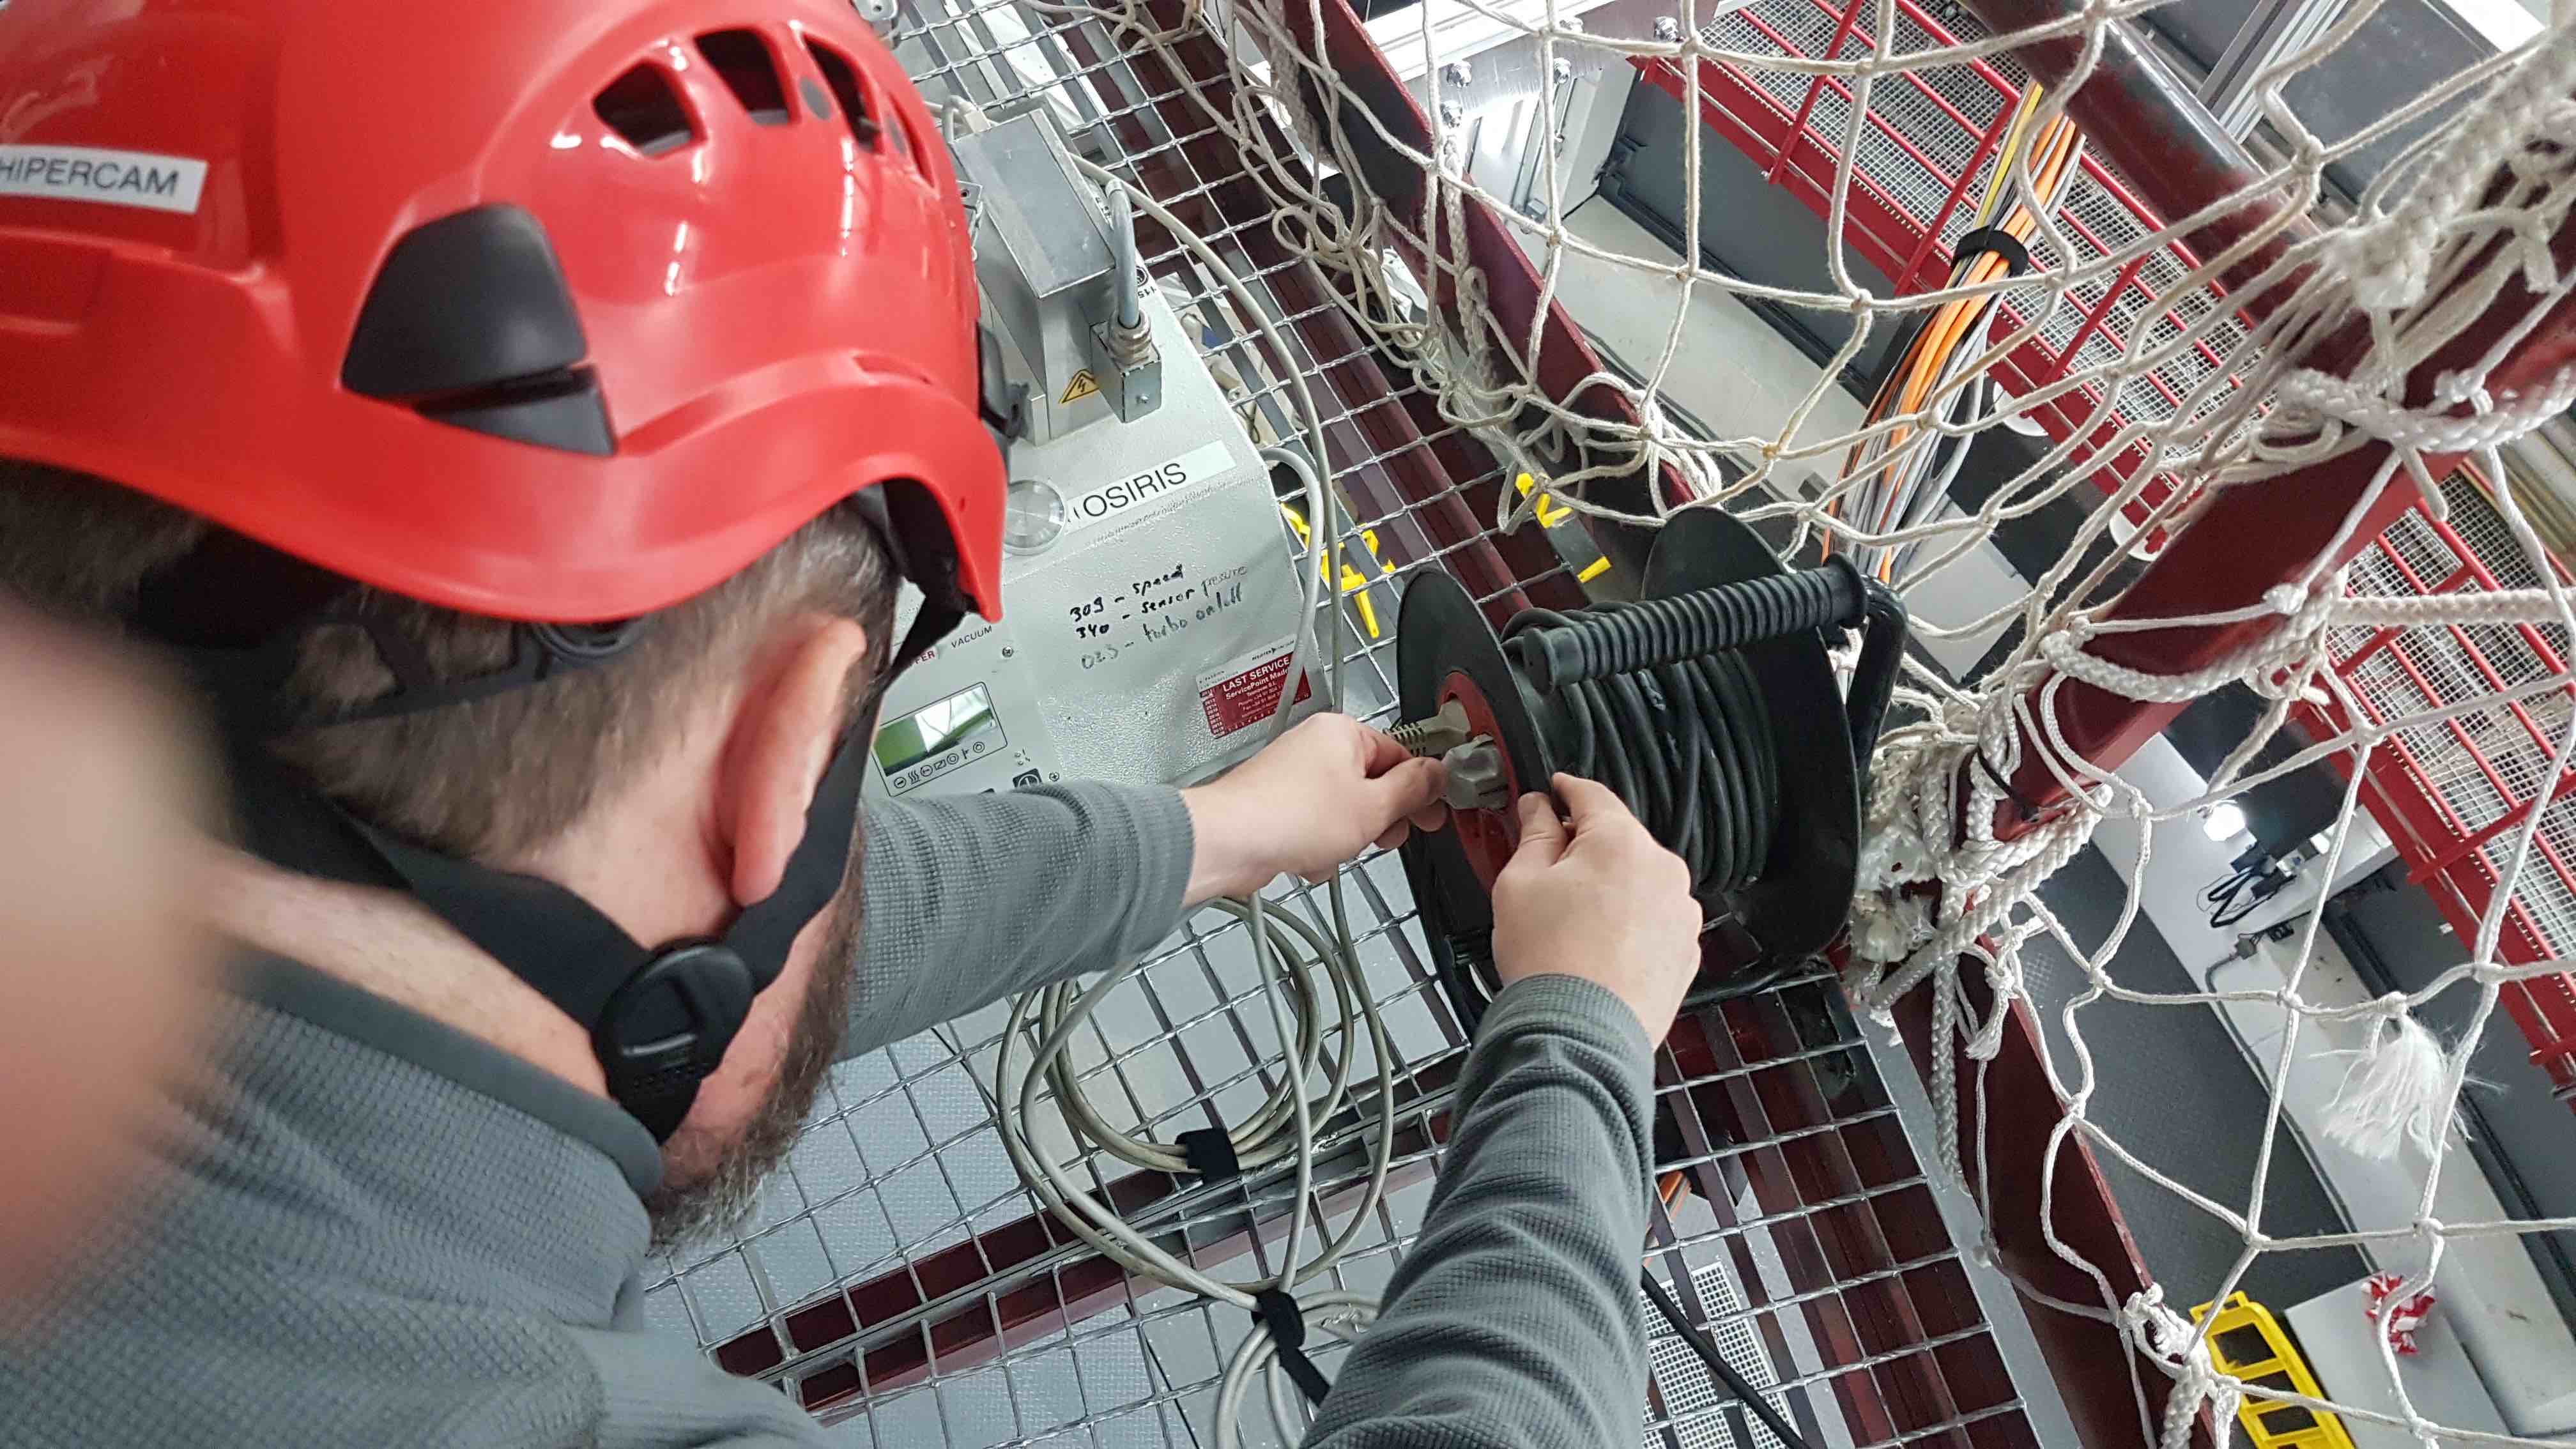
The OSIRIS vacuum pump is stored on top of a wooden box on the OSIRIS Nasmyth platform. You will need to carry this to the platform and position it underneath HiPERCAM. You will also need to run a mains extension reel from the UPS power point above the gate to the elevation platform to underneath HiPERCAM.
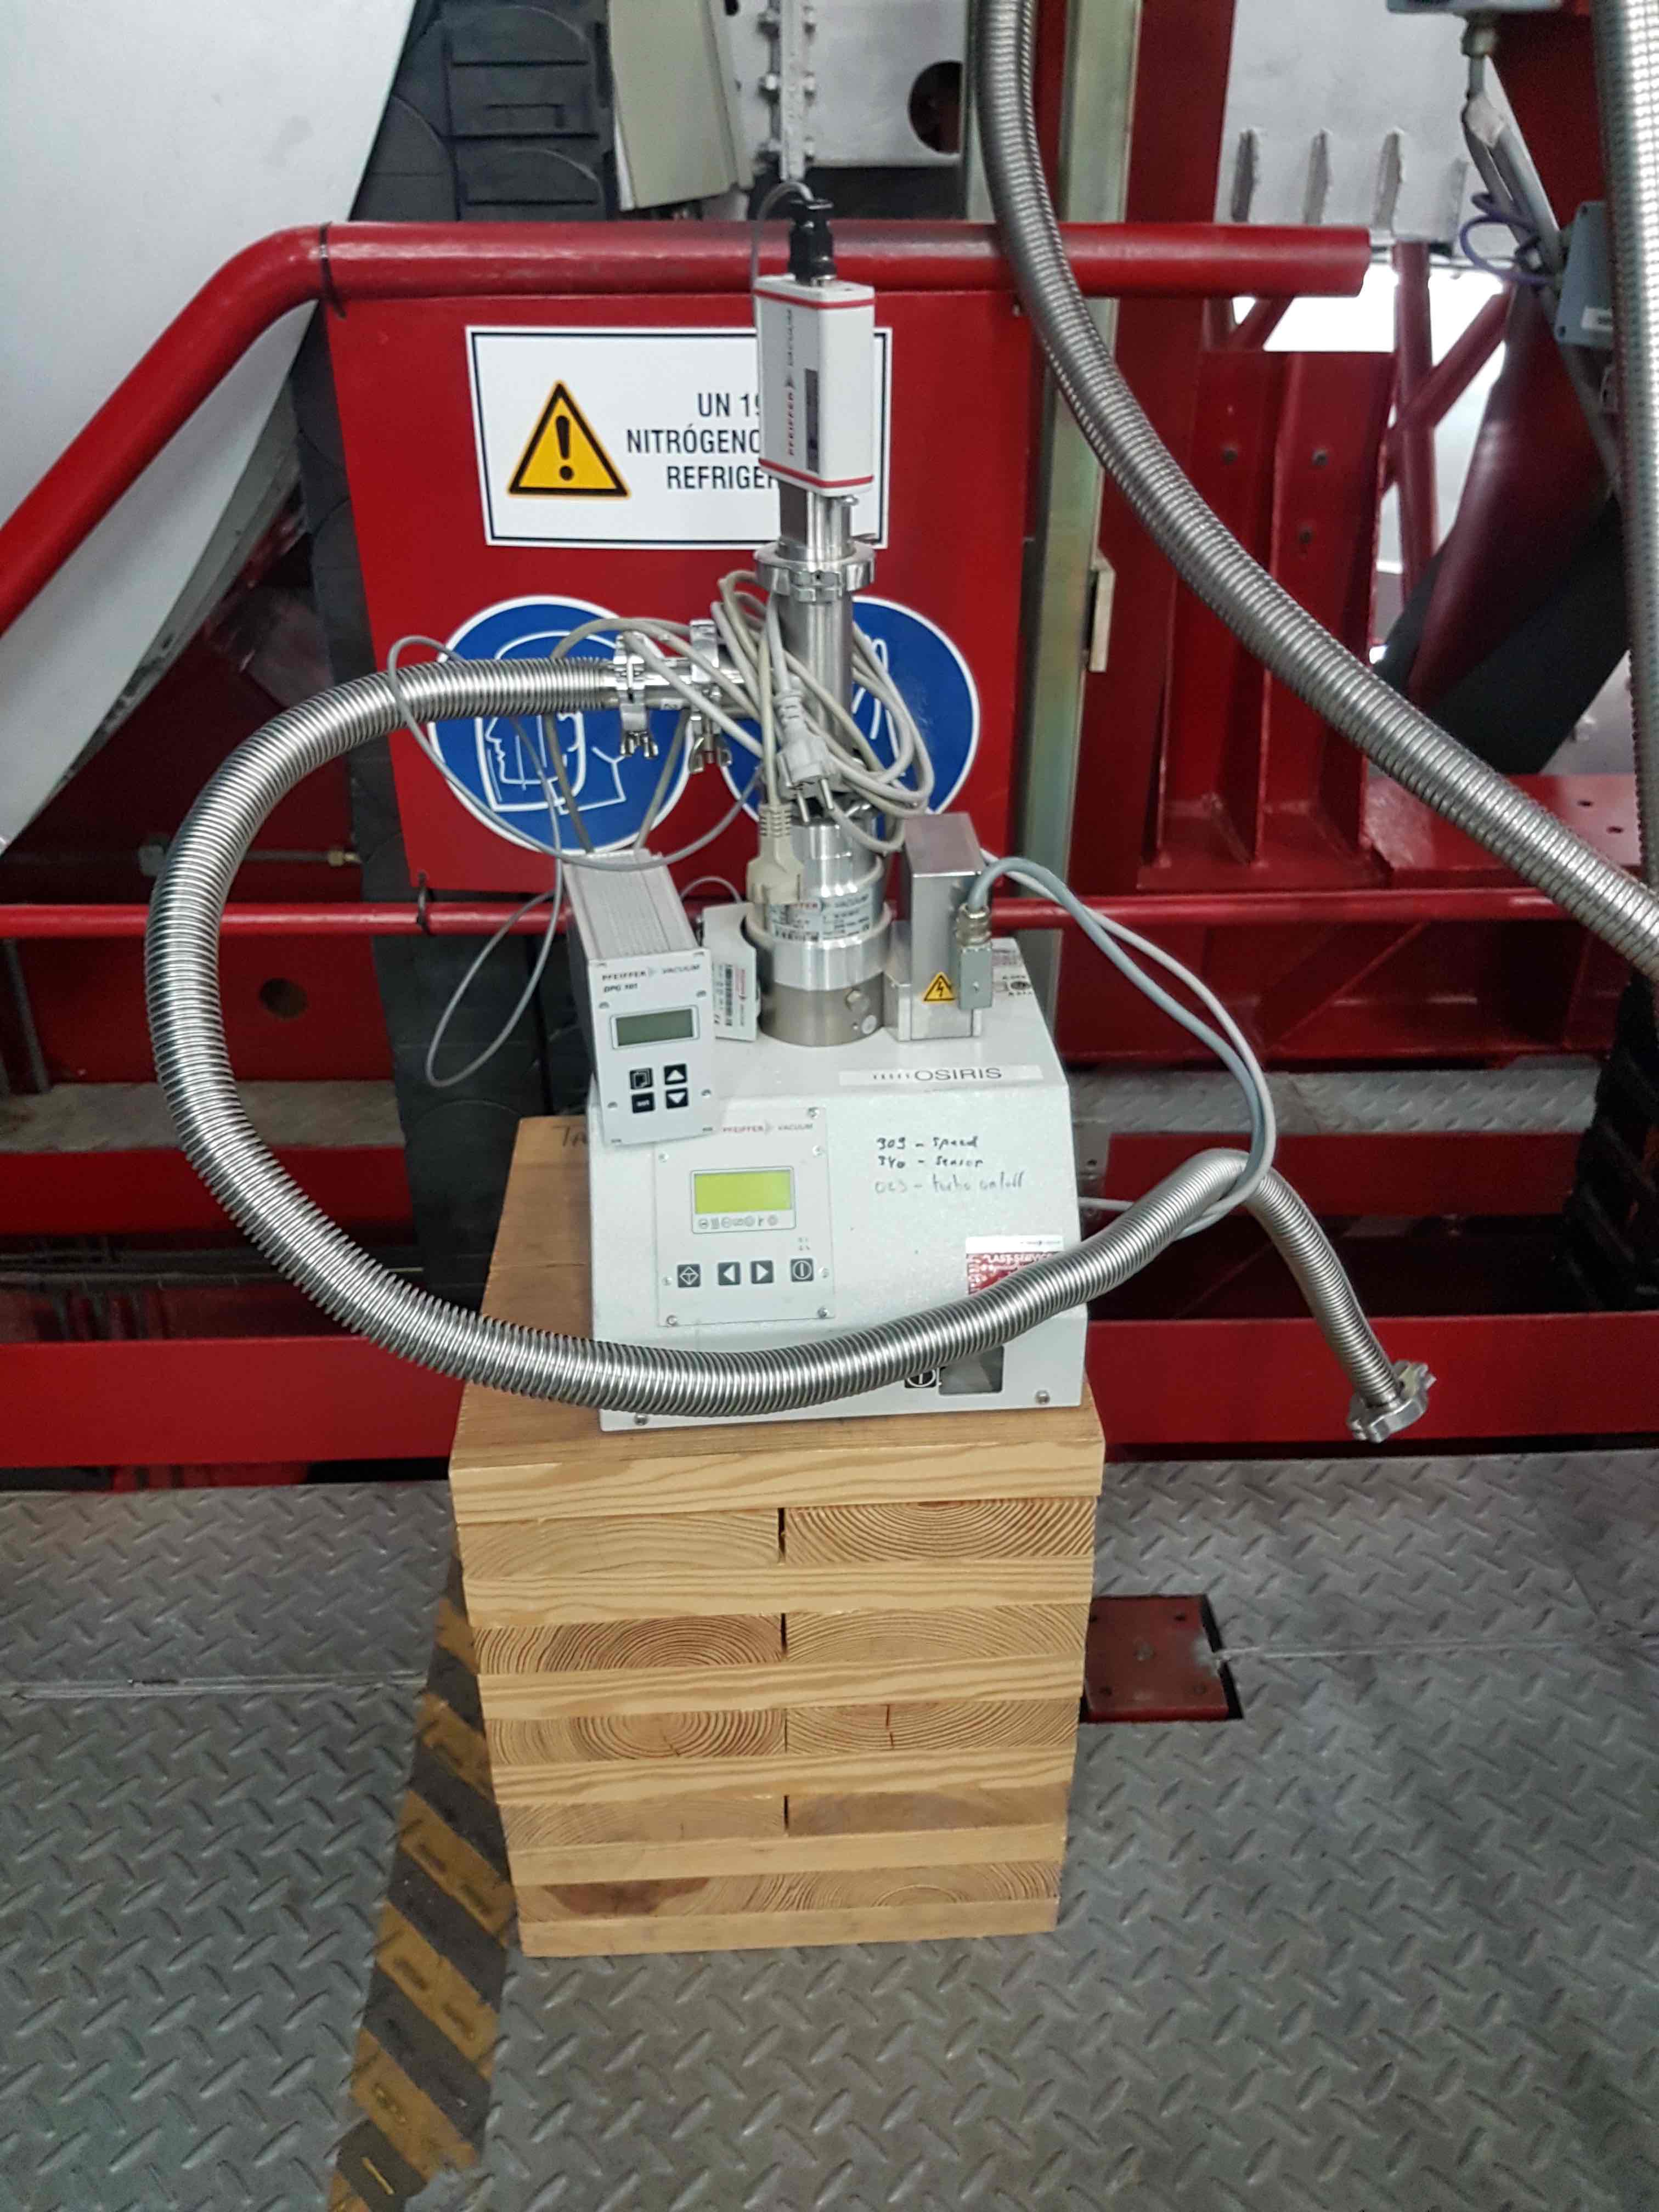
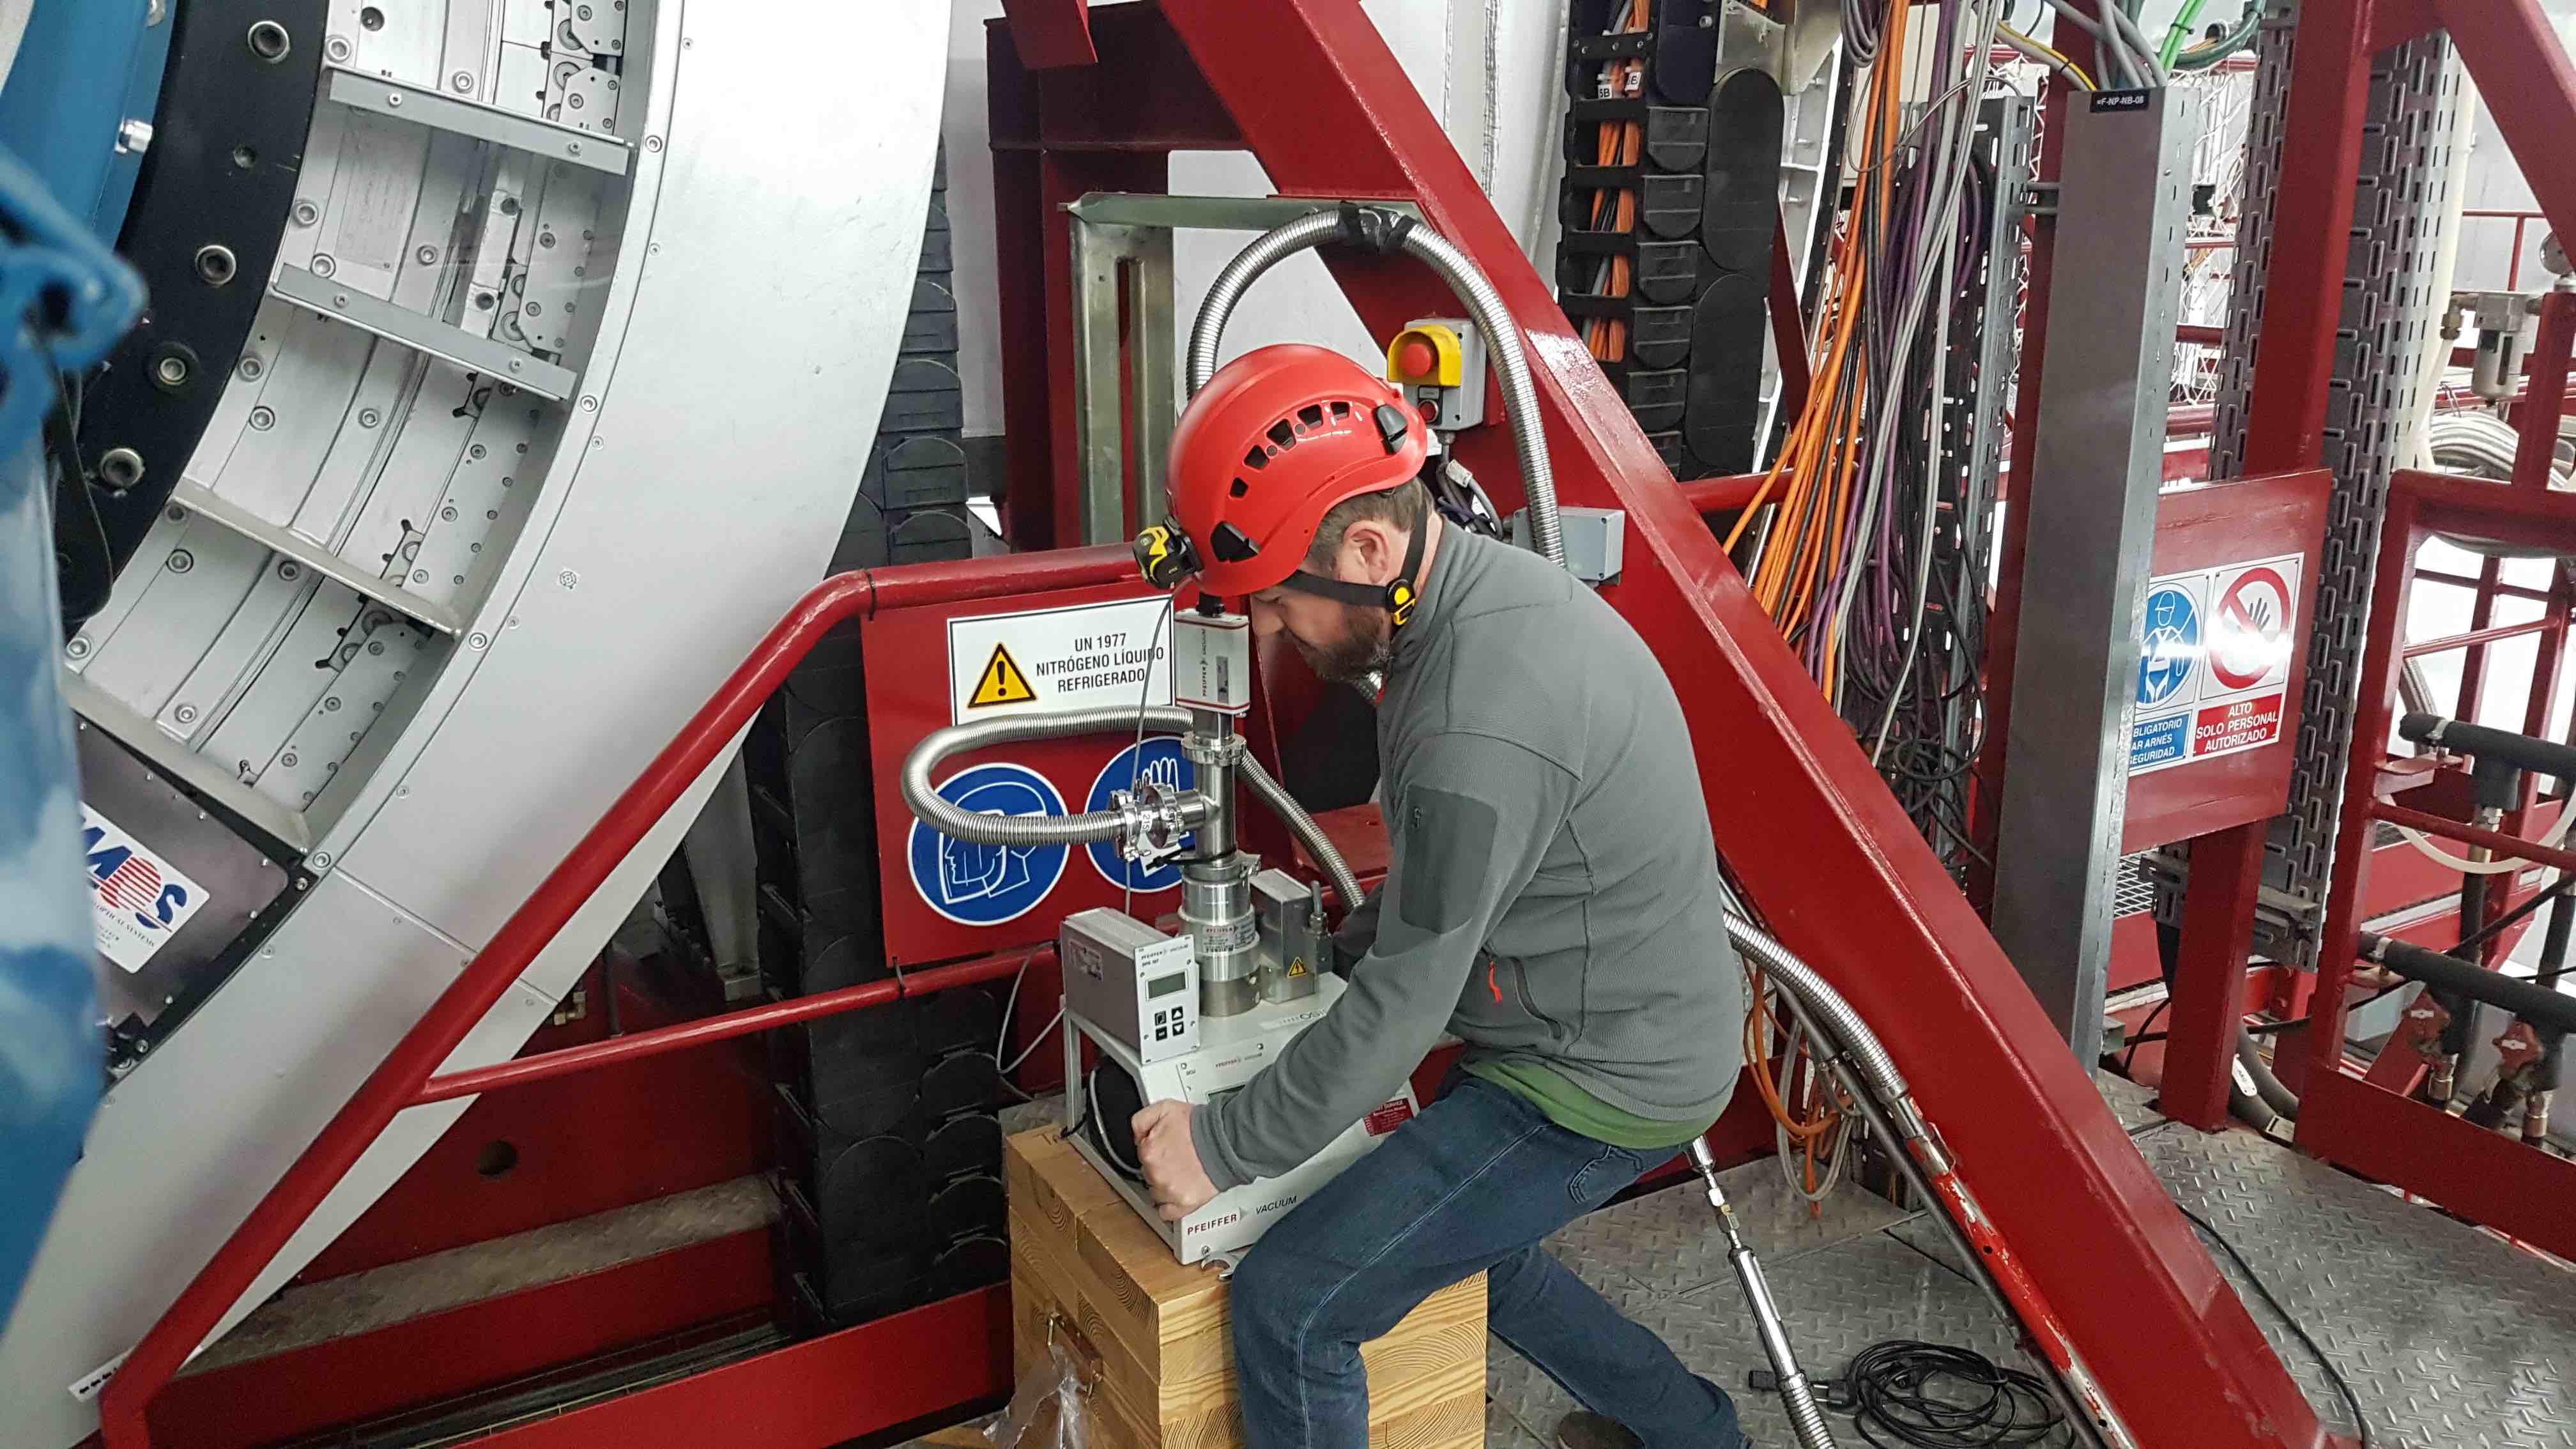
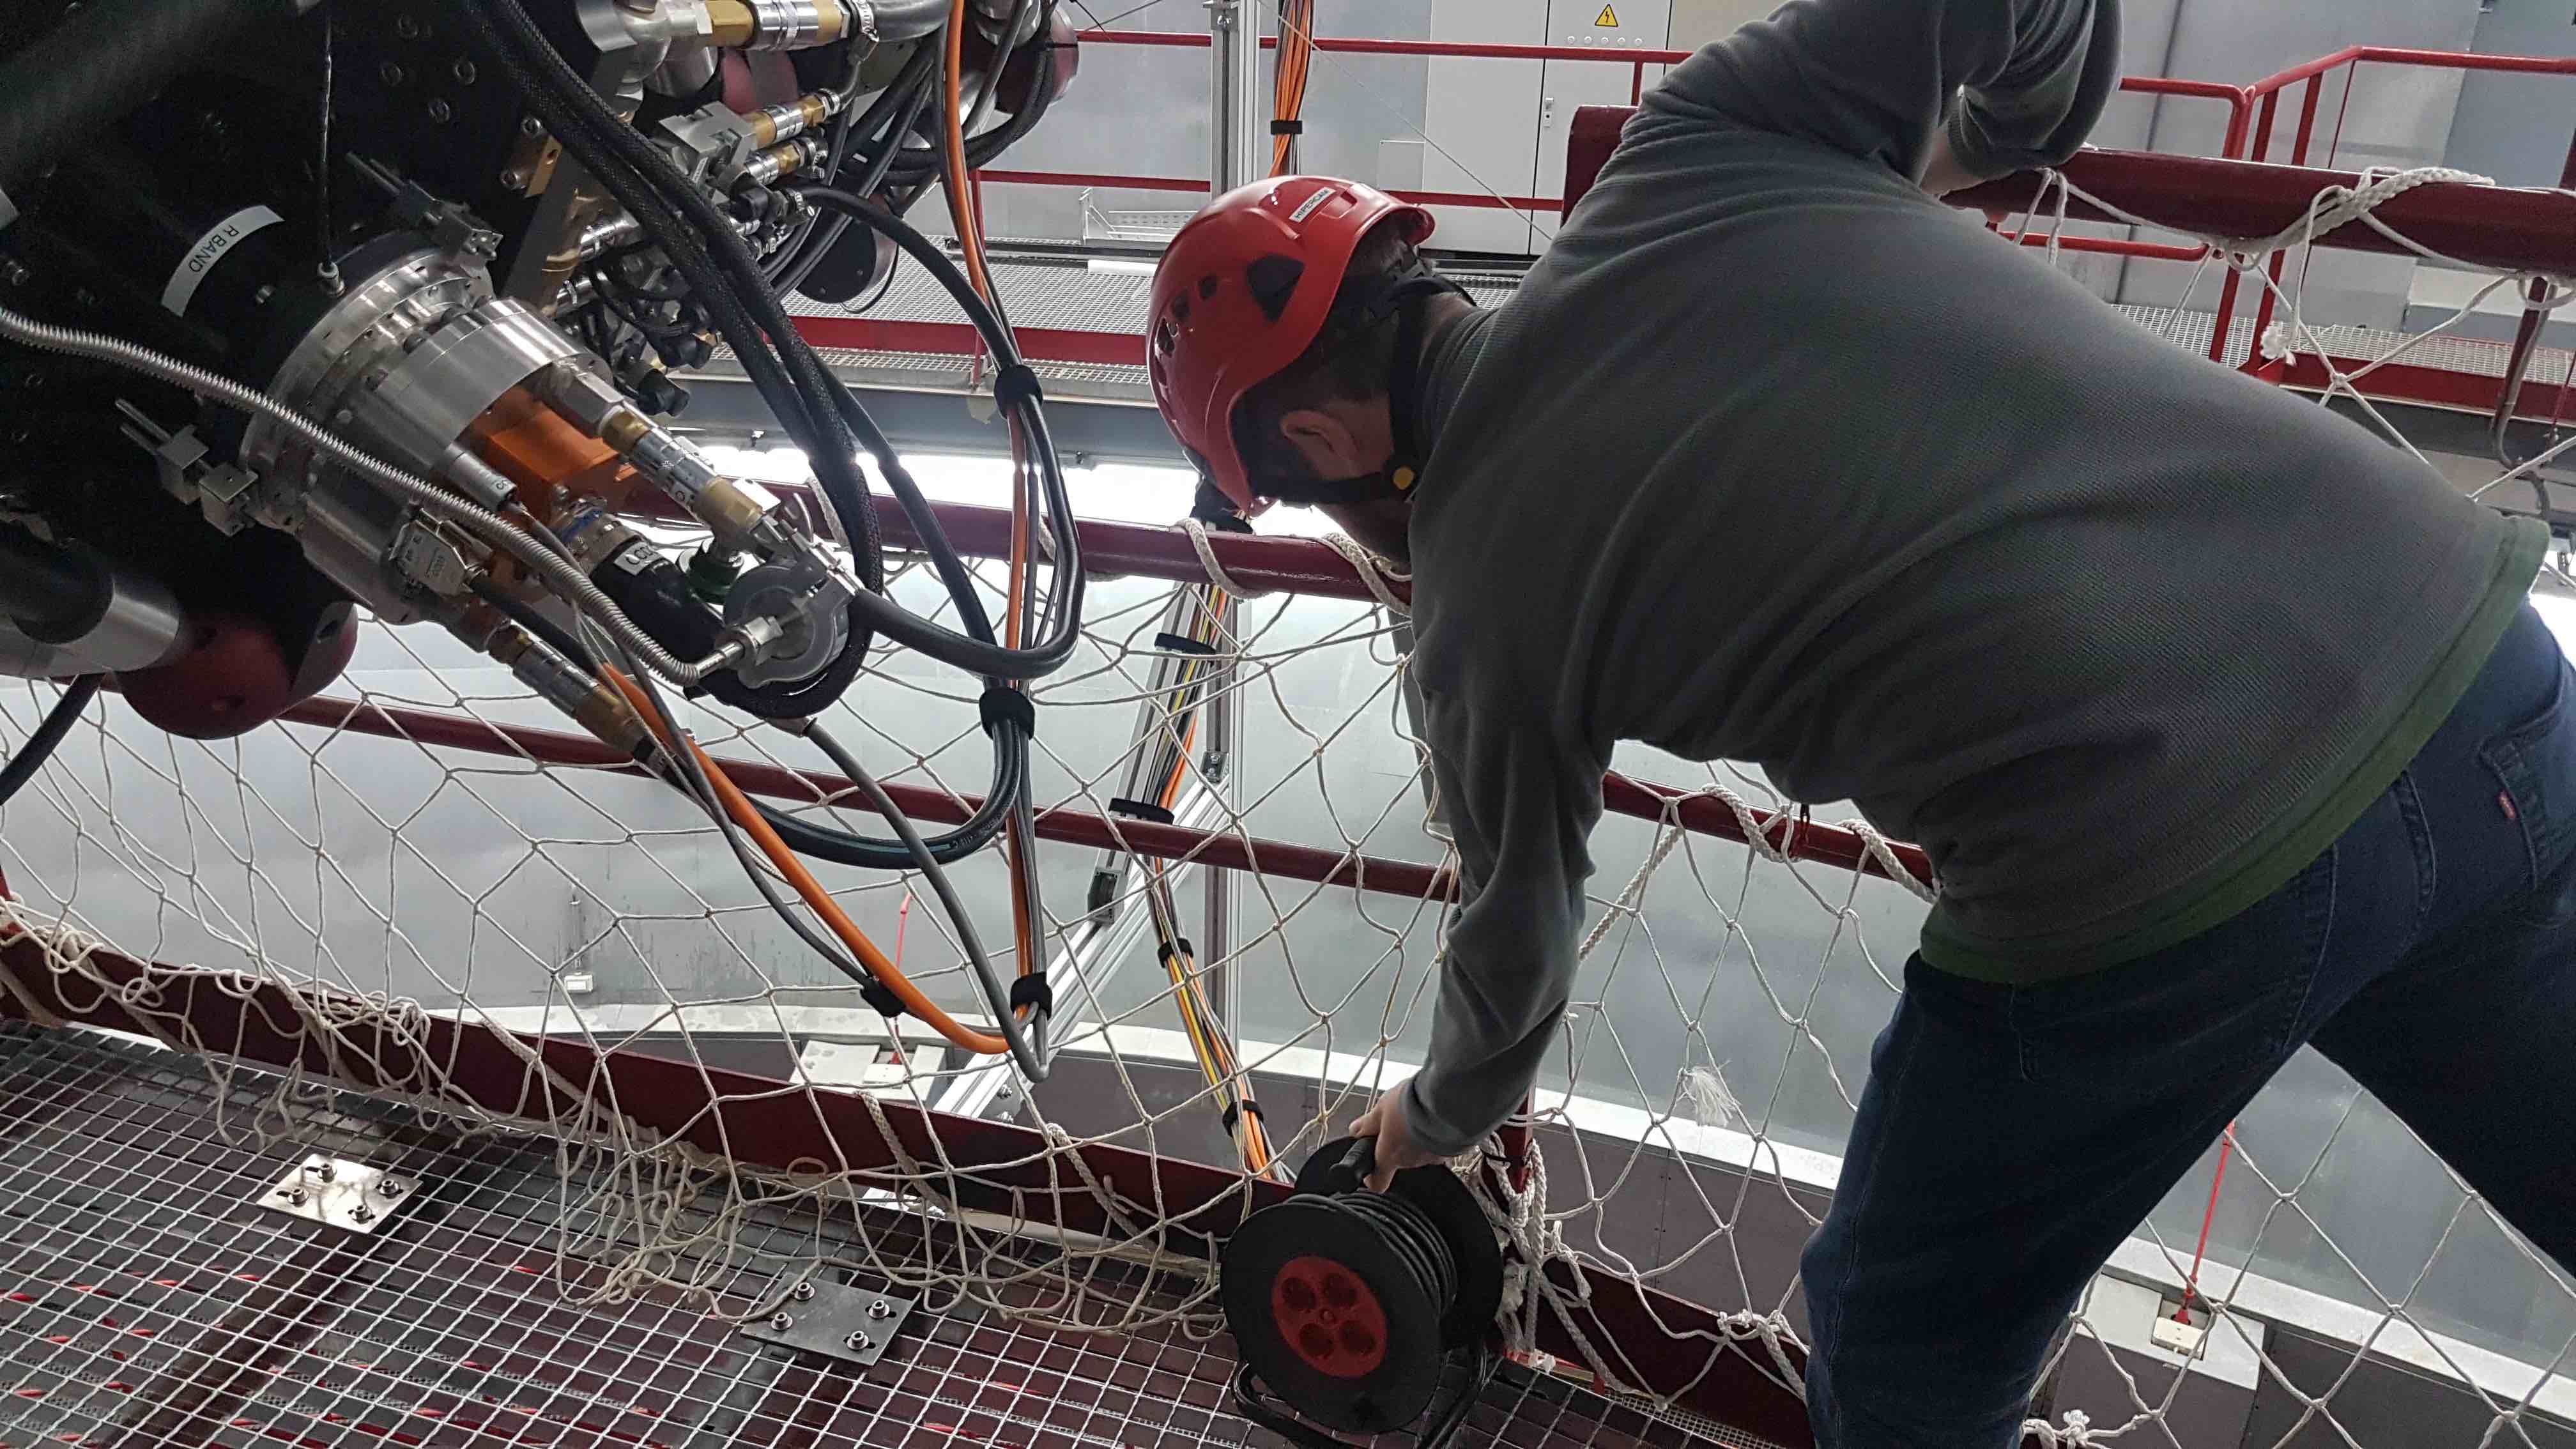
The vacuum manifold port should be positioned so that it is facing the electronics cabinet. If it is not, rotate the rotator until HiPERCAM is at the correct orientation. Refer to pumping and cooling for how to move the rotator.
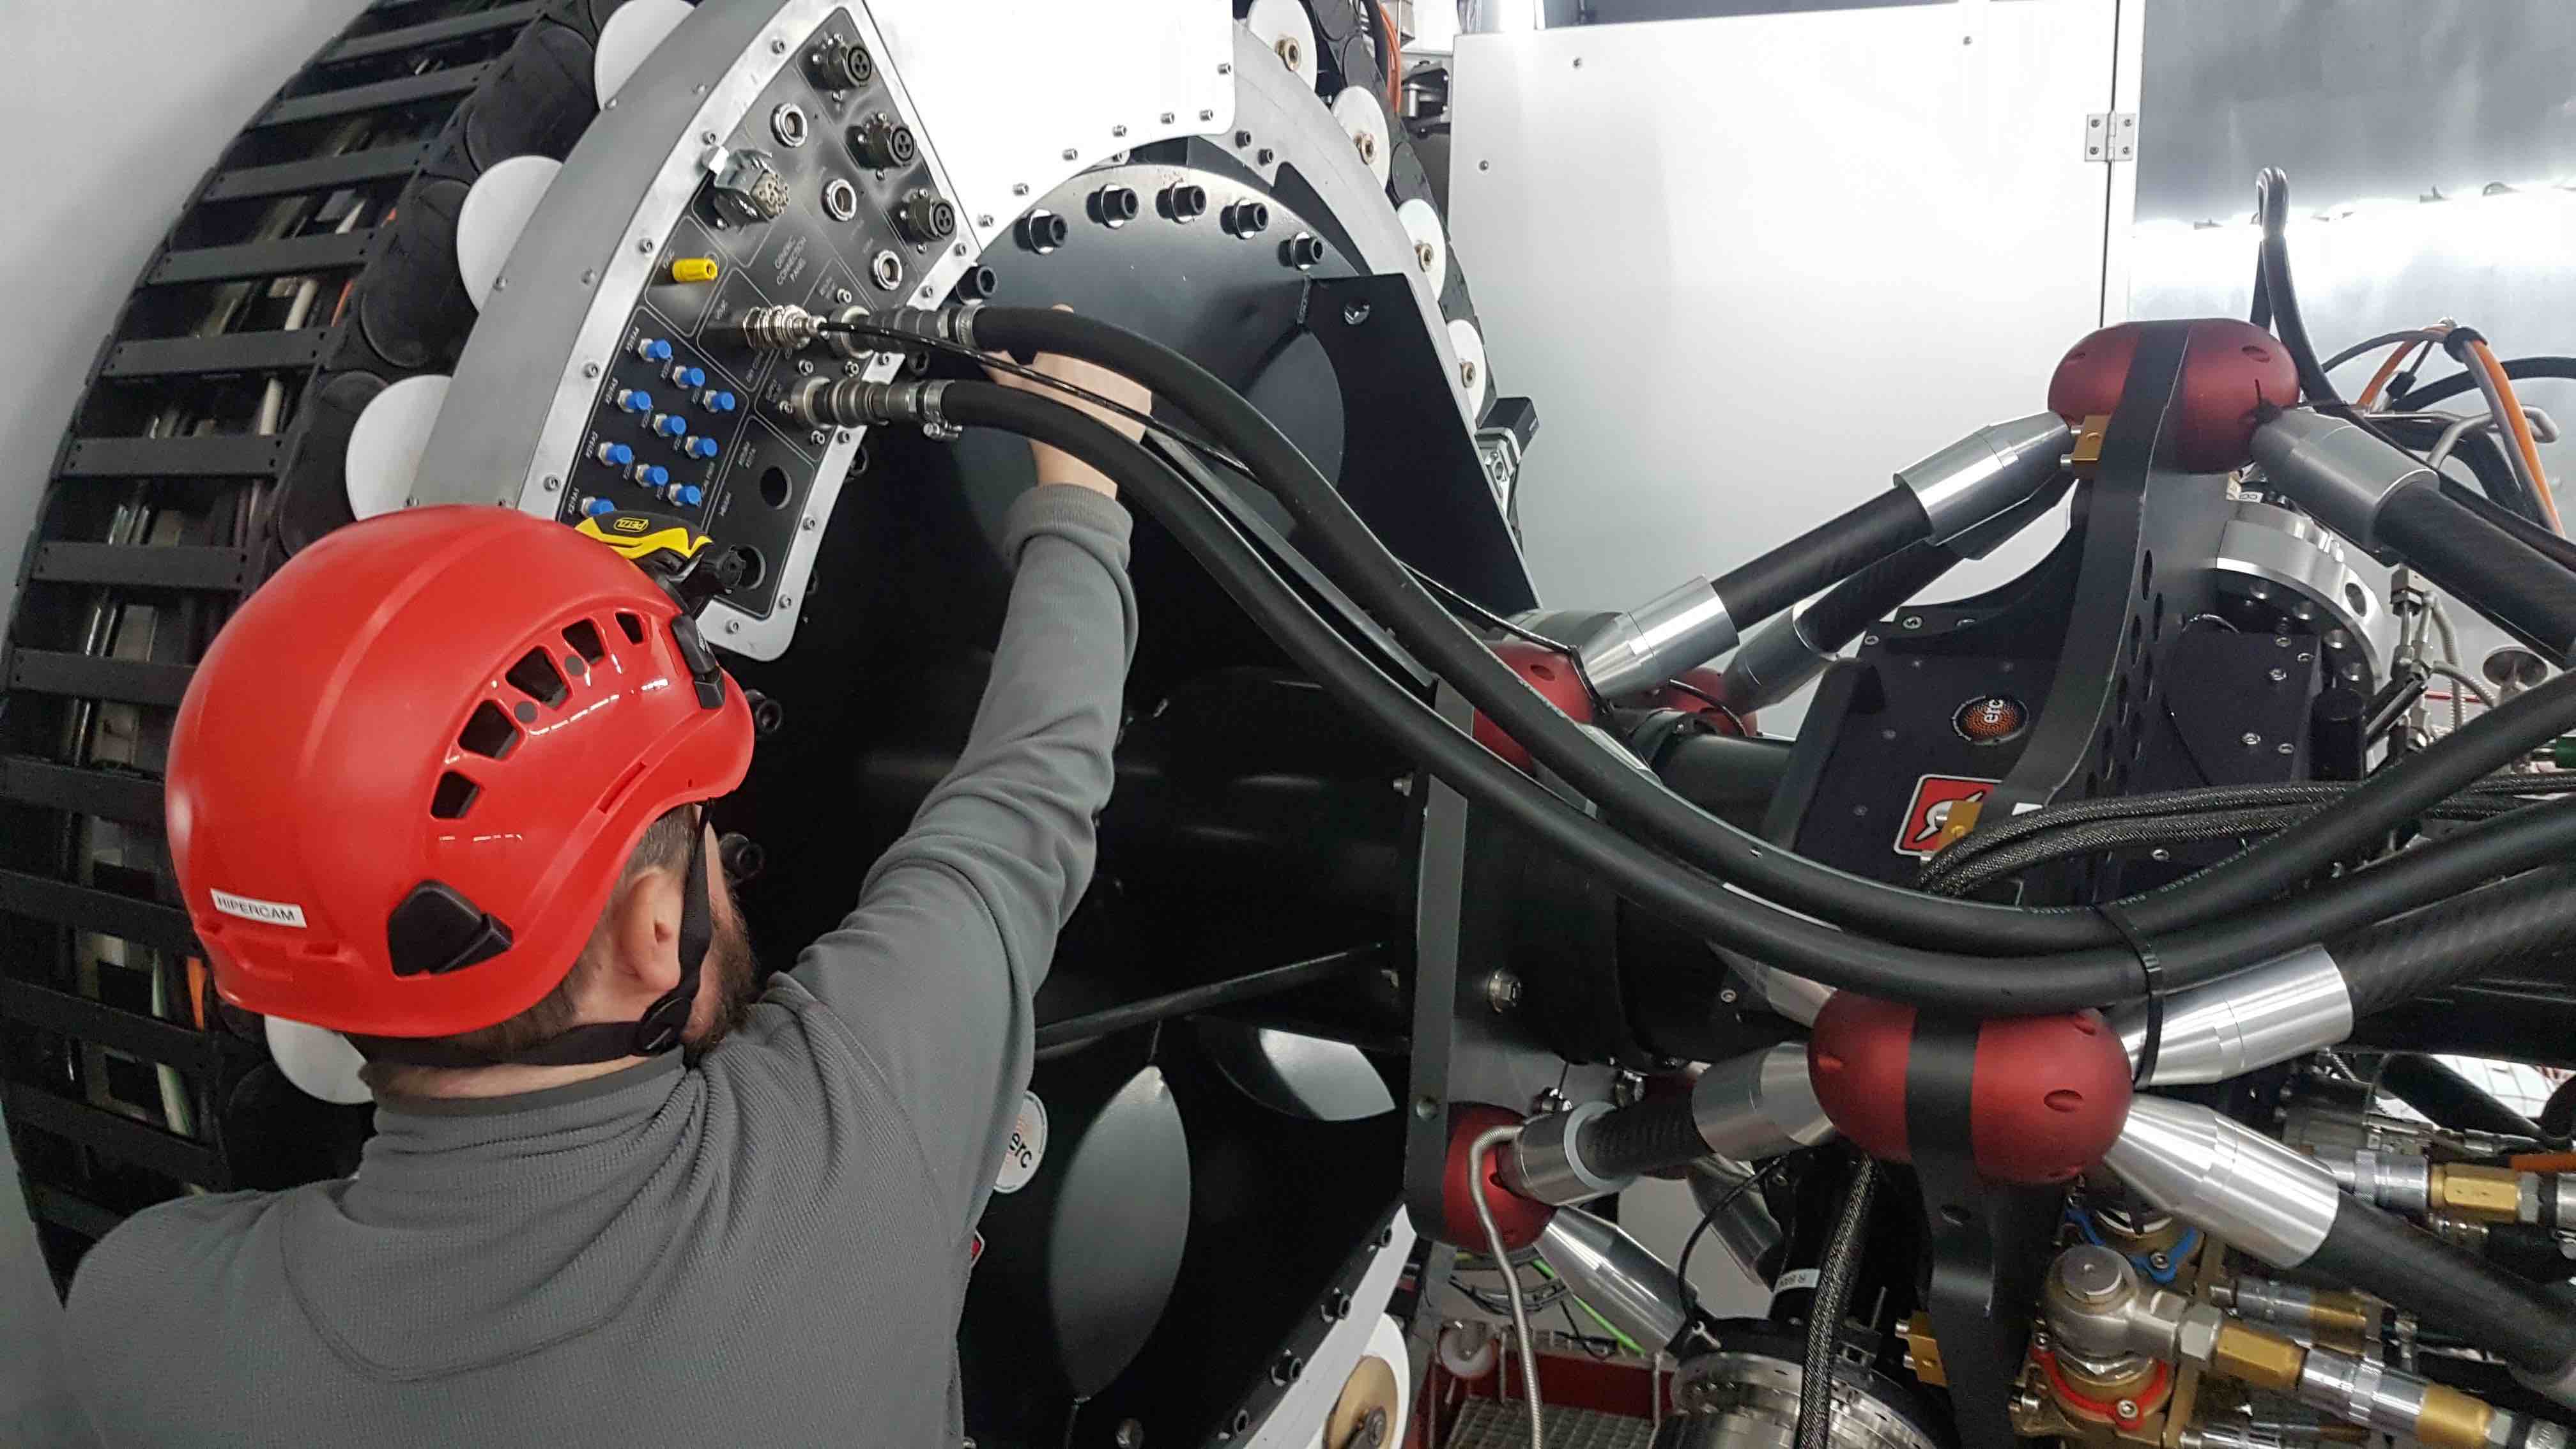
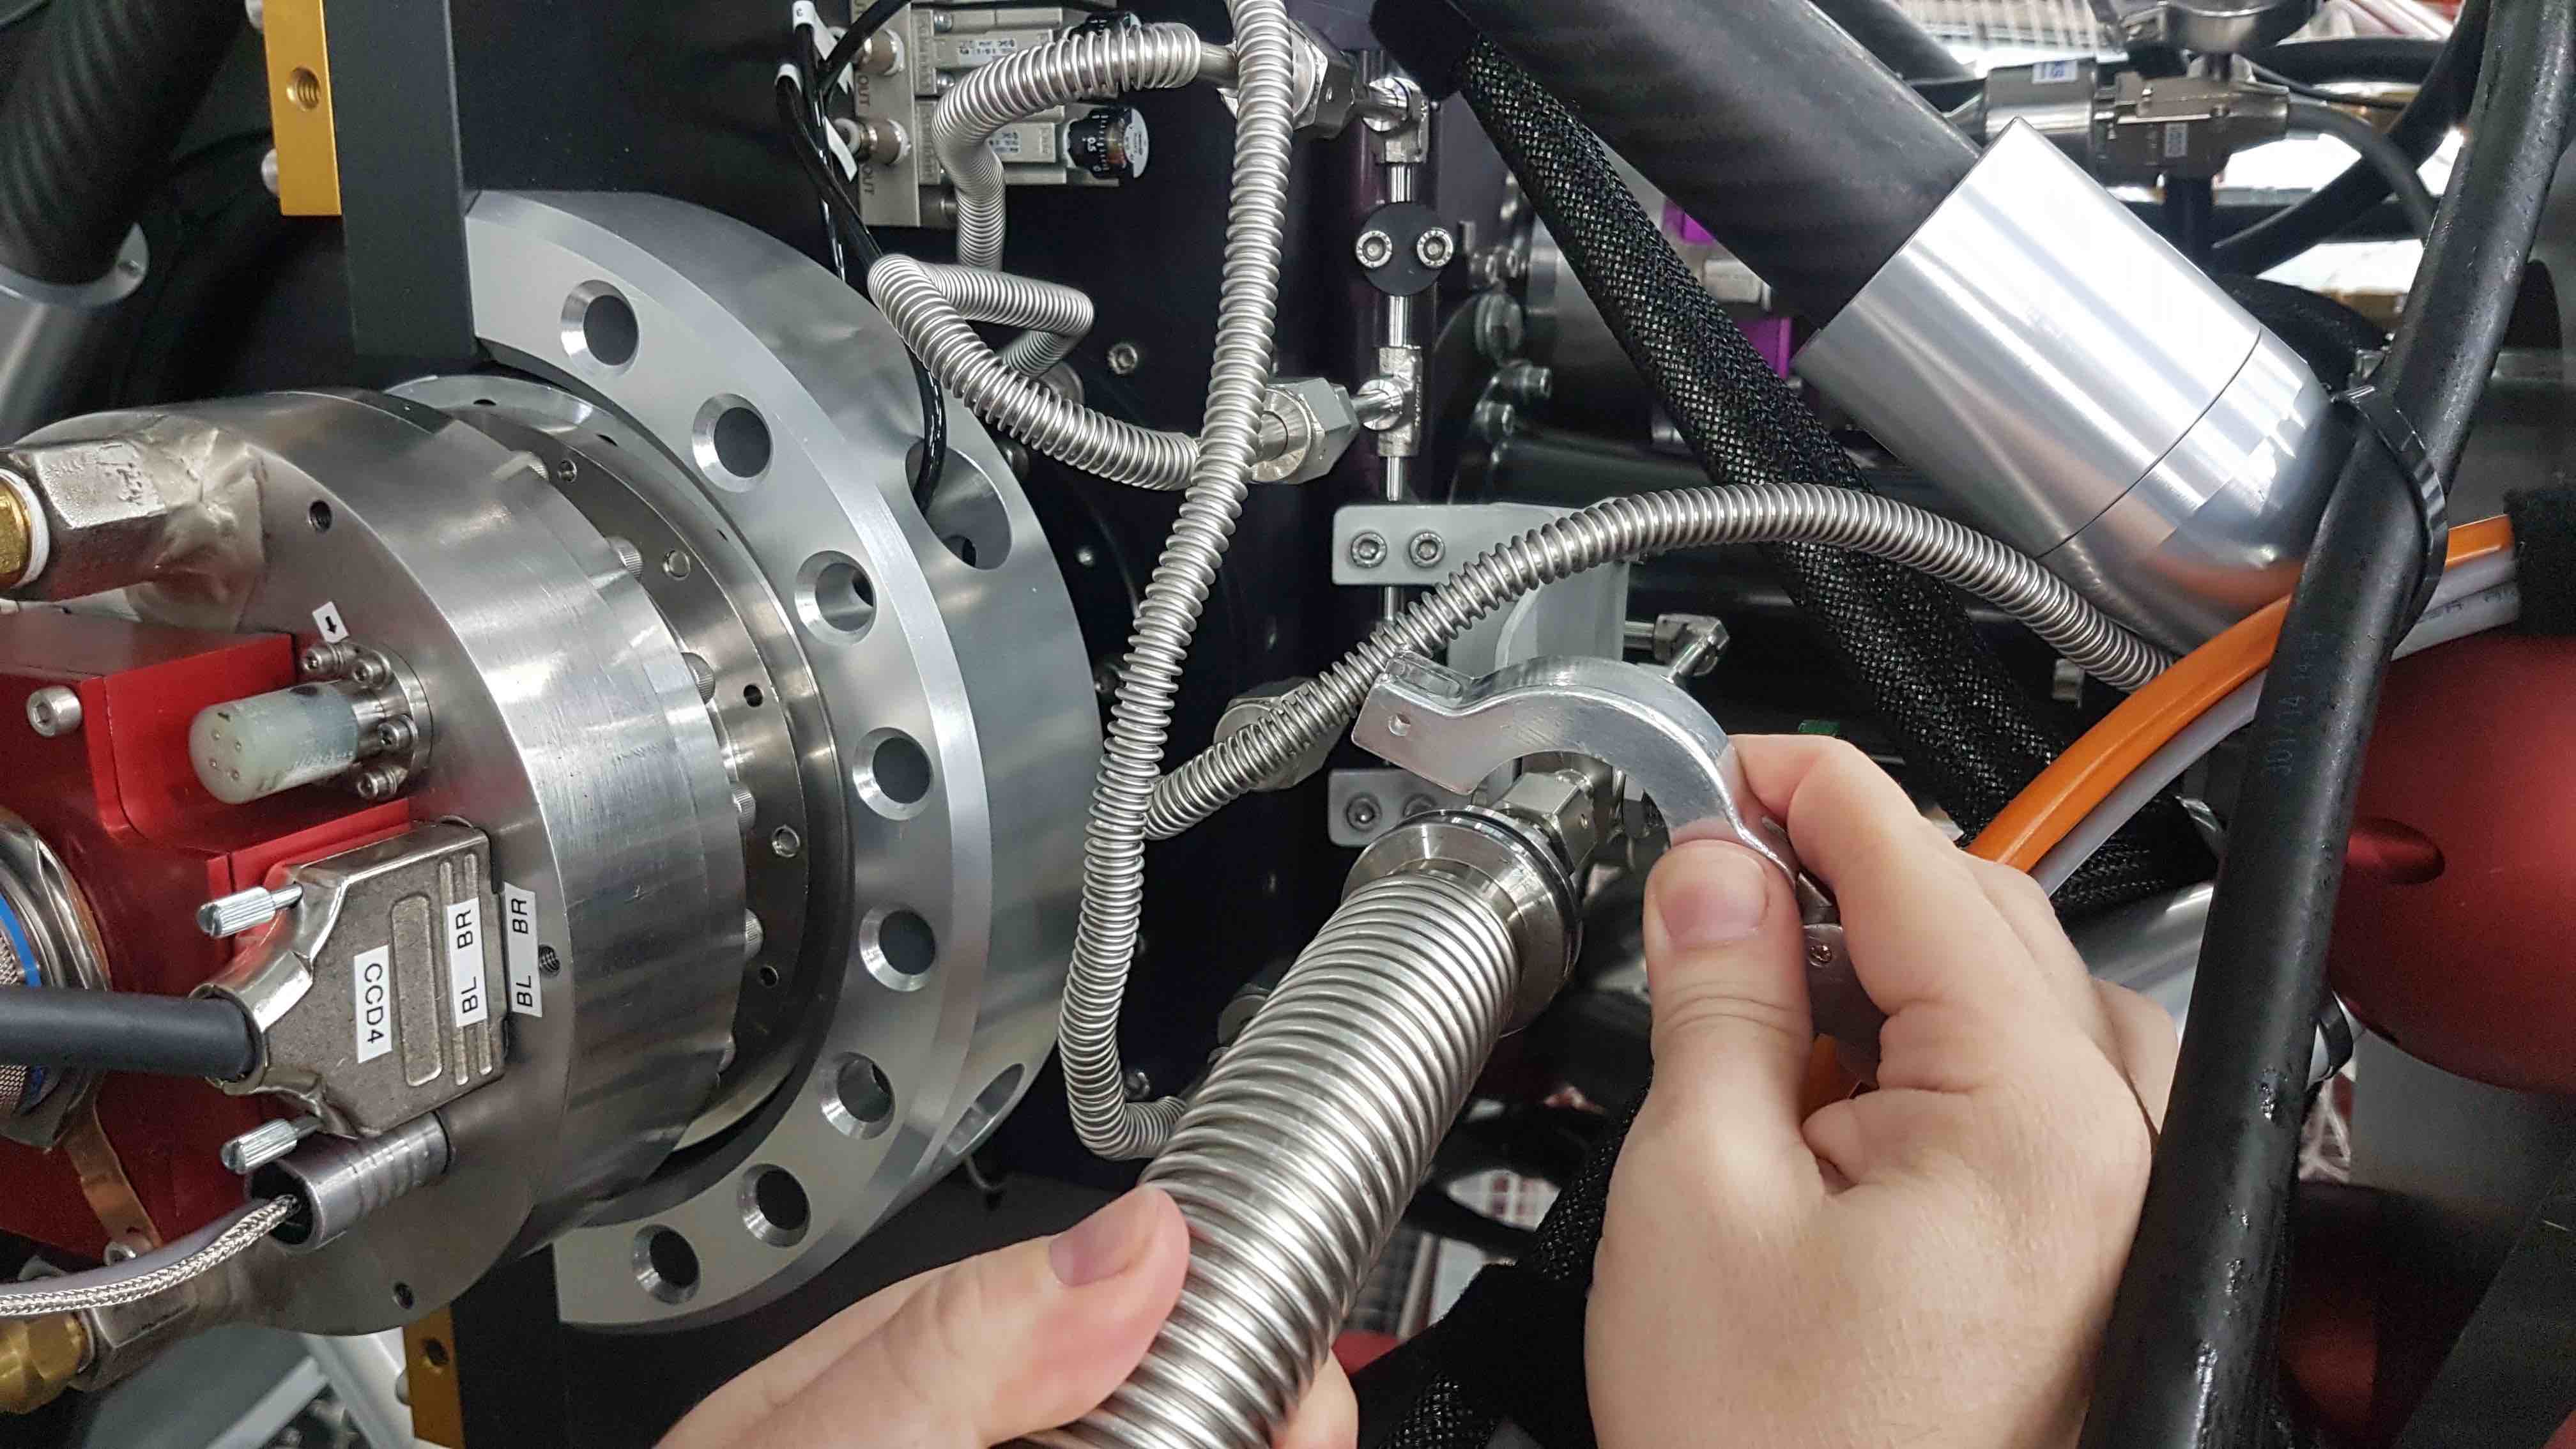
This pumping procedure assumes that the vacuum manifold is already under a reasonable vacuum. If it is not, refer to item 8 below. First, connect the OSIRIS vacuum pump to the HiPERCAM vacuum manifold. Ensure that the vacuum connection to the manifold is not under any stress by careful positioning of the vacuum hose and pump.
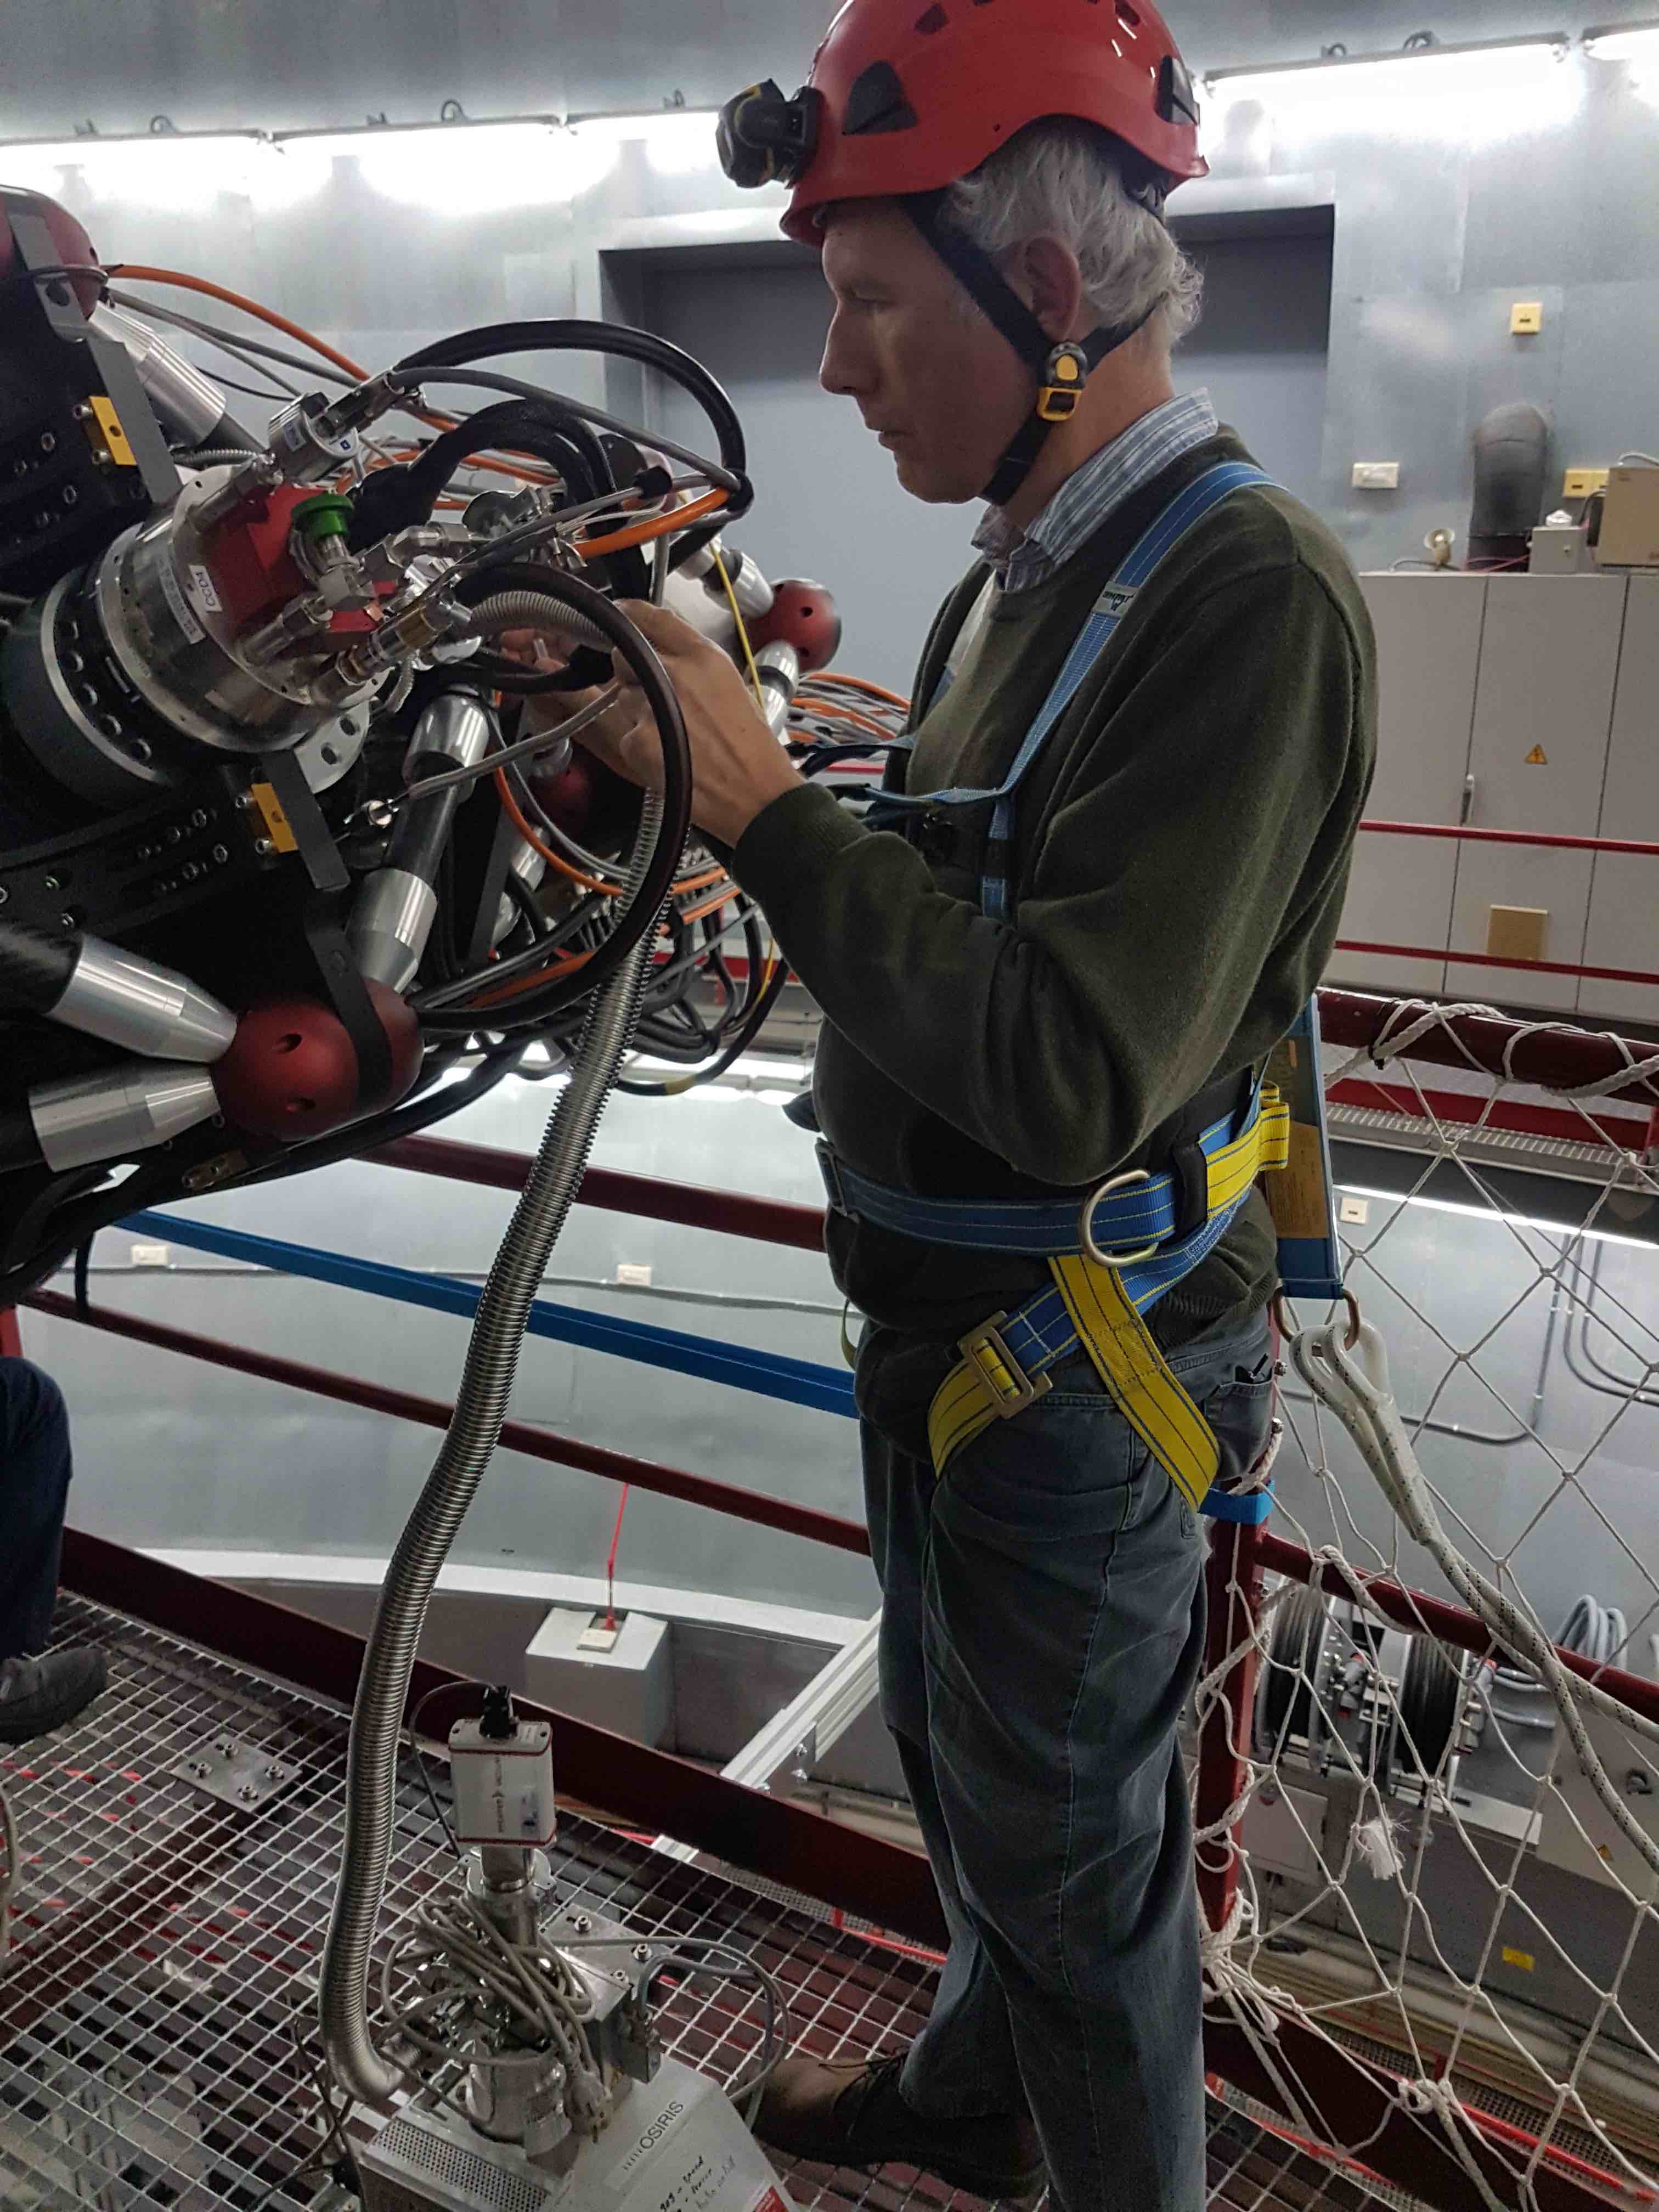
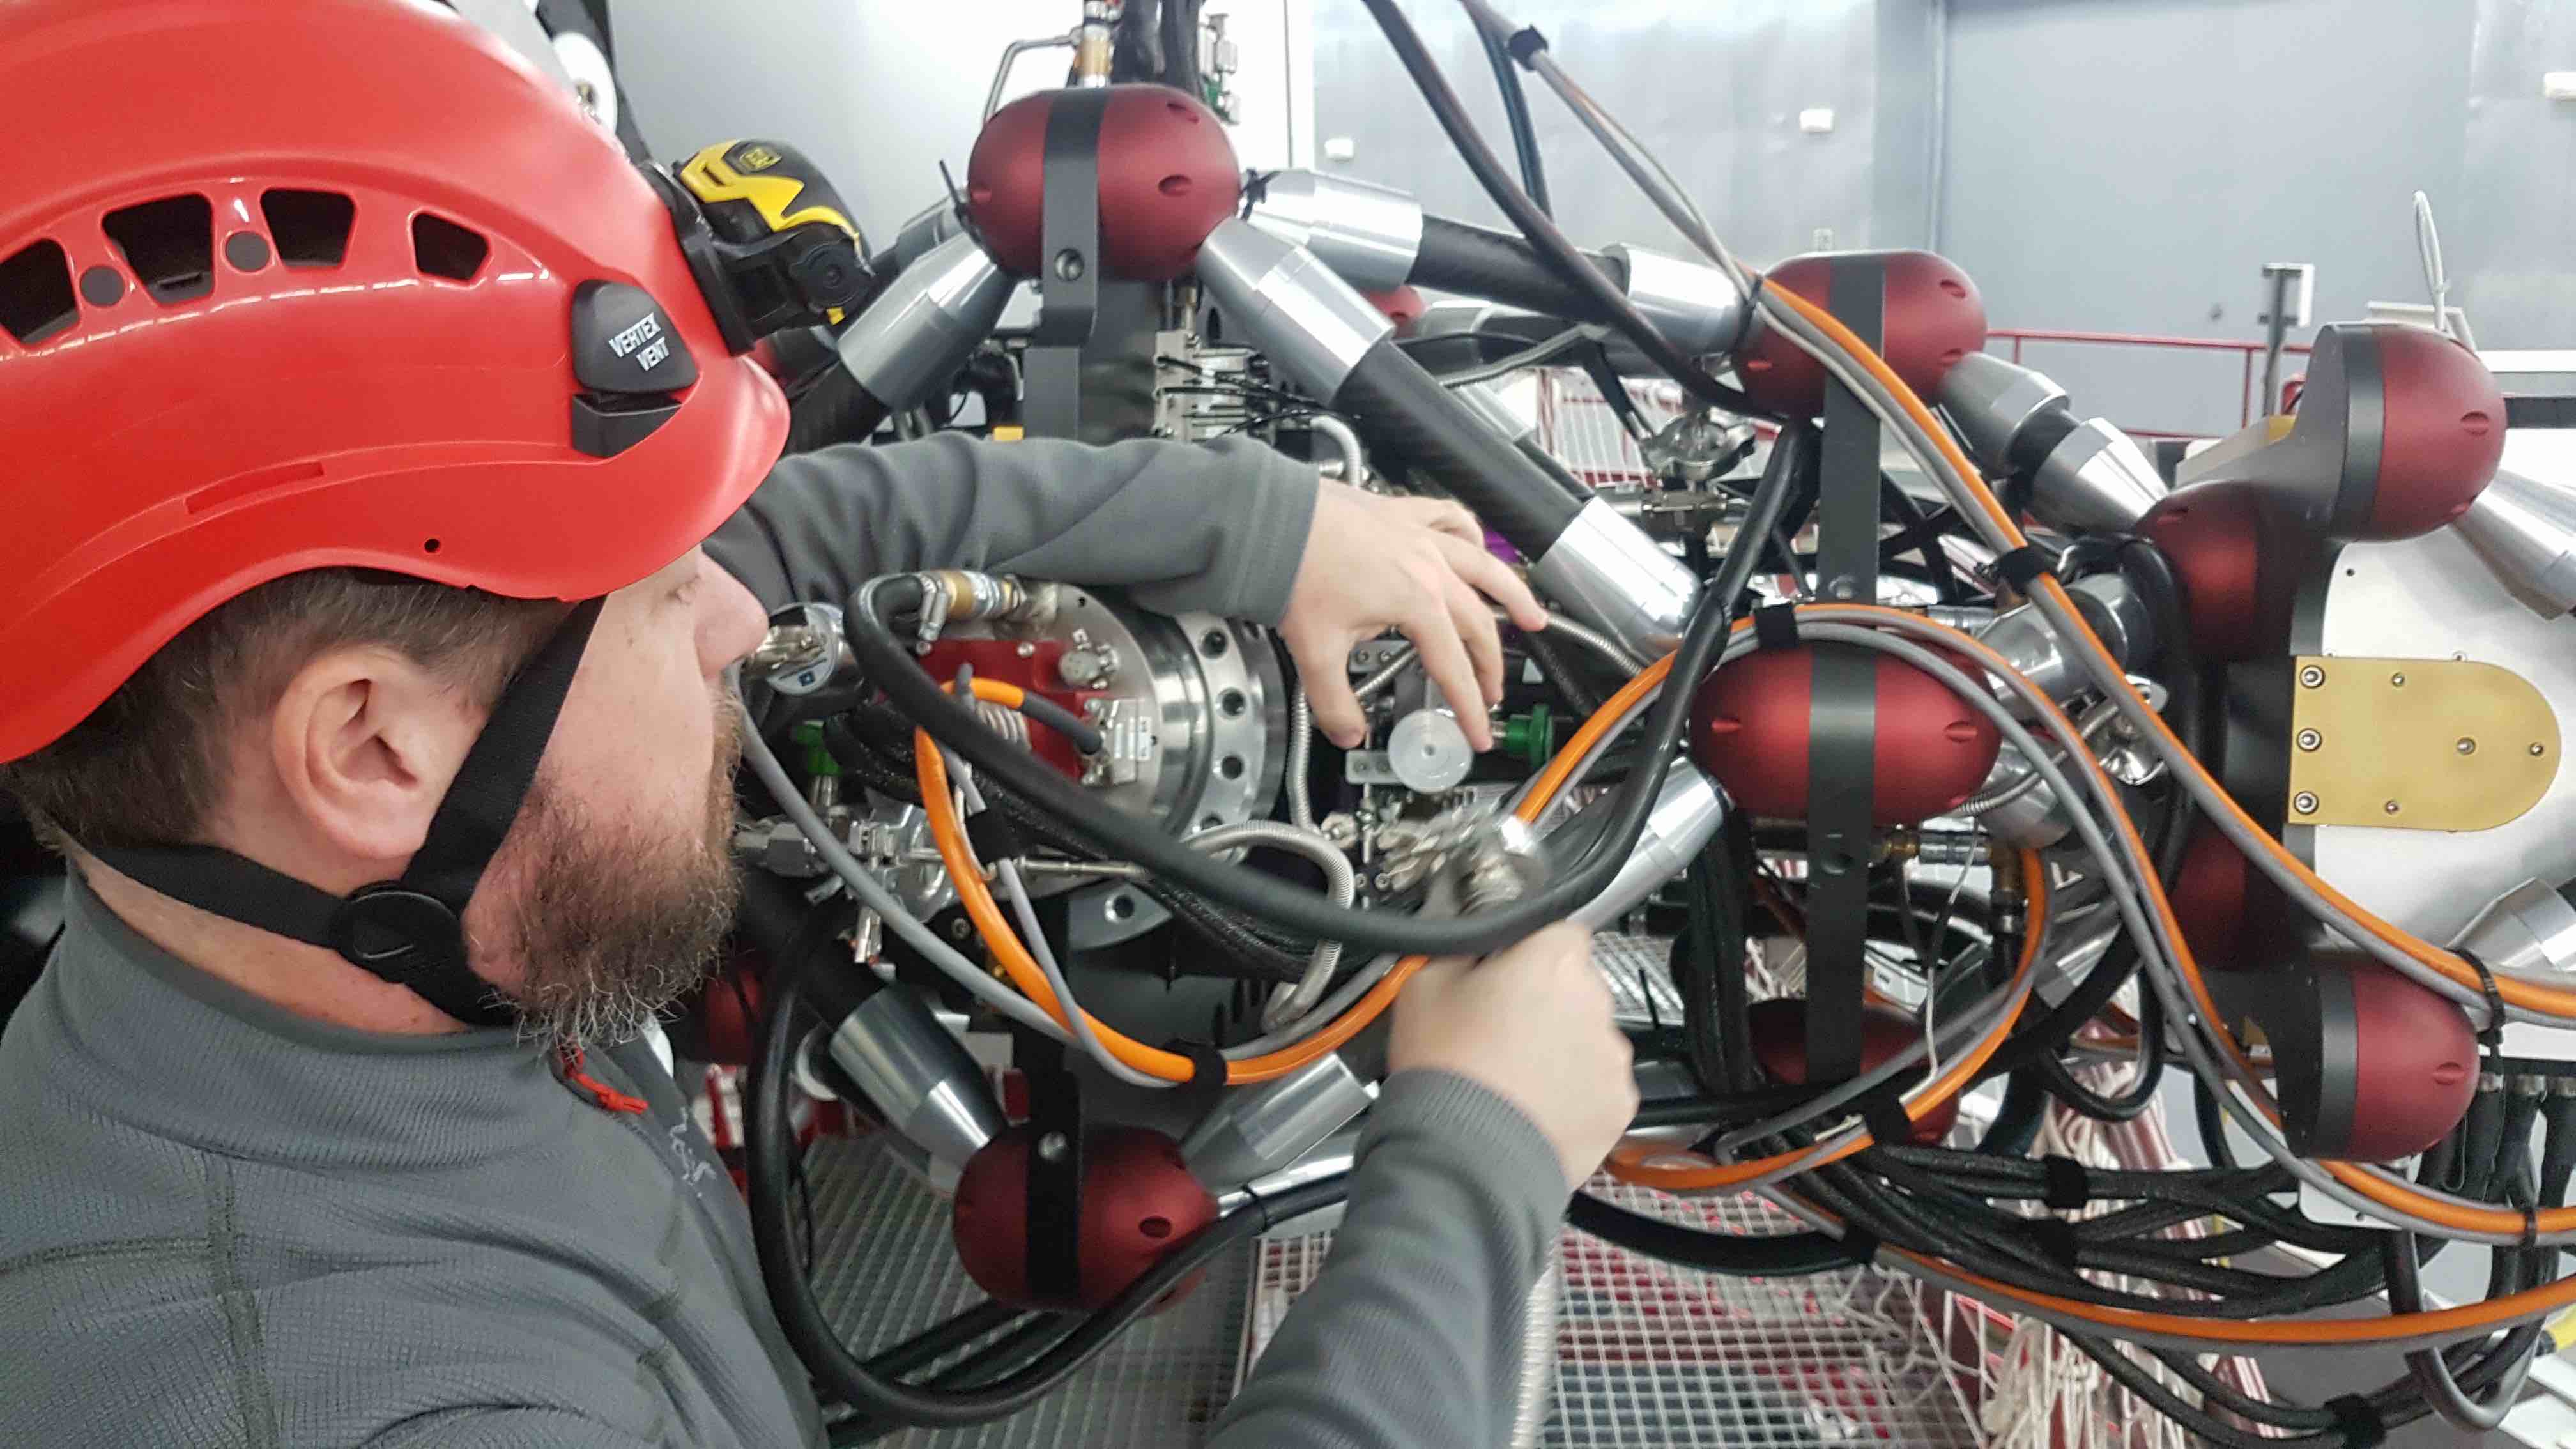
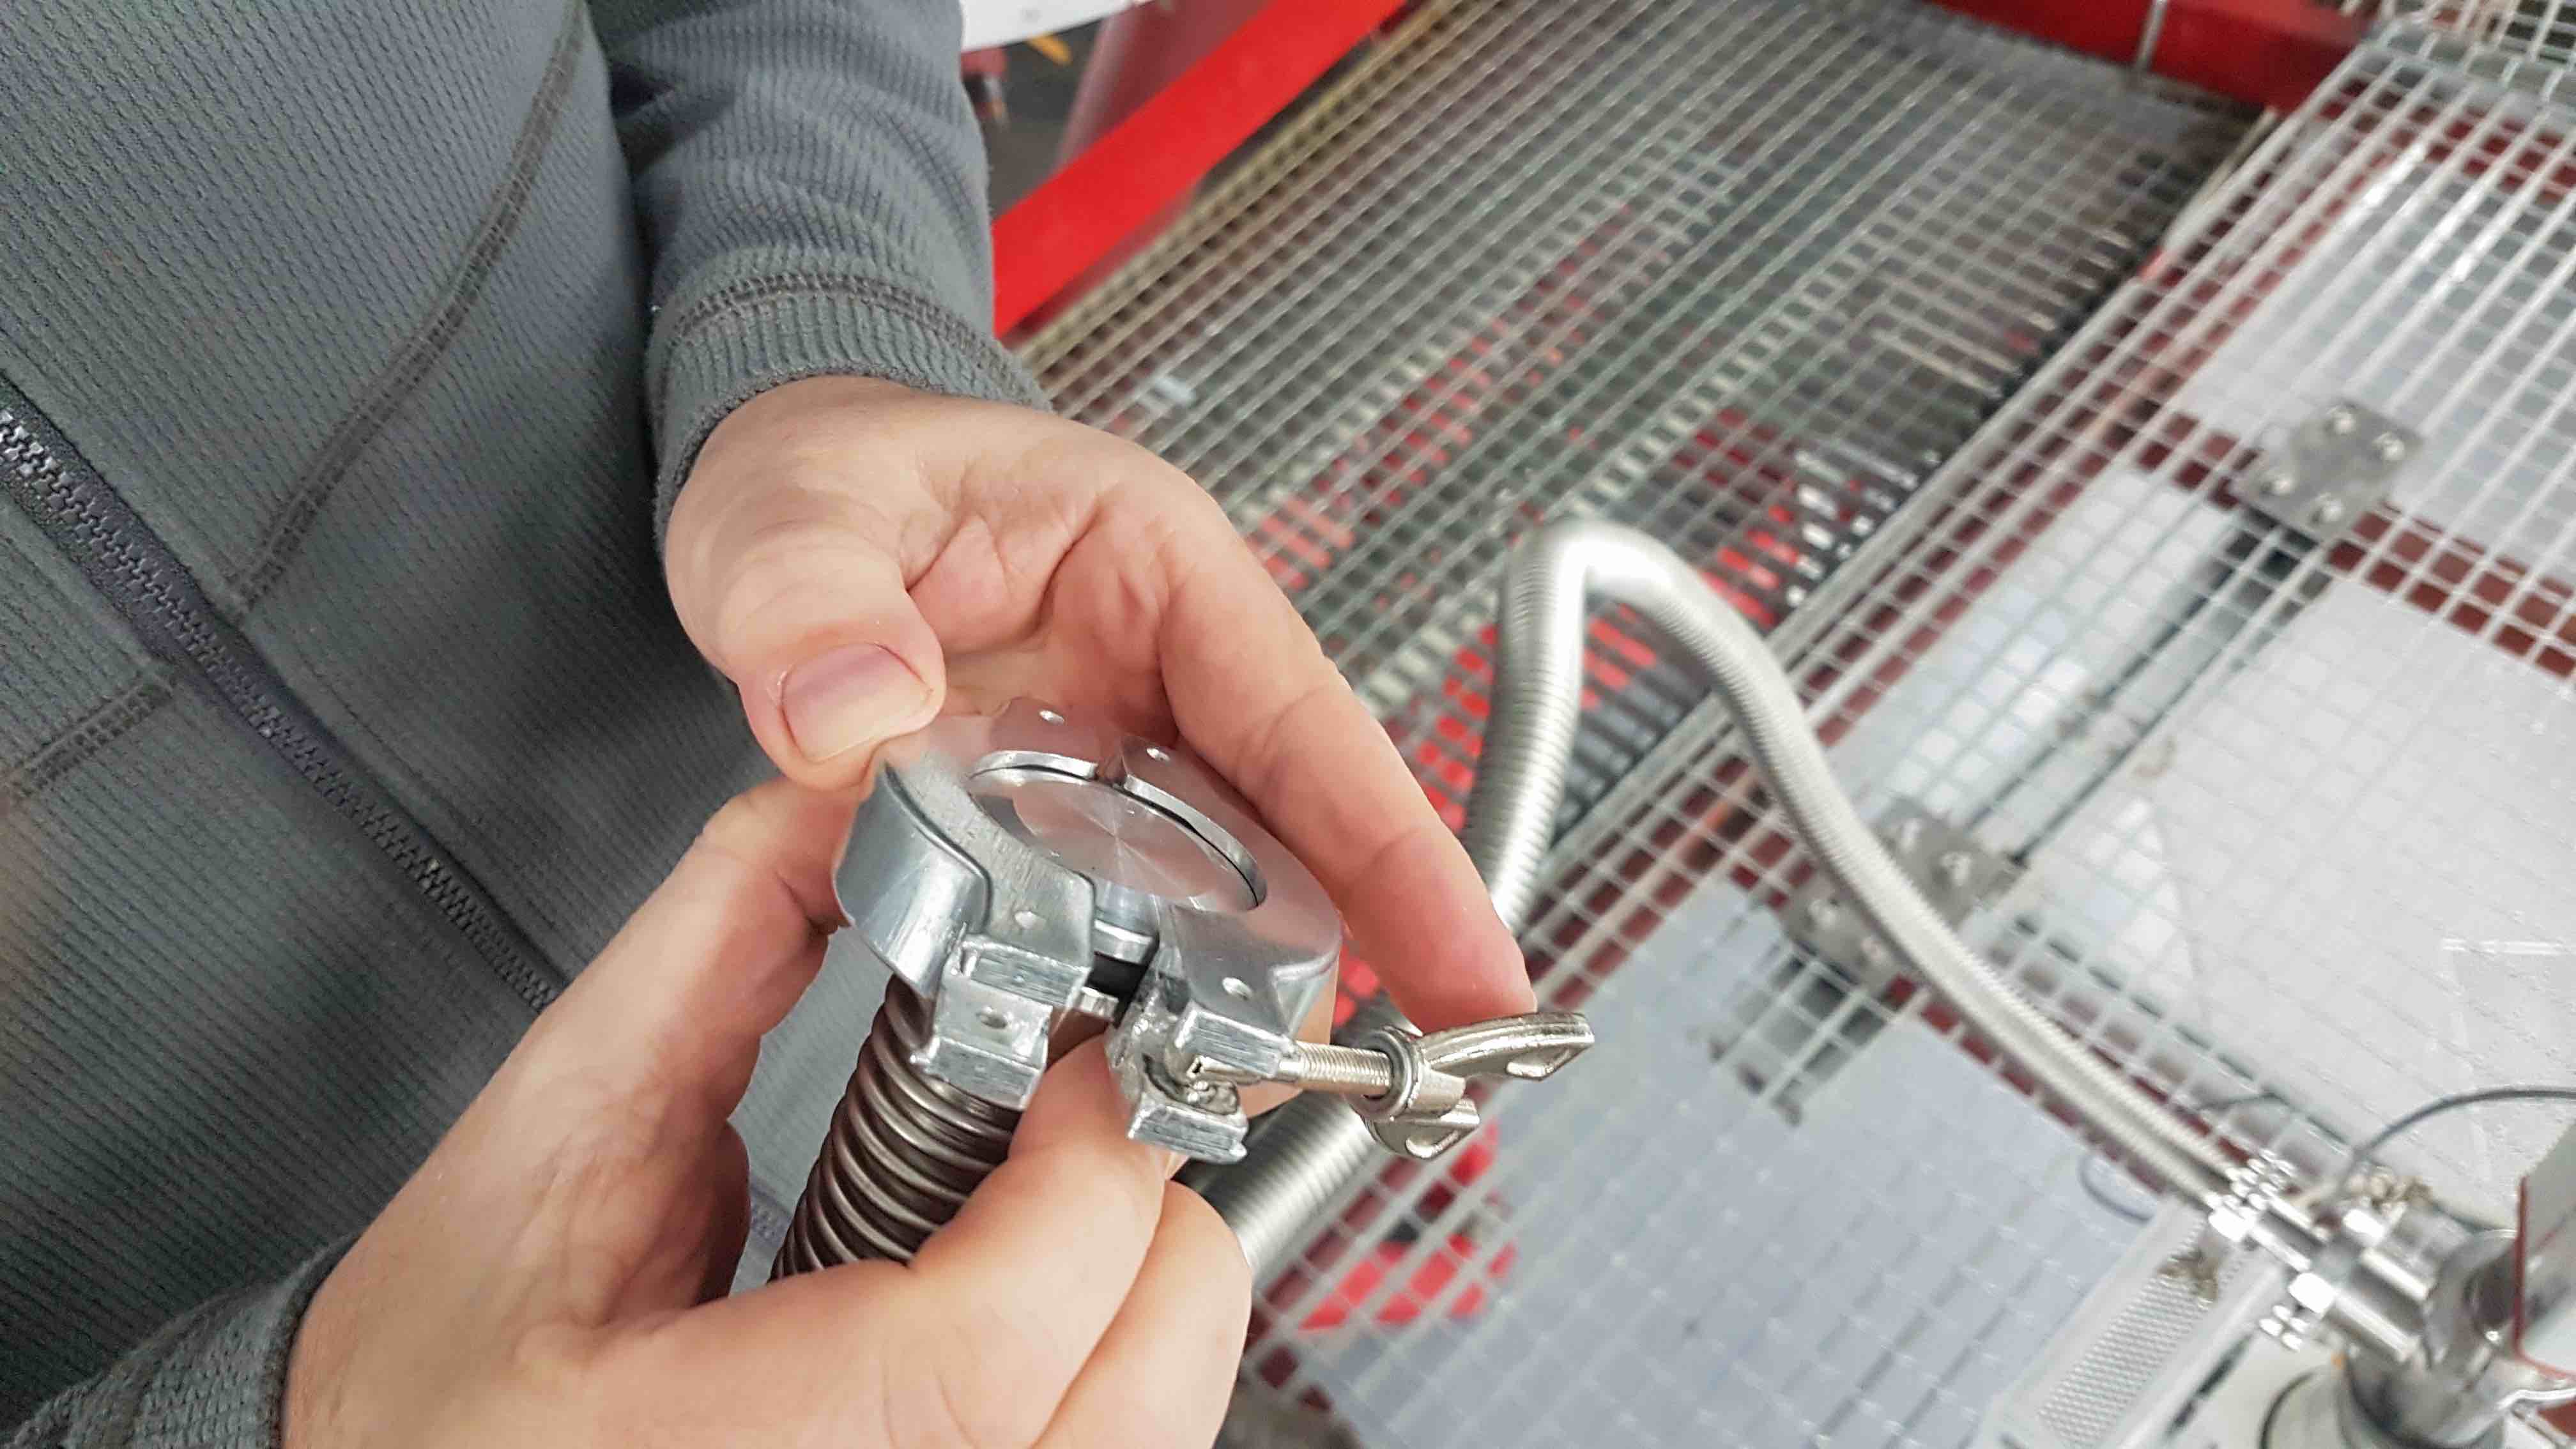
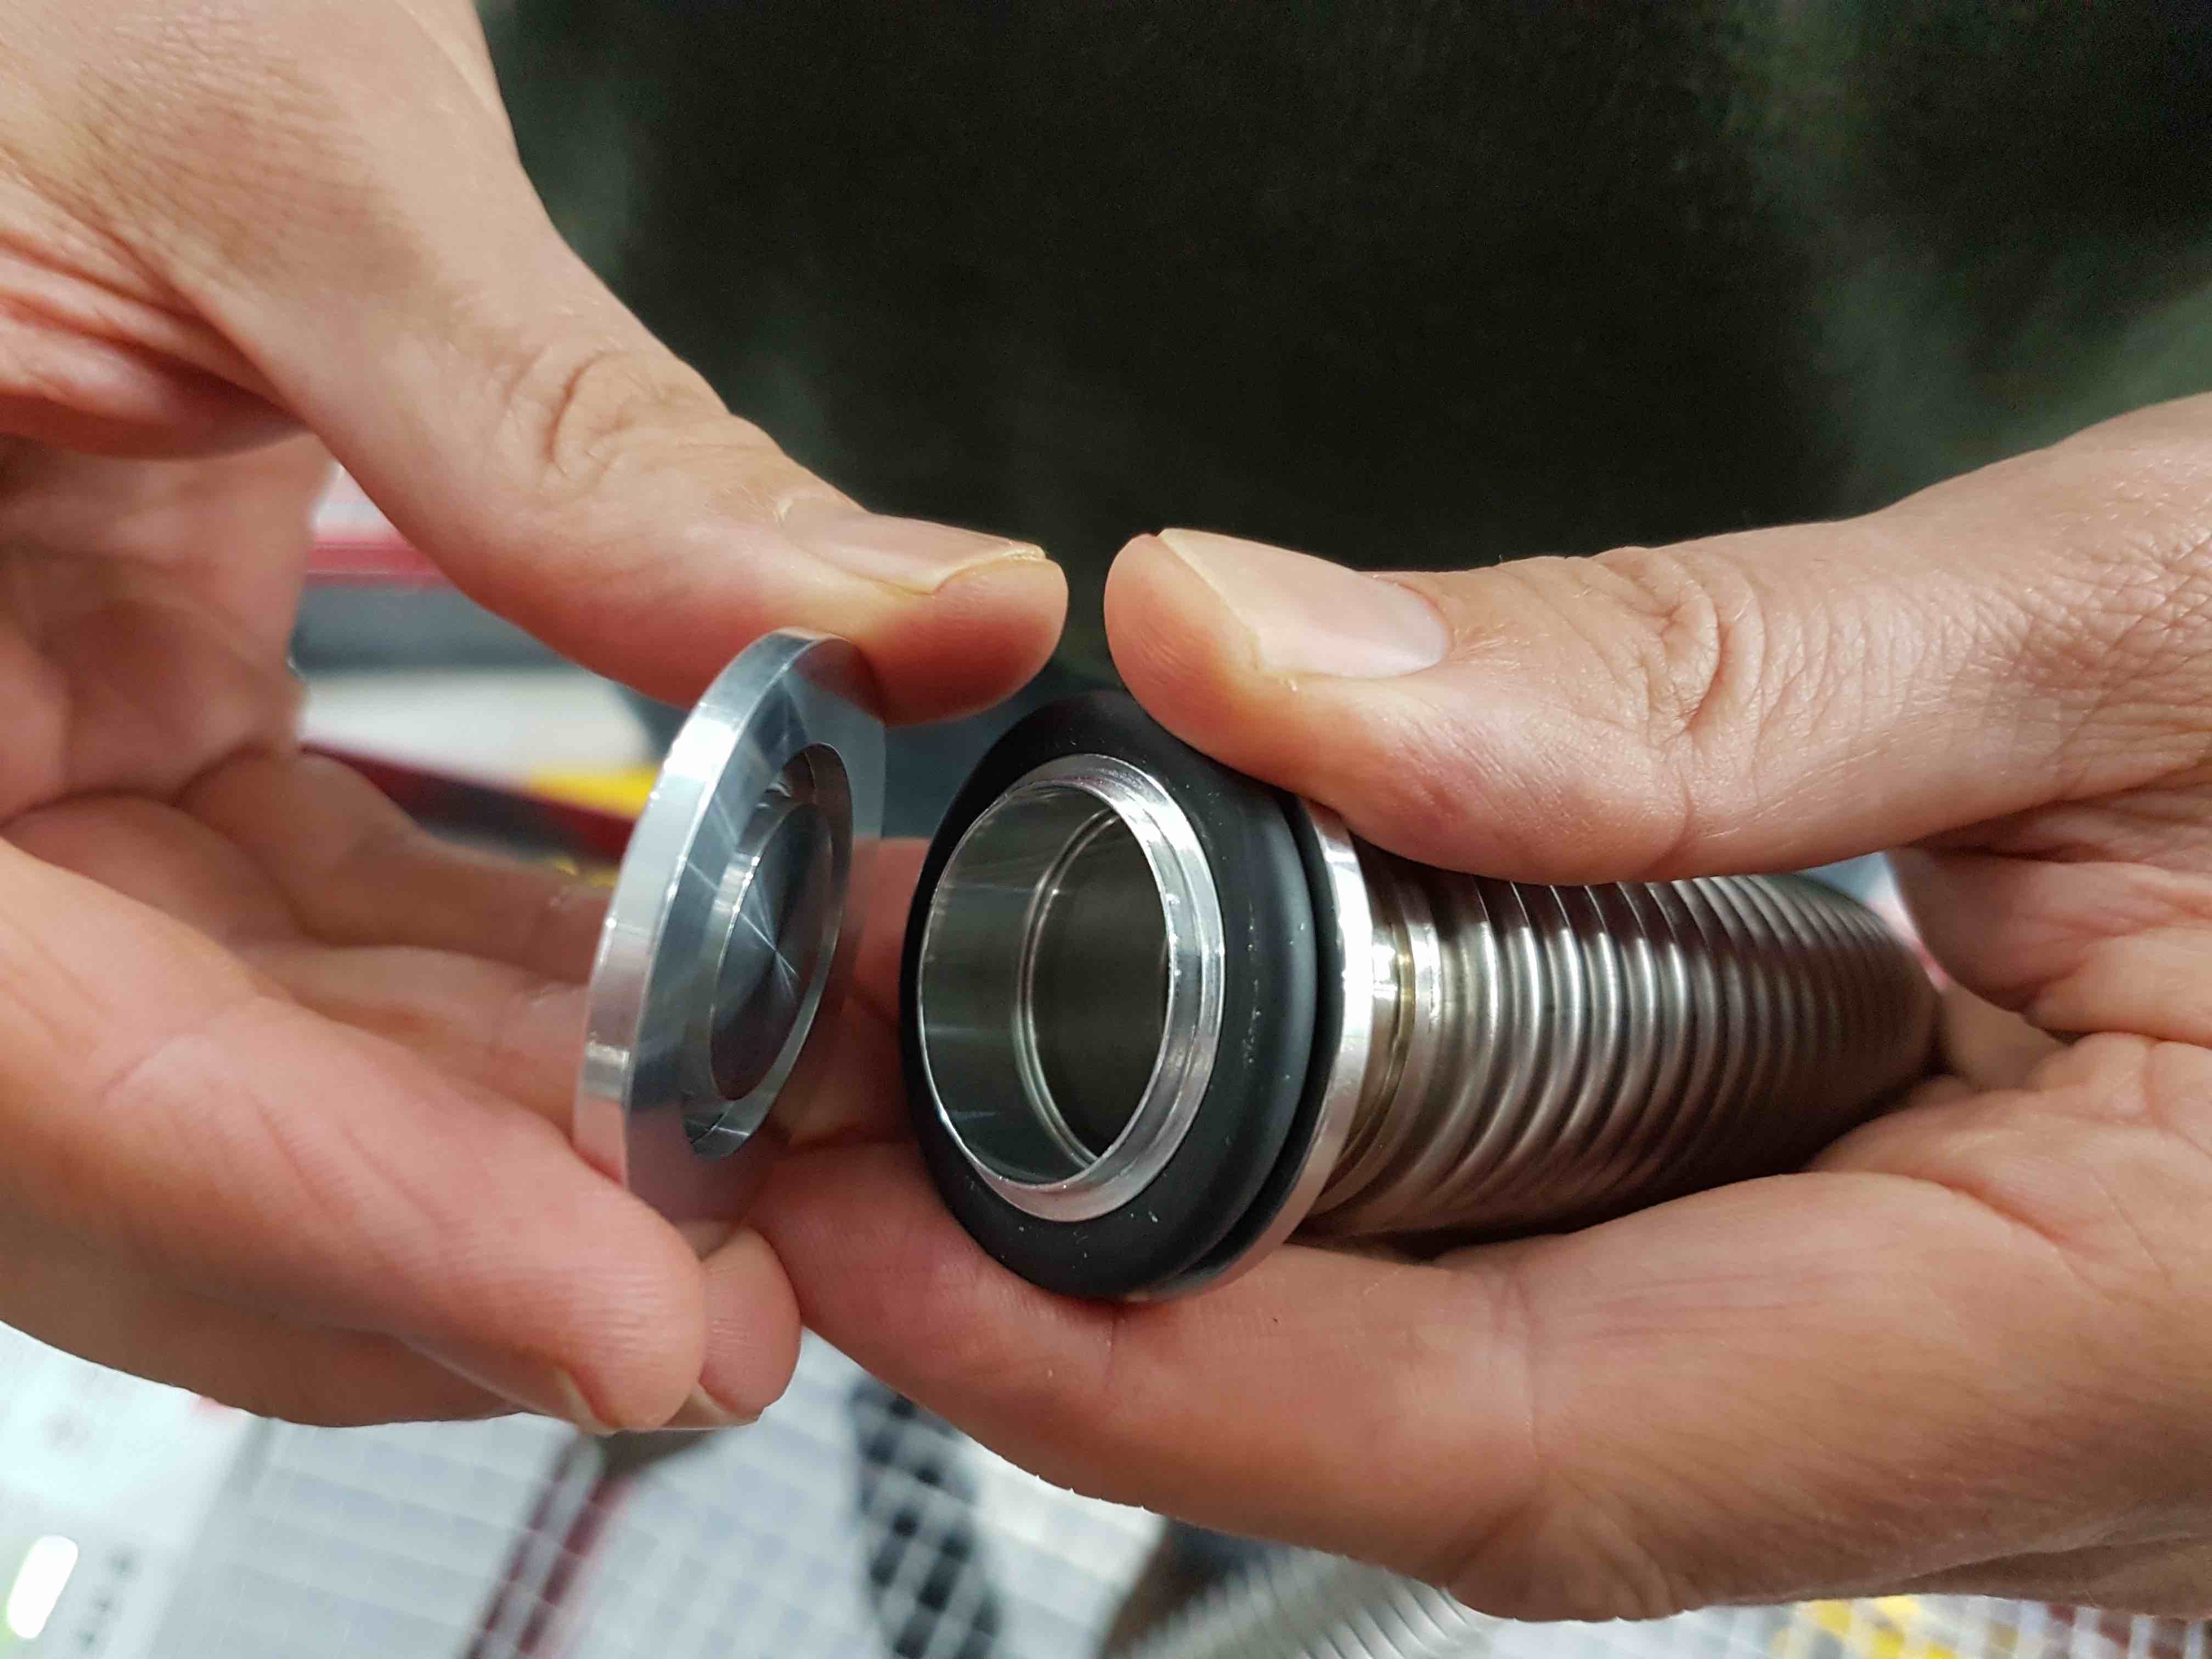
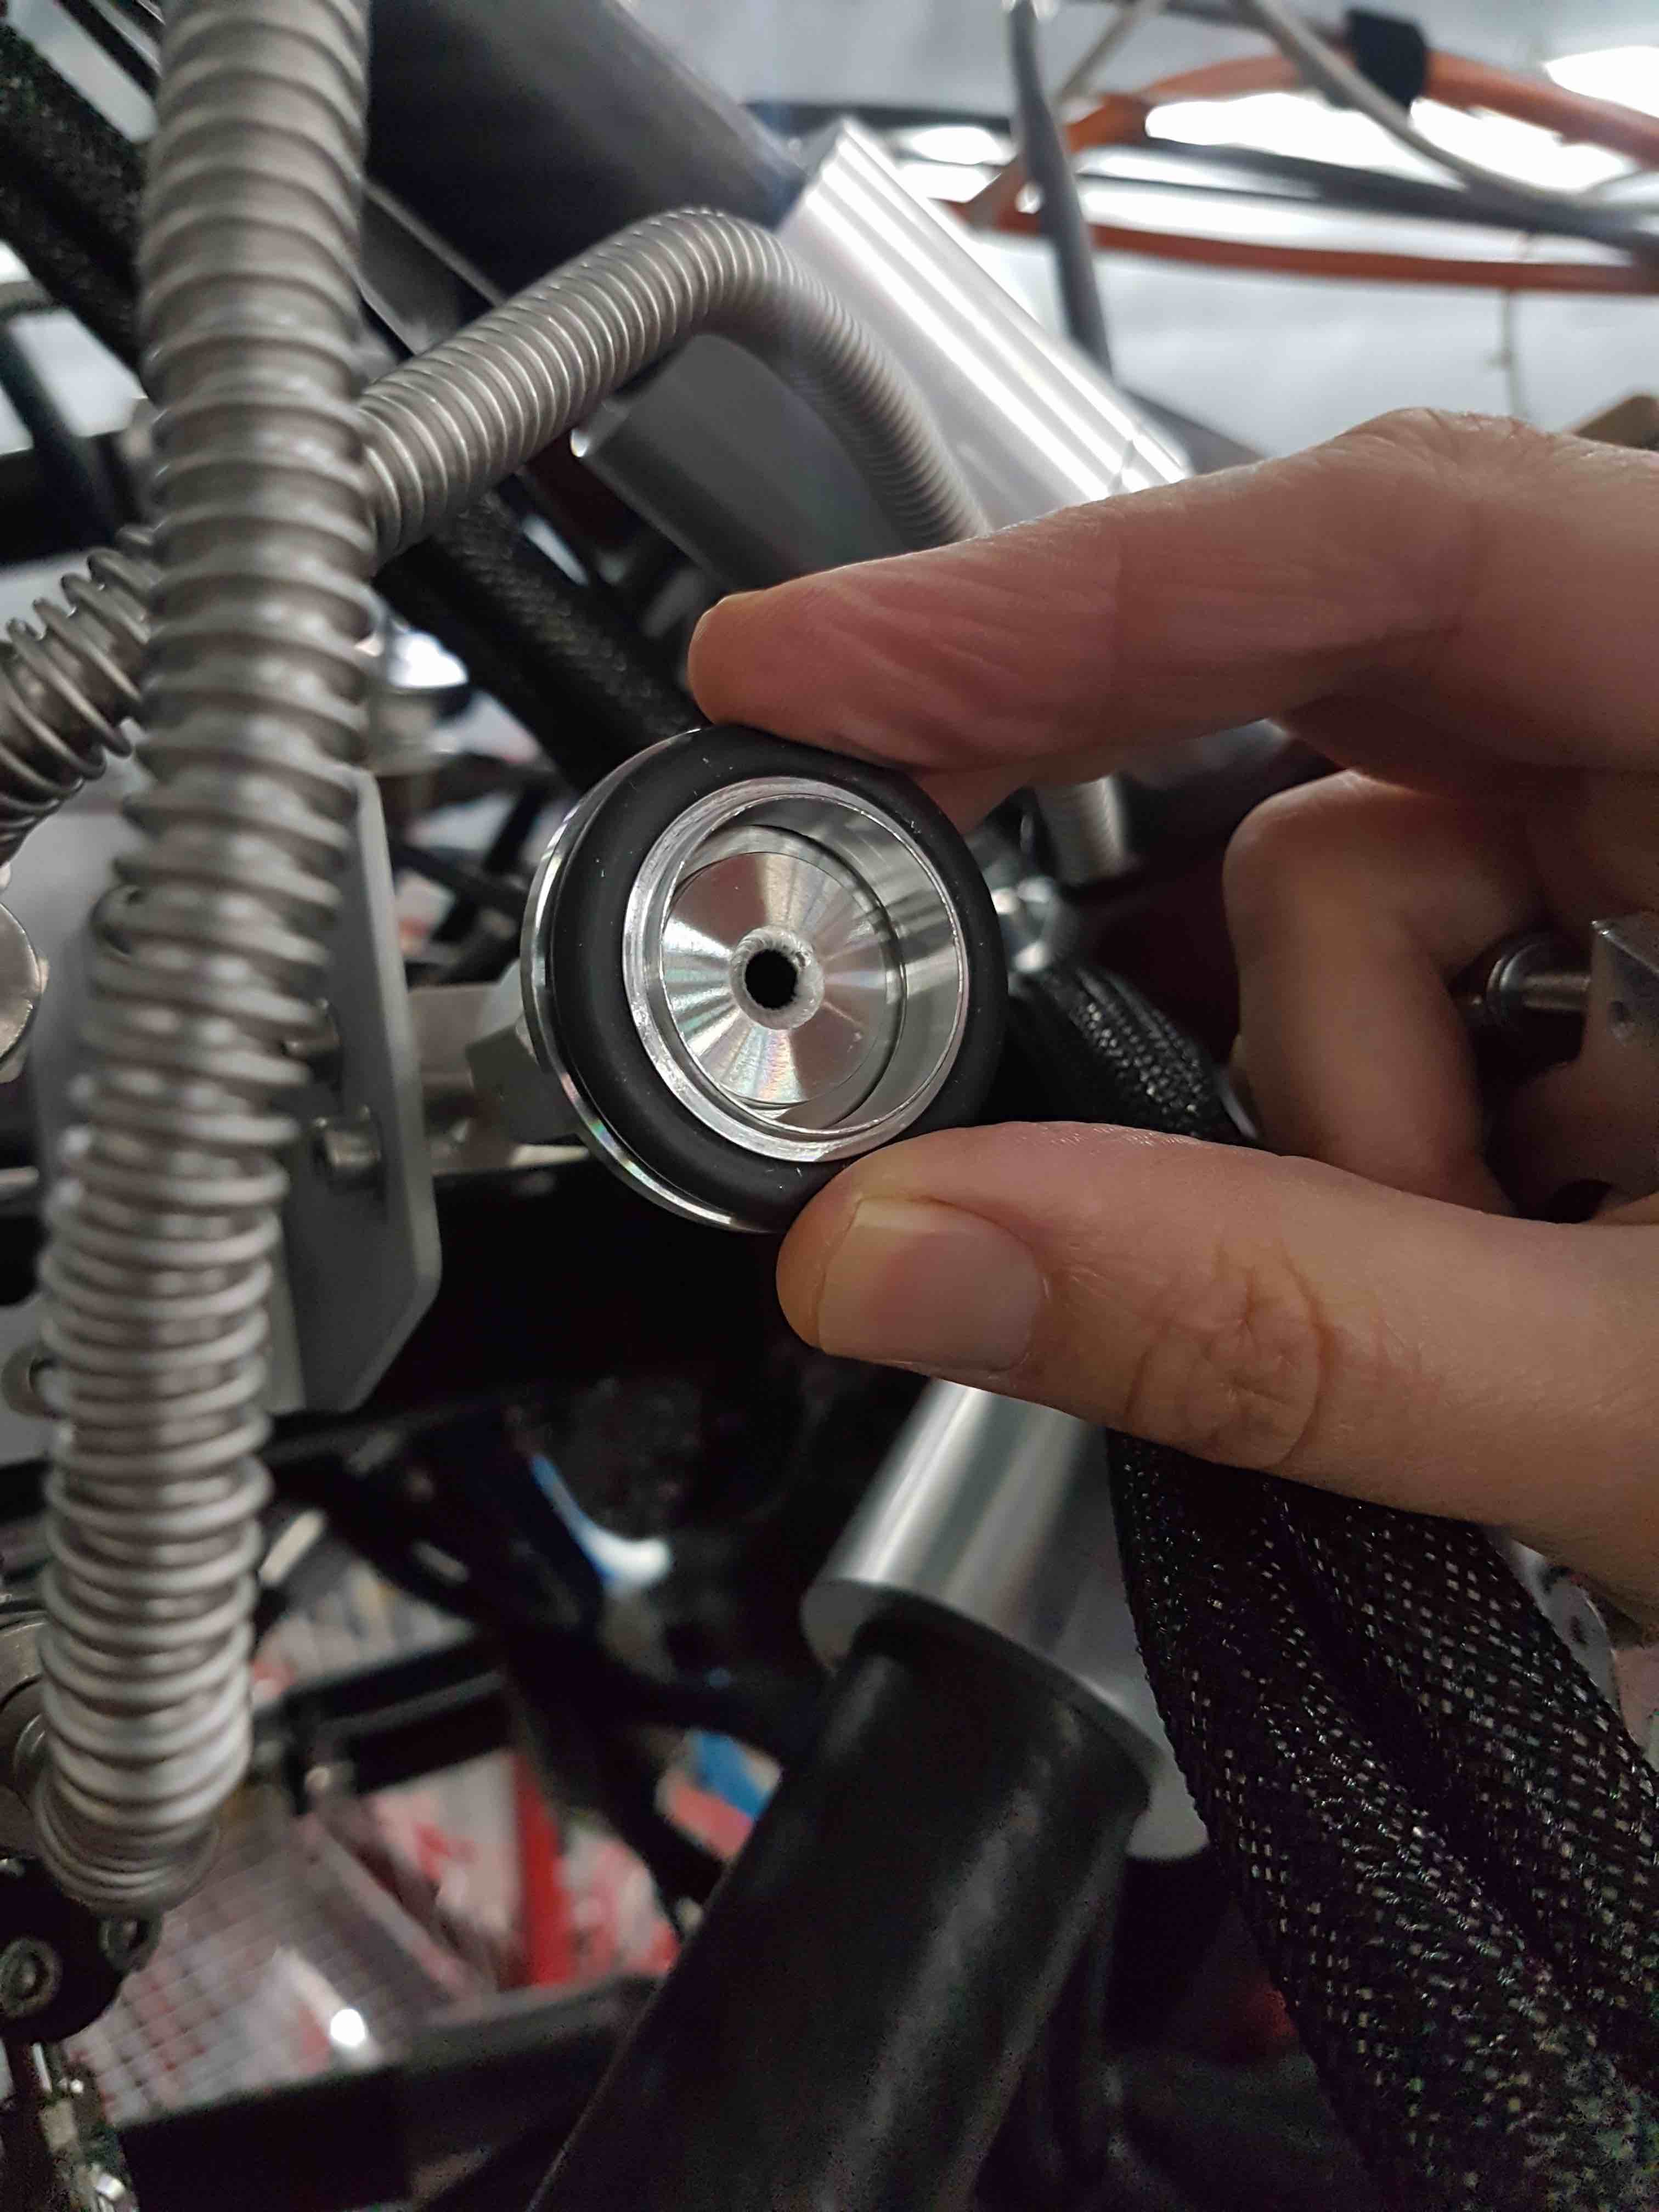
Keep the mating surfaces, vacuum o-ring, blanking plug and plastic cap clean, and try to avoid touching the inner surfaces. Be careful not to scratch the mating surfaces. The fittings used are called KF fittings and you should try to avoid overtightening the clamps.
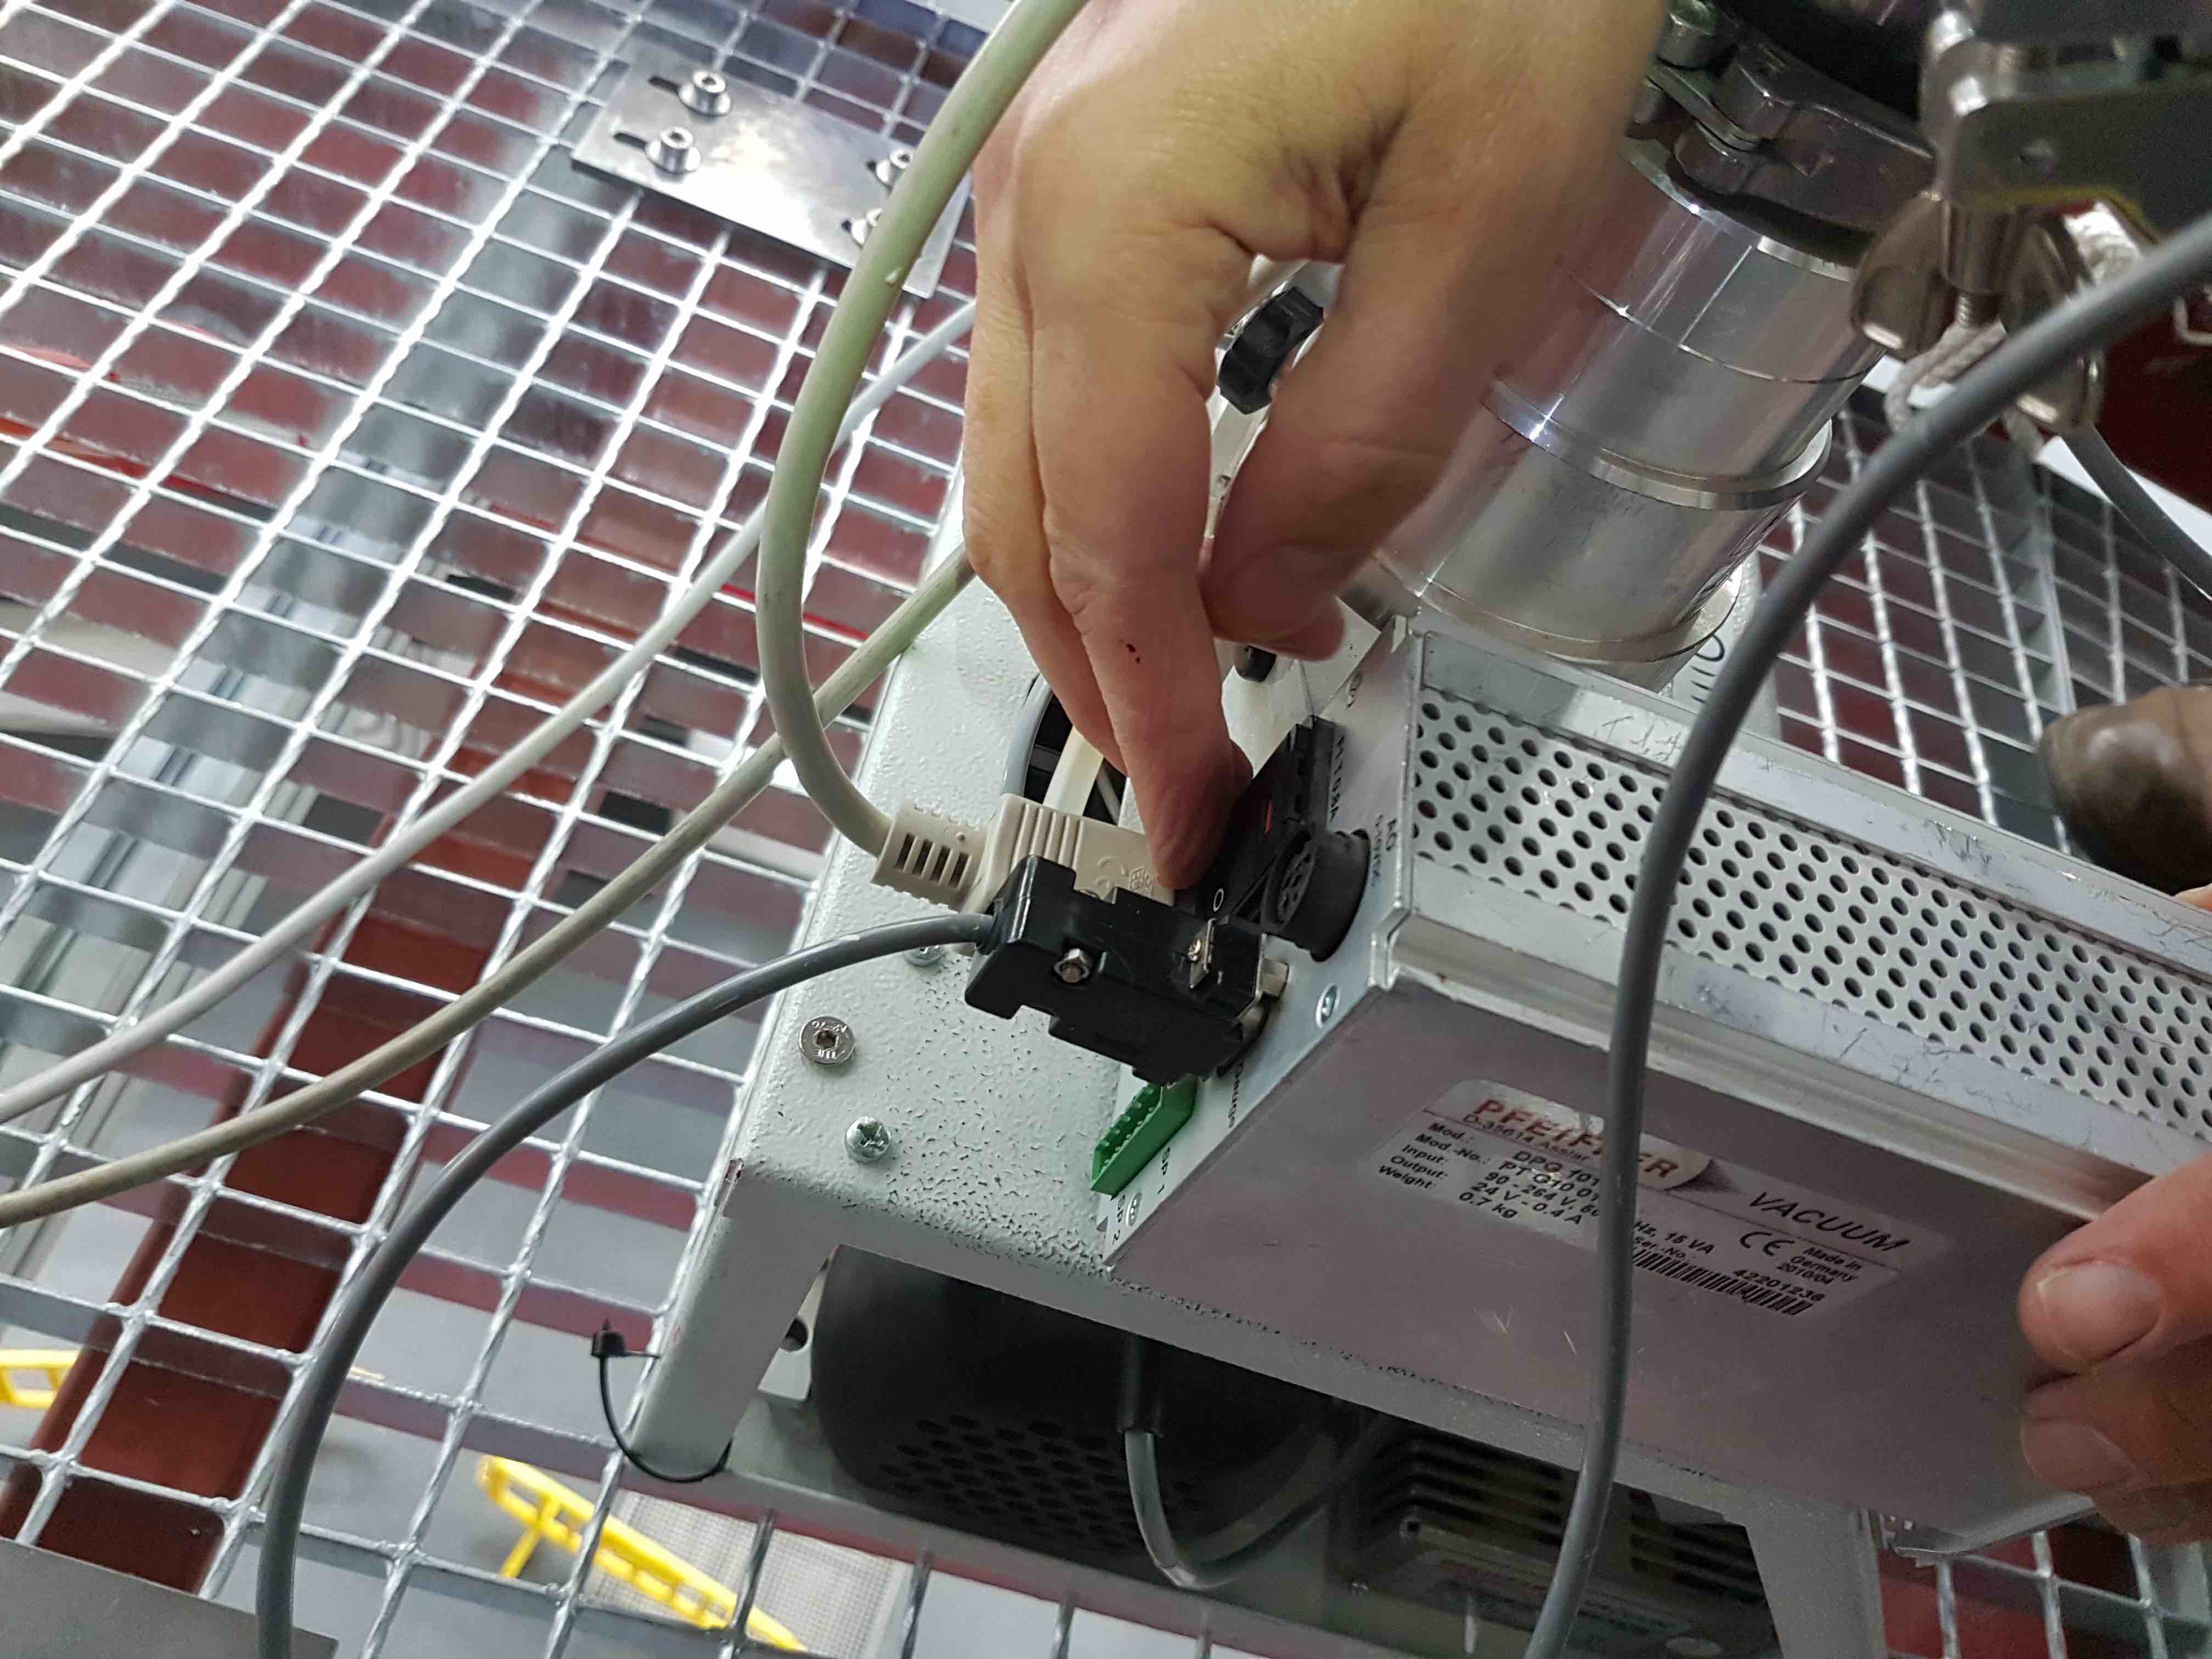
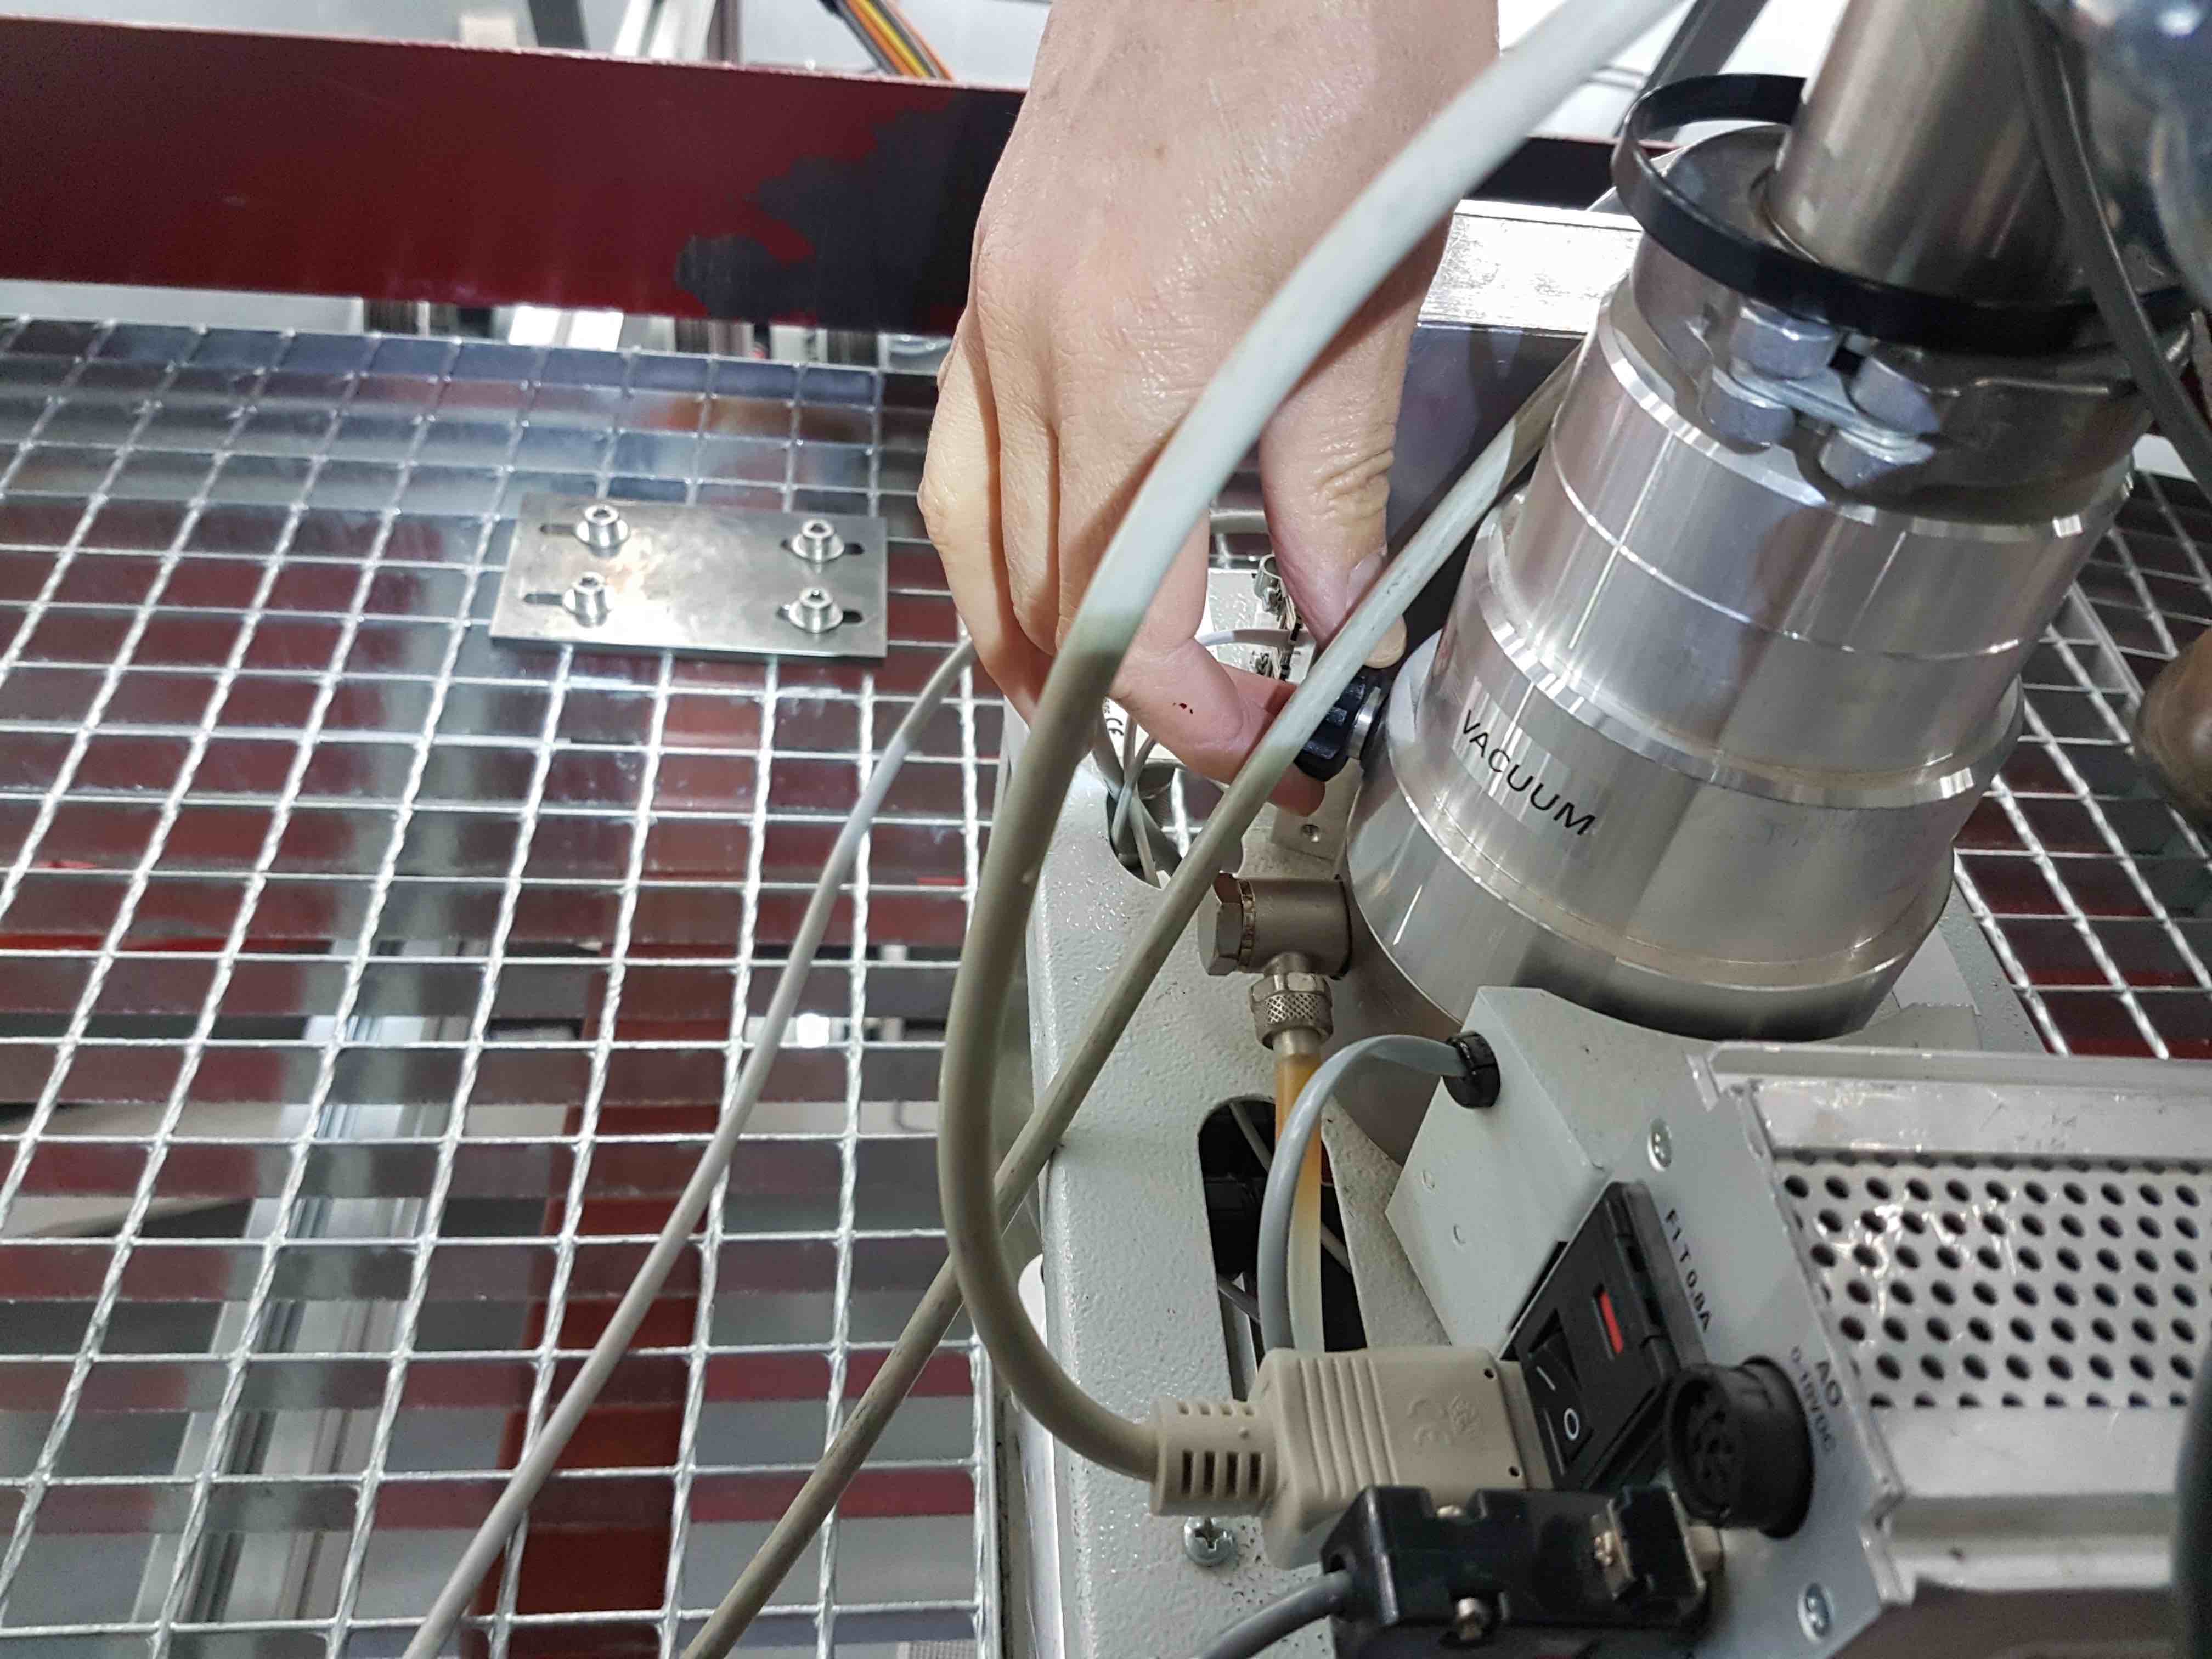
Connect the two power cables from the pump to the mains extension reel lying underneath HiPERCAM. You may need to twist the plugs as you insert them into the sockets. If the pump and gauge displays do not come on, press the toggle switches hidden in the hole on the front panel of the pump and at the rear of the pump vacuum gauge controller (in the separate box). If the backing pump does not come on, press the toggle switch hidden inside the pump on the backing-pump housing.
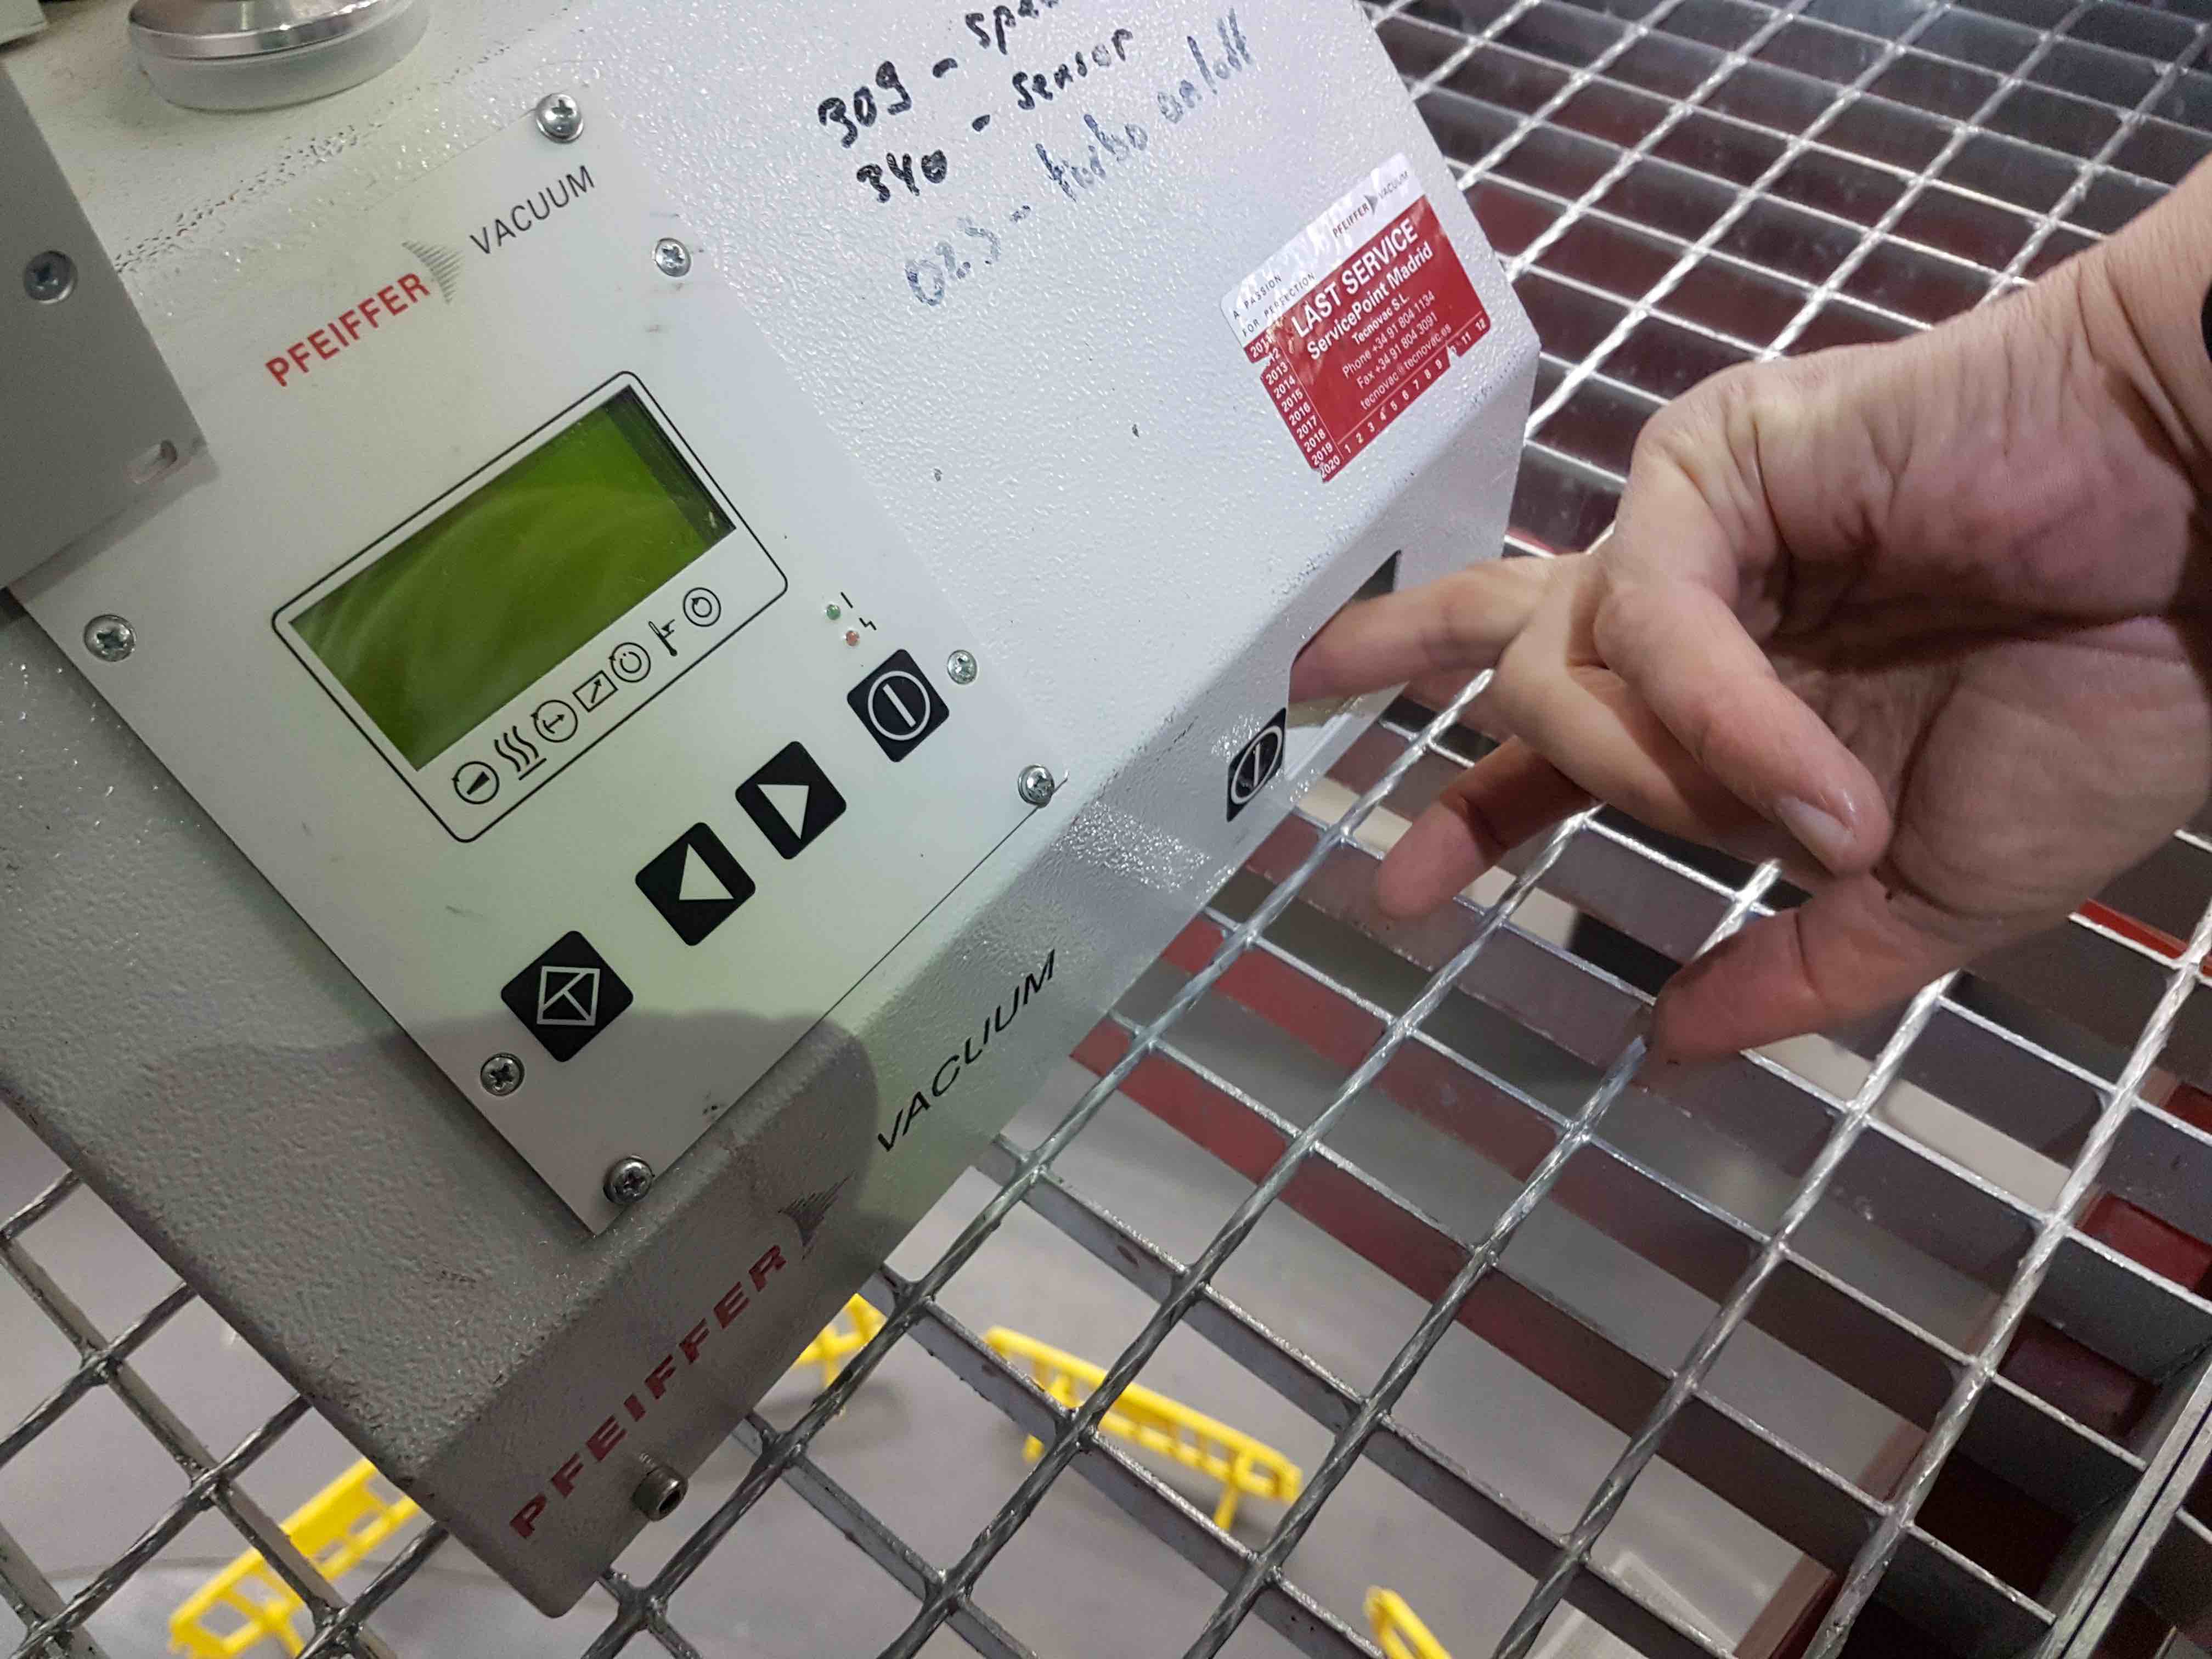
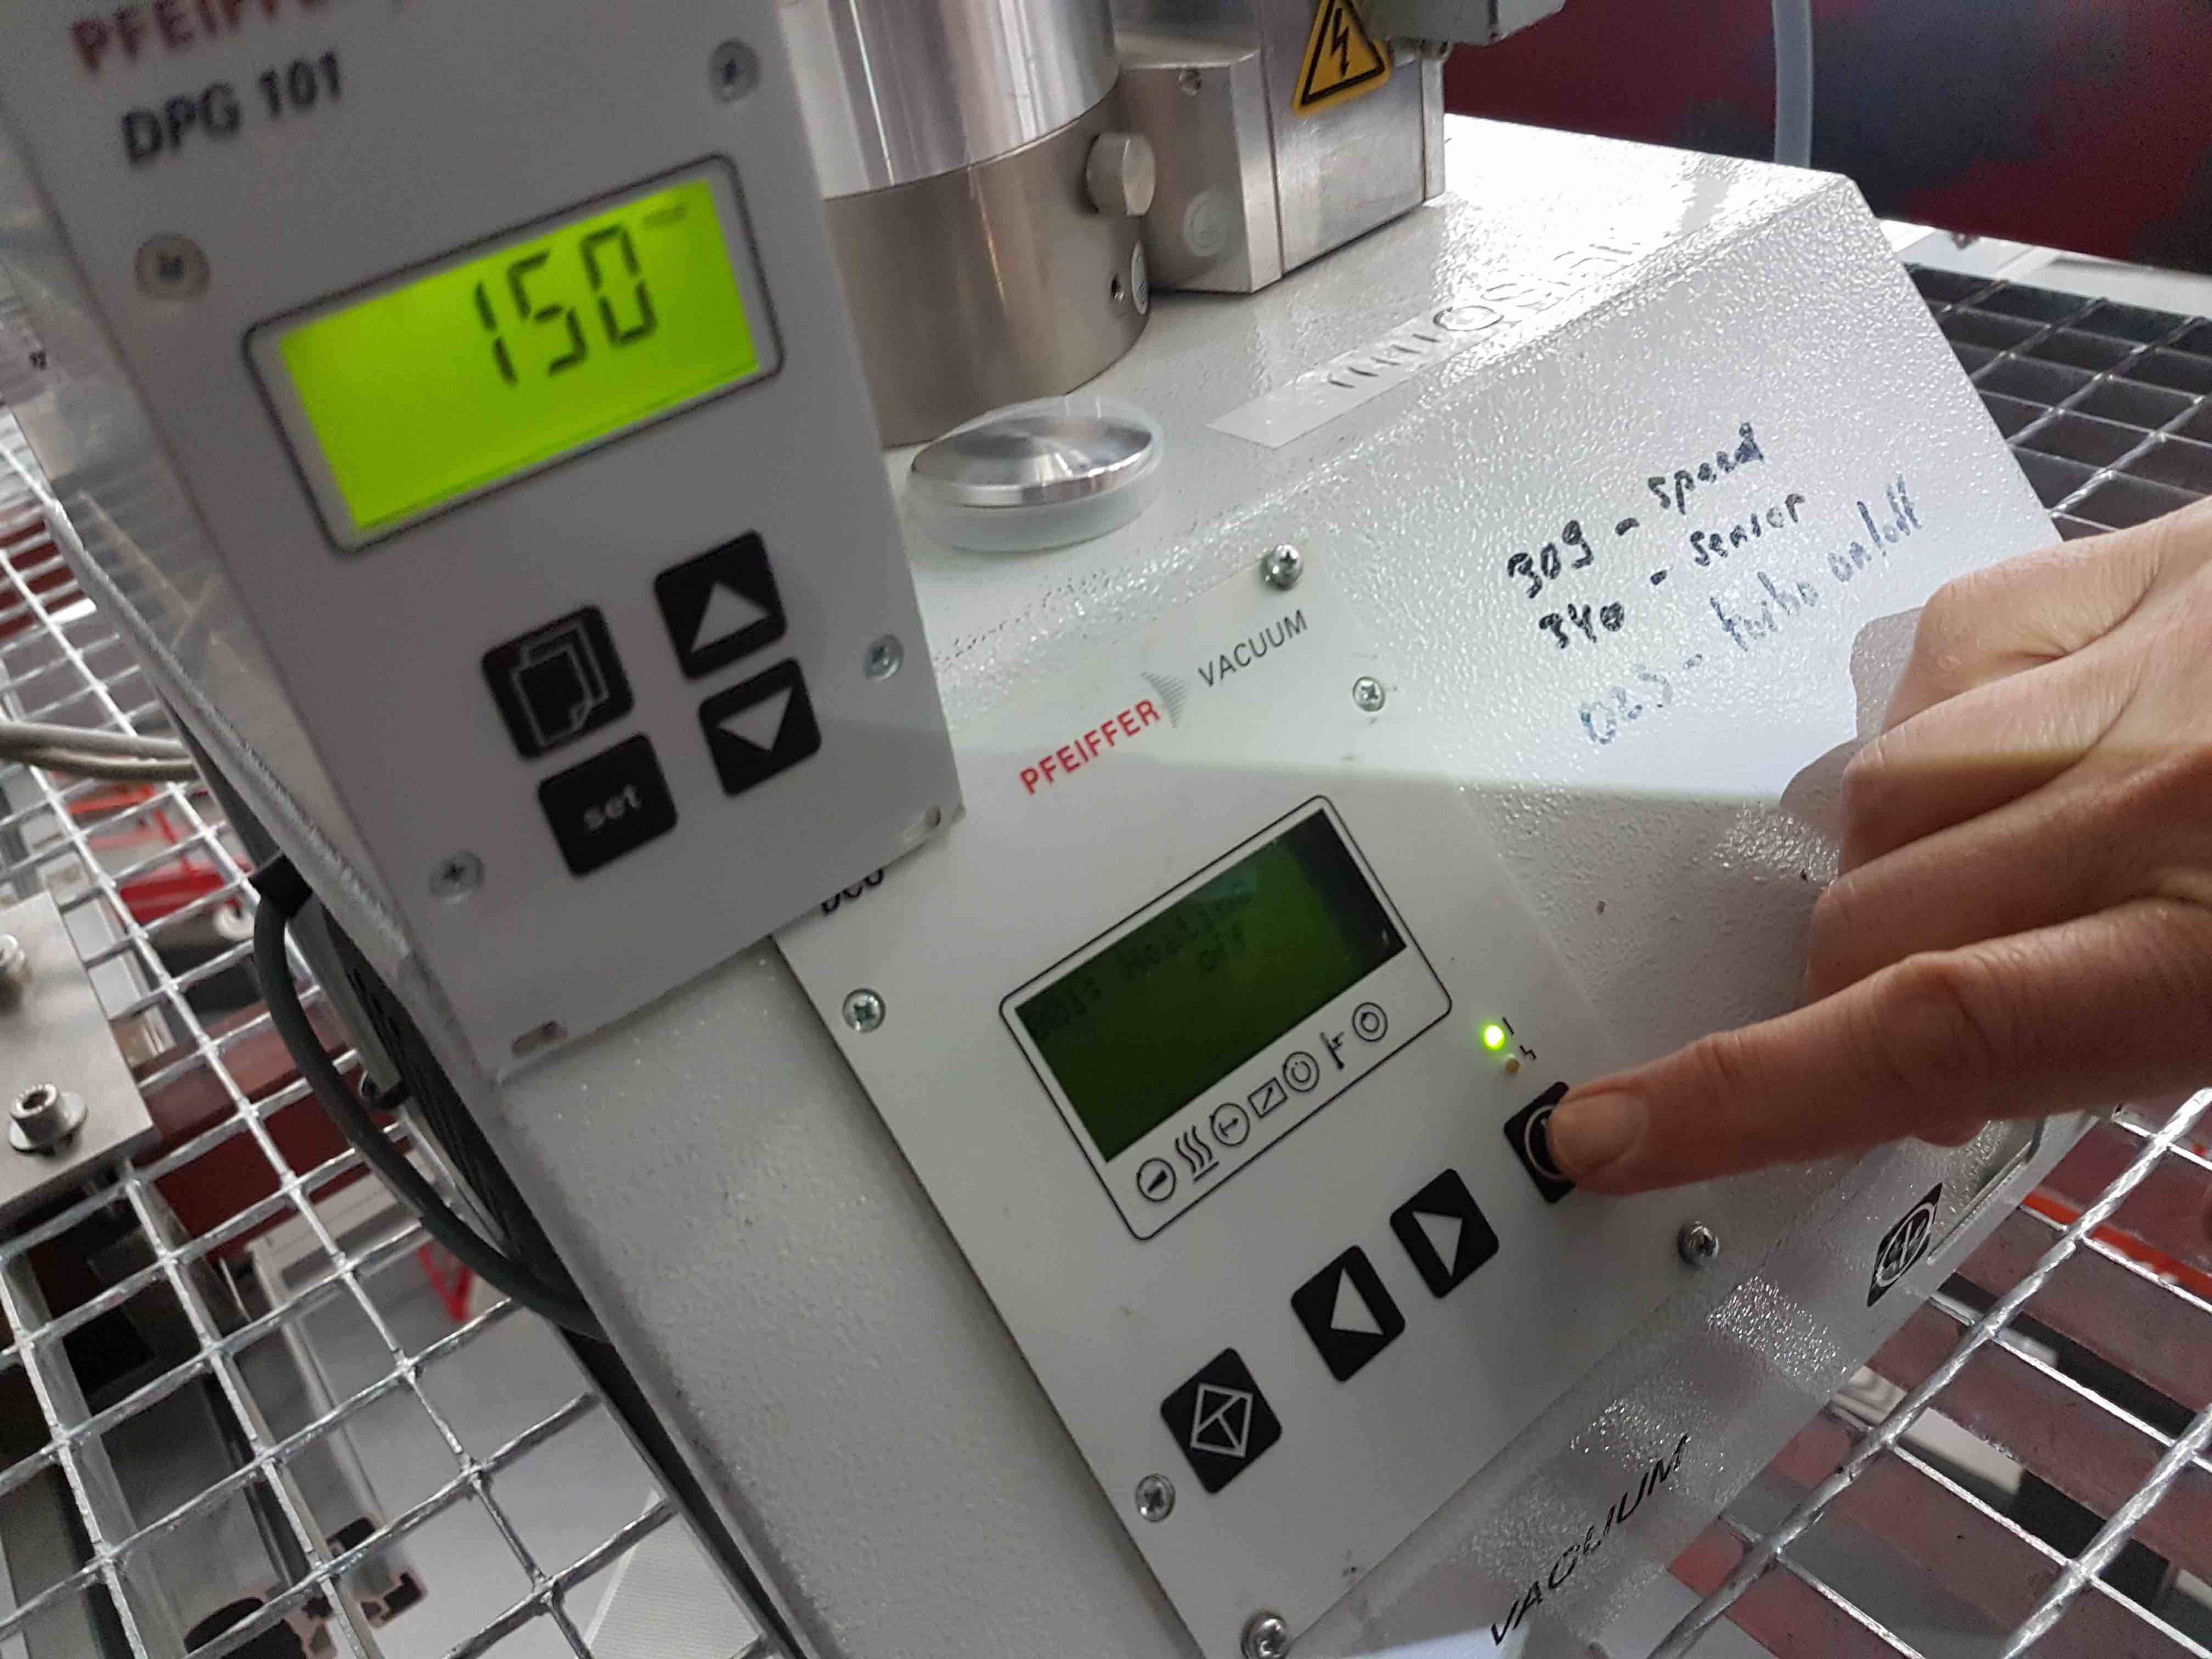
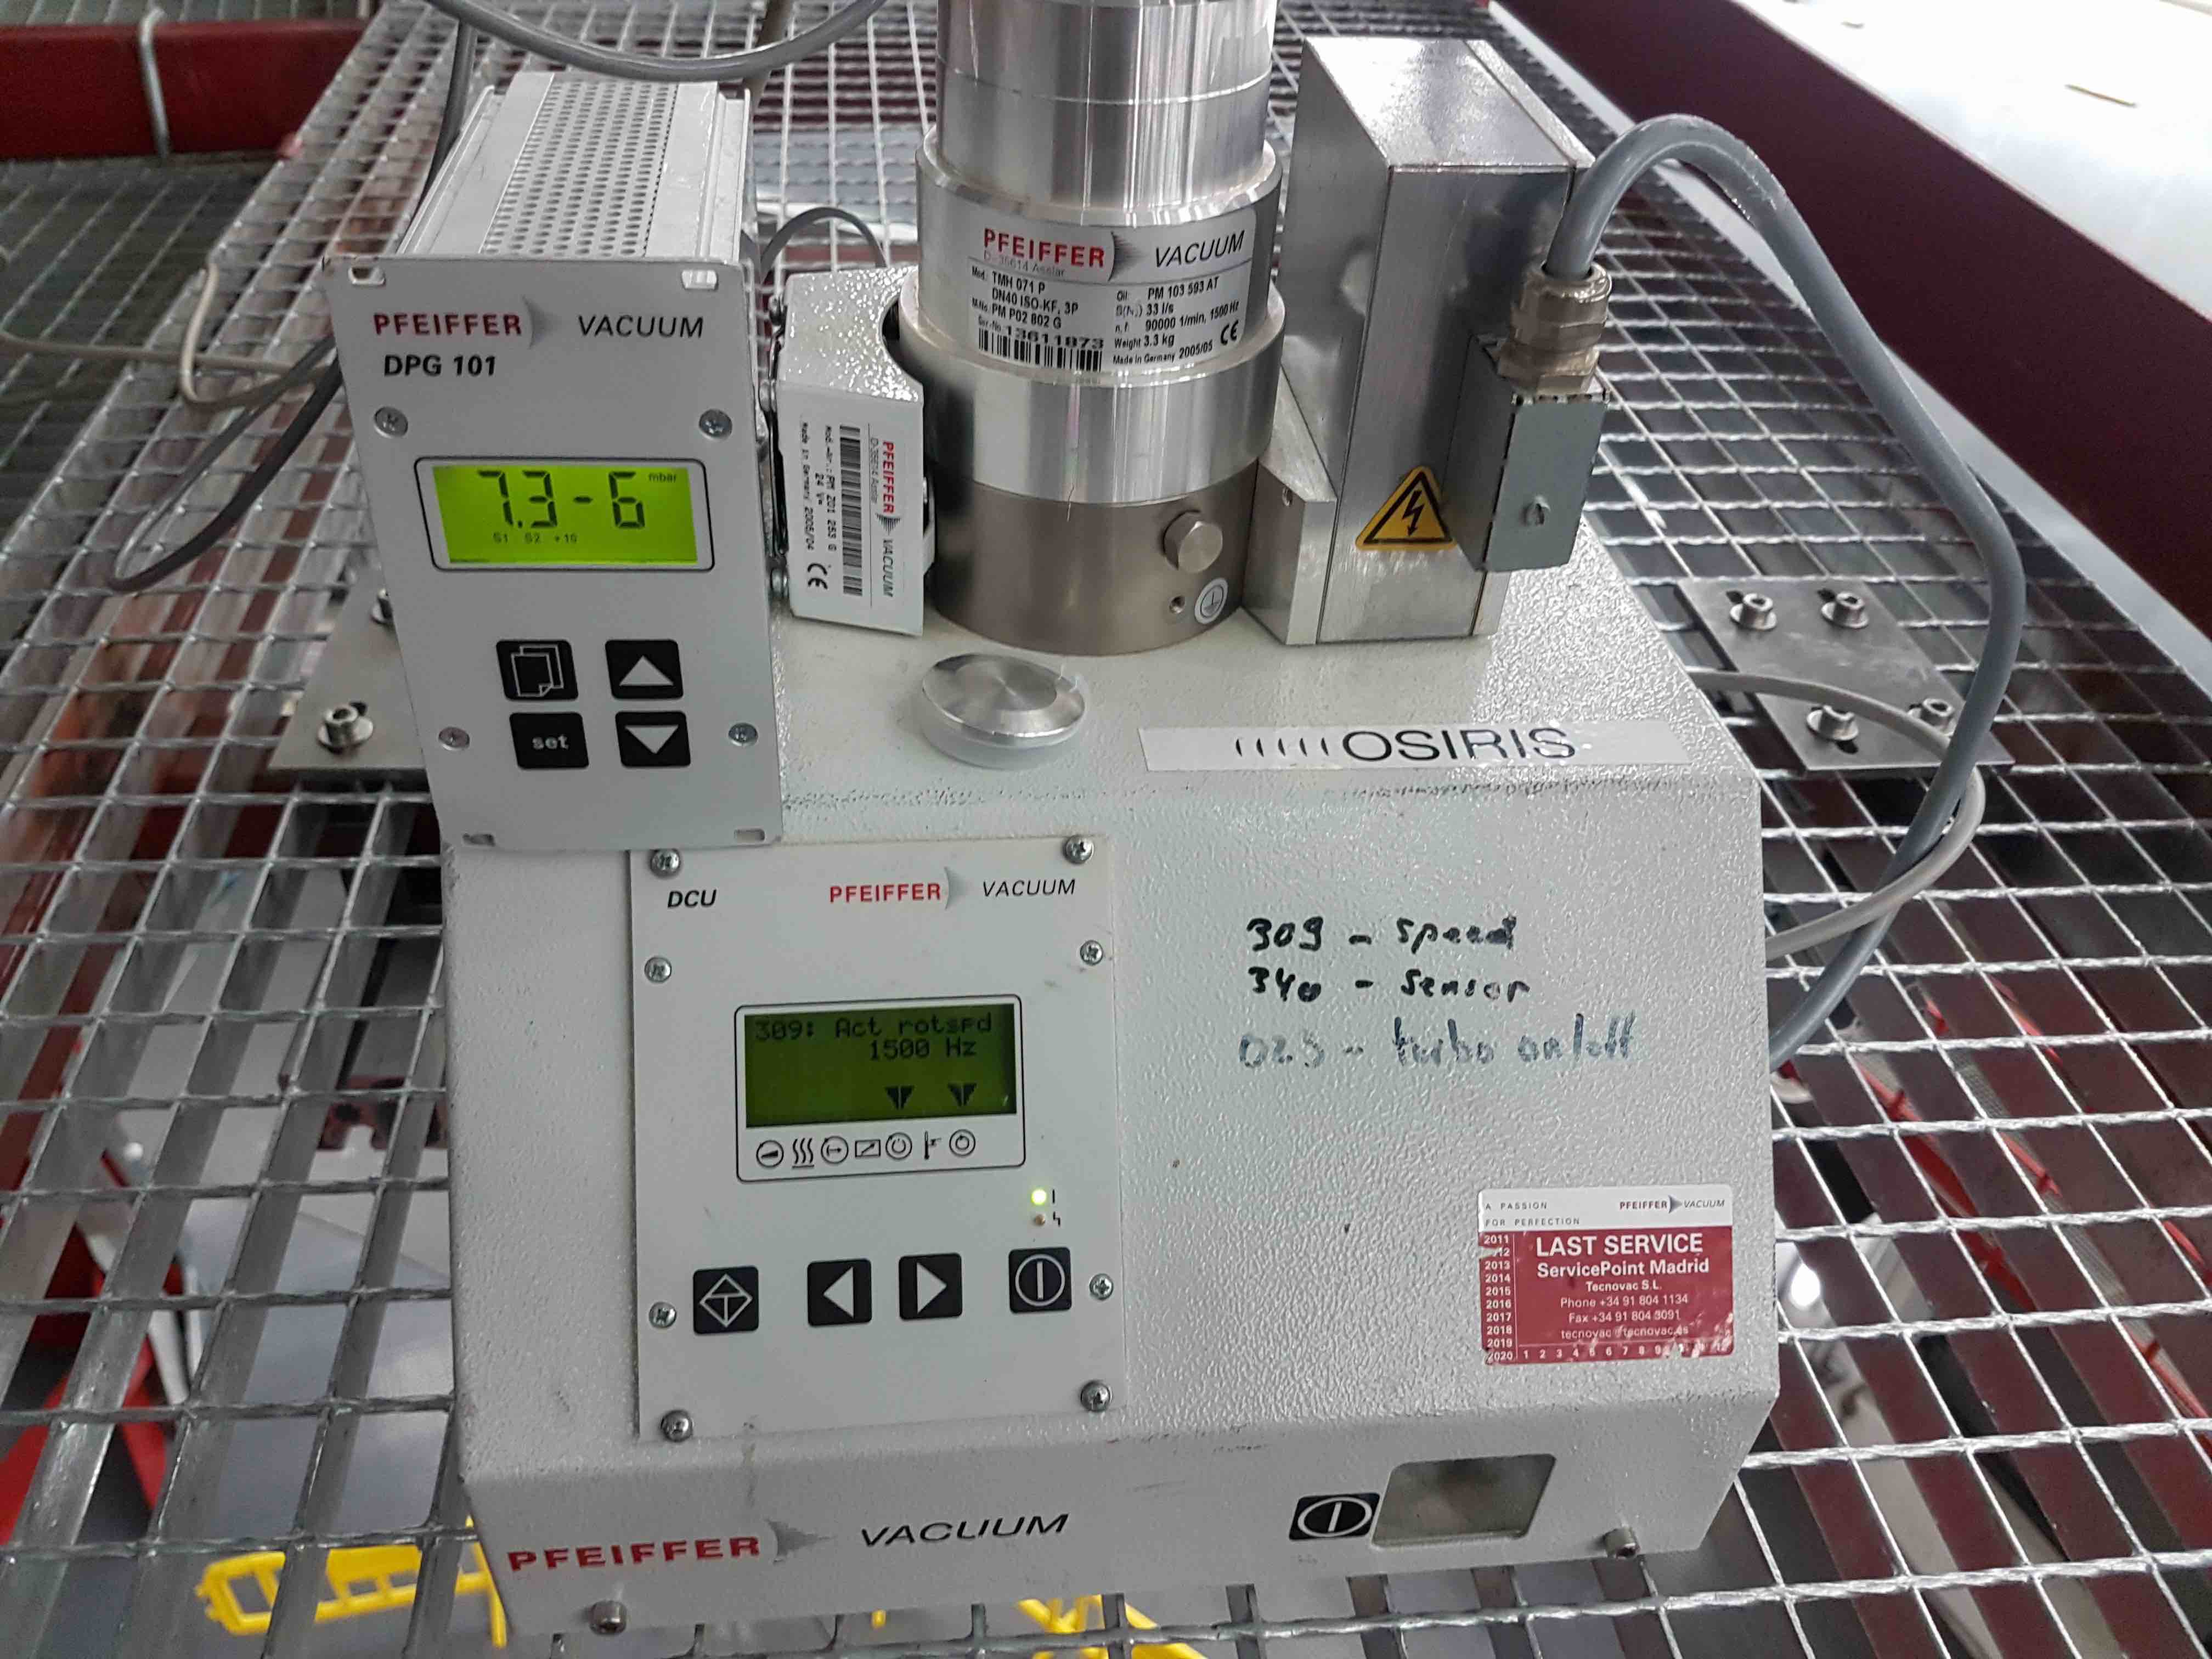
Ensure that the vent valve at the back of the turbo pump is screwed shut, and then turn on the backing pump and turbo by pressing the black power button on the right-hand side of the front control panel of the pump. You should now hear the turbo speed up. Navigate to the turbo pump frequency display (menu item 309) using the cursor keys on the front panel.
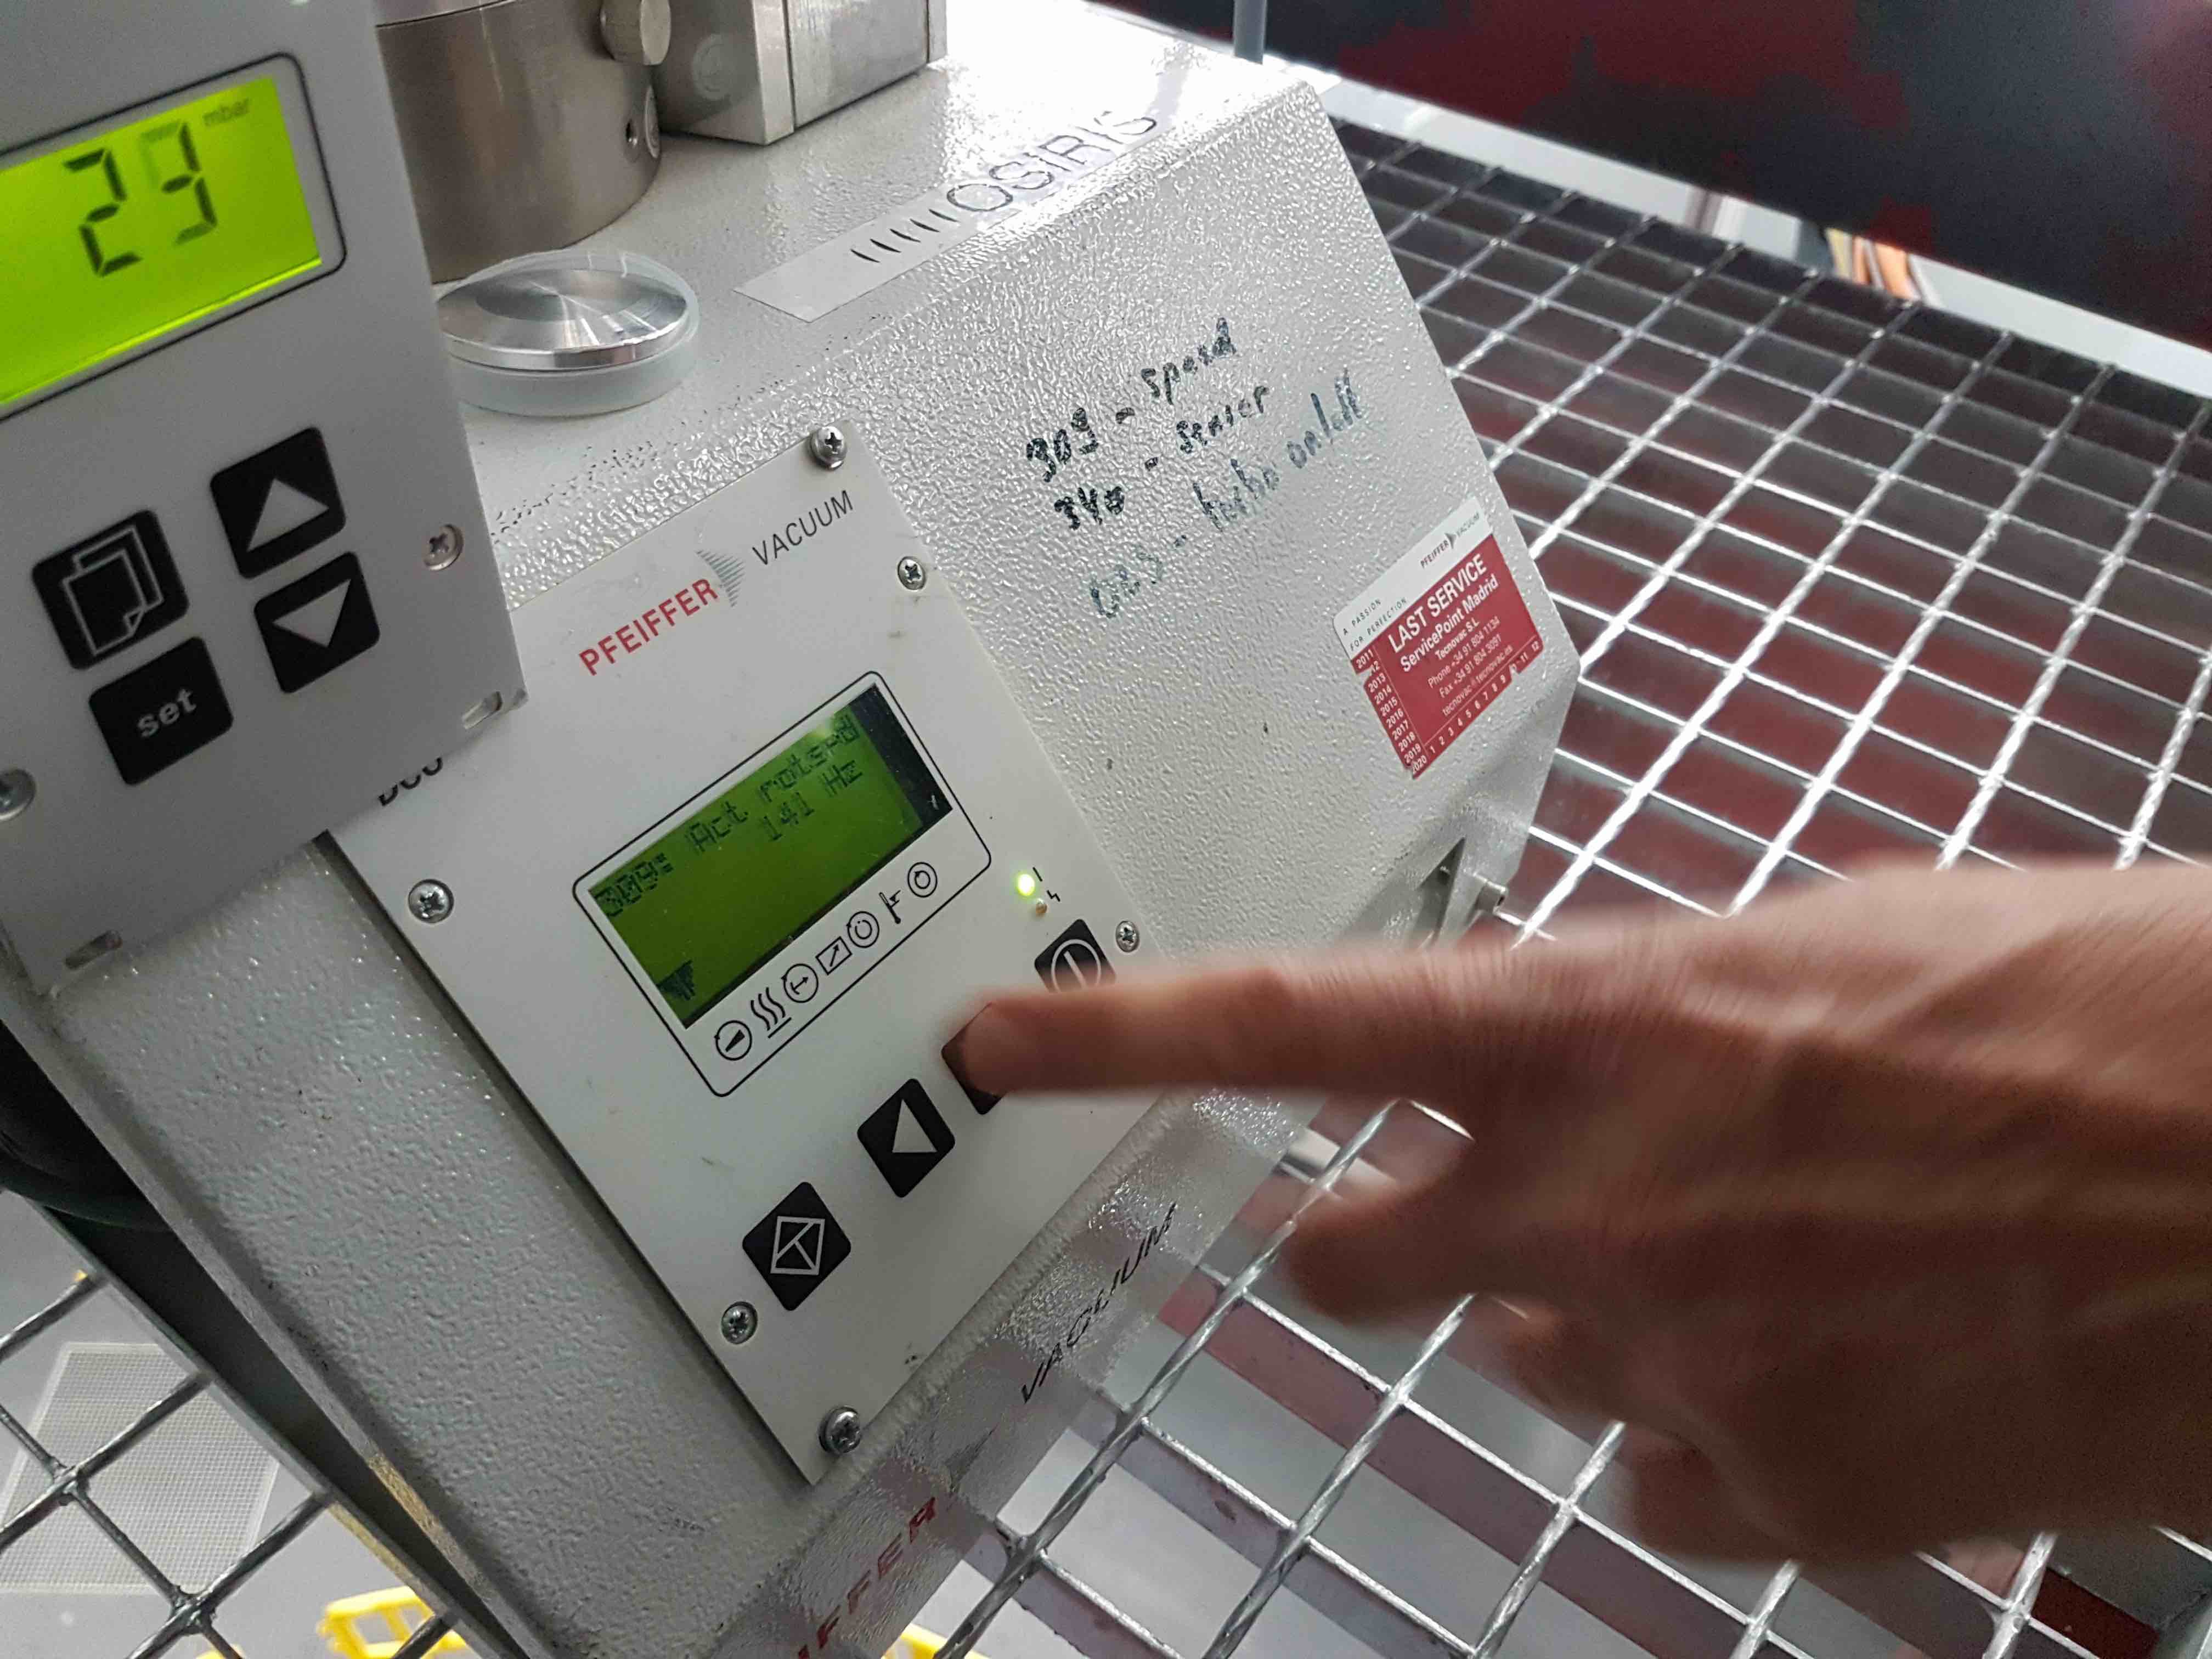
When the turbo speed is at its maximum value of 1500 Hz and the pressure on the pump gauge falls to the low e-5 mbar range, open the valve to the HiPERCAM vacuum manifold. You should see the pressure on the gauge rise slightly and then quickly drop again. Then open the valves on the CCD heads, one at a time.
If the HiPERCAM vacuum manifold is at atmospheric pressure, follow the above procedure, but open the valve to the vacuum manifold before you power on the vacuum pump. If you don’t do this, and you open the manifold valve when the turbo is up to speed, you will damage the pump with the sudden rush of air.
Refer to pumping and cooling for how to open the valves on the CCD heads and monitor their vacuums.
Once you have finished pumping, close the CCD head valves, close the manifold valve and turn off the vacuum pump by pressing the black power button on the right-hand side of the front control panel of the pump. You should now hear the turbo slow down. Navigate to the turbo pump frequency display (menu item 309) using the cursor keys on the front panel and wait for the turbo to spin below about 100 Hz. You can then remove the vacuum pipe and replace the pump and cables in their original places on the Nasmyth platform.